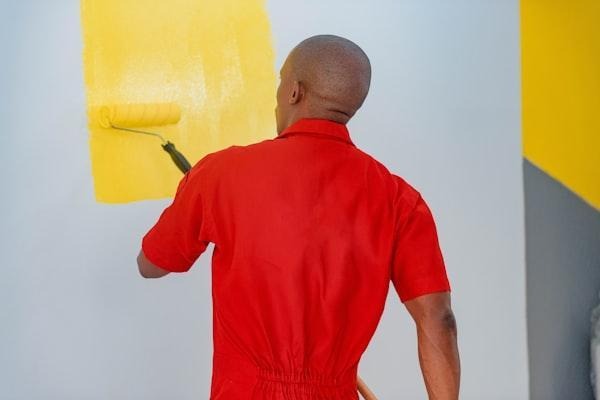
Planning to paint your home? Every homeowner once decides to paint their home. One who randomly gets into painting their dream house often fails and the one who plans well, understands the essentials and considers safety leads to desired results.
To be on the winning side, here are a few things to consider before starting it – preparation and safety. Especially while getting it done by yourself, going through a detailed analysis becomes crucial.
Go through this essential guide that will share the critical safety aspects for painting your home. From pre-work planning to a room-by-room checklist.
Pre-Work Safety Planning Sets the Foundation
Strong pre-work planning eliminates most controllable painting hazards before you bring a single tool into the room.
Start by finding risk factors before you buy items or move furniture.
If your home was built before 1978, treat painted surfaces as possibly lead-containing until testing shows otherwise, and check for cracks, peeling, or friction surfaces like window frames and doors that release dust during prep.
Map fire sources such as gas appliance pilots, open flames, and heaters, and plan to shut them down or avoid them while using flammables.
Try keeping children, pregnant people, and pets away for at least 72 hours after painting.
Product Selection and VOC Compliance
- Choose water-based, low-VOC paints; many strict regions cap flat paints at 50 g/L VOC.
- Avoid methylene chloride-based paint strippers, which the EPA has banned from consumer sales.
- Buy only what you need and read the Safety Data Sheet (SDS) before opening each product.
- Confirm personal protective equipment (PPE) needs and suitable cleaners for each product you pick.
Tools and PPE Setup
- Stock 6-mil plastic sheeting for floor-to-ceiling protection.
- Use HEPA vacuums and tack mats at containment exits.
- Match respirators to hazards: N100/P100 filters for dust, organic vapor filters for solvents.
- Use nitrile hand protection for latex paints; select butyl or Viton hand protection for stronger solutions.
Ventilation Controls Indoor Air Quality During and After Painting
Careful ventilation moves fumes out of the house quickly so you can safely re-shift rooms faster.
Exhaust polluted air outdoors continuously during painting and for at least 72 hours later on, following EPA guidance.
Place a box fan in a window near the work area, seal around it to avoid recirculation, and open a supply window opposite to create cross-flow and roughly five air changes per hour when possible.
Seal HVAC returns to avoid spreading smells through ducts, and run fans continuously from setup through two to three days after painting.
Paint when spaces can be vacant and separate rooms with taped plastic barriers.
Post-Paint Air Management
- Continue exhaust ventilation for 48–72 hours after the final coat.
- Crack closet and cabinet doors to let sealed areas off-gas.
- If smells remain, extend ventilation and supplement with air cleaners that use activated carbon filters.
- Consider the absence of noticeable odor, not just dry surfaces, as your signal for safe re-entry.
Lead-Safe Practices Protect Pre-1978 Homes
Lead-safe setup, work methods, and cleanup greatly reduce the risk when you disturb pre-1978 paint.
Consider lead on pre-1978 painted surfaces unless testing proves otherwise.
If you hire contractors, require EPA Renovation, Repair and Painting (RRP) certification for anyone disturbing painted surfaces.
The RRP Rule demands lead-safe work for firms working on pre-1978 homes, and homeowners should follow those practices to protect their families.
For DIY work, establish floor-to-ceiling containment with 6-mil poly, close and tape off vents, and use tack mats at exits.
Use wet methods and HEPA-shrouded tools to minimize dust, and never dry-sand uncontrolled surfaces.
Wear N100/P100 respirators and disposable clothes to be away from dust.
Prohibited Methods and Cleanup
- Do not use open-flame burning or torching on painted surfaces.
- Avoid power cutting or grinding that is not covered and connected to HEPA collection.
- Do not dry-sweep paint chips or dust.
- HEPA vacuum, then wet-wipe surfaces until cleaning cloths come back visibly clean.
Hiring a Painter Perth Professional for High-Risk Work
High-risk situations justify calling in a capable crew that already works to lead-safe and height-safety standards. High-risk conditions prefer hiring a certified professional rather than dealing with complex projects yourself.
Examples include possible lead on trim and window troughs, double-story gaps or high ceilings where ladders are unstable, and complex spray finishes that require tight overspray control and careful re-occupancy planning.
A qualified crew brings protection materials, HEPA equipment, documented cleanup protocols, and work-at-height systems that reduce fall risk. In Western Australia, a painter Perth trained in such as Consummo Painting can also plan safe ventilation routes that avoid back-drafting gas appliances and set re-entry timelines that match the products they use.
Personal Protection Must Match Each Task
Personal protective equipment is only effective if you match the equipment to the dusts, fumes, and splashes generated by your task.
Respirator selection is based on the specific hazard you are exposed to.
Use N100/P100 filters for lead dust when sanding or scraping, and add organic vapor cartridges with particulate prefilters when working with solvents or strong-smelling oil-based paints.
Check the seal each time you don the respirator, and change filters according to time of use or odor breakthrough.
Hand protection selection is also critical.
Nitrile is adequate for most latex paints and cleaners, but butyl, Viton, or PVA is better for strong ketones and aromatics; check chemical resistance charts.
Add wraparound goggles or a face shield when sanding and spraying, and disposable coveralls to prevent dust from reaching clothing.
Ladder Safety Prevents the Most Common Injuries
Most serious homeowner painting damage comes from falls, not from gases or chemicals.
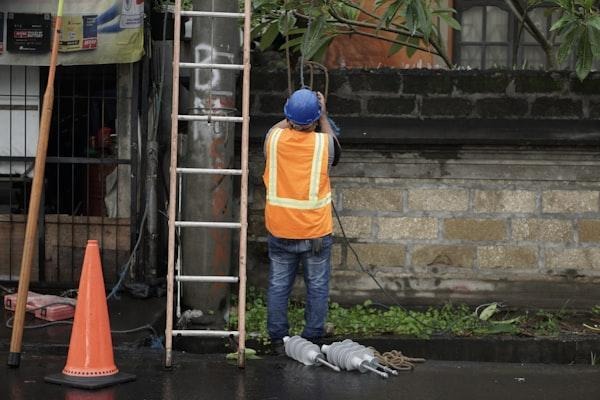
Falls represent one of the most frequent painting injuries.
In 2020 there were 161 workplace ladder deaths and over 22,000 ladder injuries, and about 40 percent involved the base sliding from incorrect setup angles.
Set raised ladders near 75 degrees using the 4:1 rule: for every four feet up, move the base one foot out.
Inspect the rails, feet, and rungs prior to each use.
Maintain three-point contact, keep the belt buckle between the rails, and move the ladder by sliding it, not leaning it.
Use stabilizers on slippery floors and platforms on stairs and loft areas instead of stacking boxes or furniture to access higher areas.
Equipment Hazards Require Disciplined Procedures
Heat tools and other kinds of sprays may harm you in case you don’t follow strict security steps.
Airless guns can pass paint through skin – causing skin damage requiring a medical emergency.
Avoid coming in contact to spray streams. Also, de-energize and release pressure before changing tips.
Wear cut-resistant outer hand protection with low-pressure sprays over chemical-resistant liners.
Use methylene chloride-free strippers and low-temperature heat guns maintained below 1100°F to remove paint.
For small projects, use high-volume low-pressure (HVLP) sprayers to reduce overspray in opposition to airless systems, and build barriers to protect finished floors and fixtures from particles and drips.
Fire Prevention Requires Active Controls
Solvent fires and rag fires are possible dangers whenever oil-based materials are used indoors.
Before you open solvents or oil-based paints, turn off pilot lights and remove all possible fire sources.
Store only small quantities in the work area, and close containers when not actively pouring.
Position a Class B fire extinguisher near an exit so you can escape while using the extinguisher if necessary.
Oily rags from oil-based paints and stains can heat up and catch fire if piled up.
Hang rags flat outdoors to dry, or store them immersed in water with soap and water in a tight-lidded metal container or a listed oily-waste container until taken care of properly.
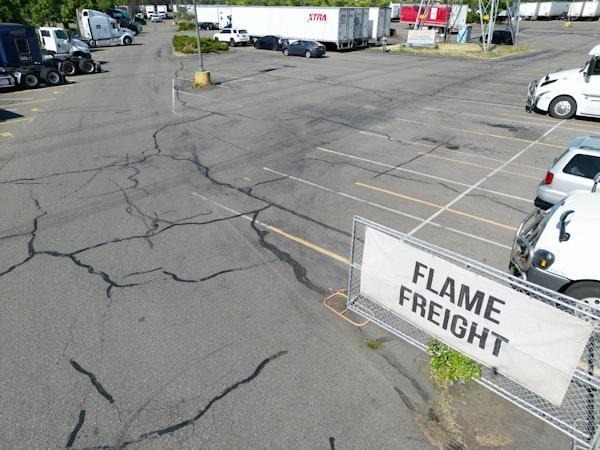
A Cabinet for Flammable Materials Reduces Home Fire Load
Storing flammables in separate spaces such as cabinets keeps vapors and fuel away from everyday living spaces. A listed flammable-liquids cabinet contains spills, delays fire exposure, and isolates vapors from ignition sources. For oil-based paints, thinners, and solvent-soaked supplies, avoid leaving cans on open shelves.
Instead, keep them in properly rated storage sized for your garage or workshop, such as a cabinet for flammable materials that manufacturers like Spill Base build specifically for this purpose.
Place cabinets in open areas, away from doors, heaters, and parked vehicles.
Cabinet Sizing and Maintenance
- Choose listed cabinets sized for your actual inventory, not for a possible future stockpile.
- Attach the required labels and keep an updated item list on the door.
- Keep doors fully closed and check cabinets weekly for leaks or rust.
- Never store food, oxidizers, or inappropriate cleaners inside hazardous cabinets.
Room-by-Room Checklists Address Specific Hazards
Different rooms create different risks, so your controls should match each space instead of using one generic setup.
Kitchens need gas cooktop and pilot light shutoffs, aggressive exhaust ventilation, and 72-hour re-entry windows before cooking resumes.
Use scrubbable, low-VOC enamels that tolerate regular cleaning.
Bathrooms require continuous exhaust fan operation and mildew treatment before repainting, and gas dryer or water-heater pilots must be controlled.
Bedrooms and nurseries need ultra-low-VOC paints and longer ventilation periods for sensitive occupants.
Living areas demand clear egress paths and non-slip drop cloths.
Basements, garages, and workshops carry the highest flammable and fume risk, so maximize cross-flow ventilation and keep vehicles out until fumes dissipate.
Small spaces such as closets need forced ventilation if no exterior window exists, and doors should stay ajar during post-paint curing.
Disposal and Storage Require Responsible Handling
Safe painting includes how you deal with leftover products, not just how you apply them. Prioritize reusing or donating leftover latex paint. If you must dispose of it, dry it to a solid before placing it in household trash where local rules allow, and never pour paint down drains. Treat oil-based paints and solvents as household hazardous waste and take them to local HHW or PaintCare facilities instead of regular trash.
For long-term storage, date and label cans, maintain minimal inventory, and keep flammables in listed cabinets away from living spaces. If you’re in South Auckland, local painters South Auckland can also advise on disposing of leftover paint and storing flammables in line with New Zealand regulations.
Segregate from oxidizers and combustibles, and keep Class B extinguishers accessible nearby.
Cleanup and Re-Occupancy Follow a Structured Process
Treat cleanup and re-occupancy as a planned phase of the job, not an afterthought once the last coat dries.
End each day by bagging chips and dust as you work.
HEPA vacuum surfaces and edges, then wet-wipe horizontal surfaces.
Keep containment barriers intact overnight to prevent dust migration into clean areas of your home.
For final cleanup, HEPA vacuum walls, fixtures, sills, and floors, then wet-wipe until cloths stay visibly clean.
Keep ventilation running for 48 to 72 hours while rooms off-gas, and remove barriers last so debris does not move back into clean areas.
Where lead may be present, consider optional dust-clearance testing for children’s rooms.
Working With Painters South Auckland for Complex Projects
Challenging layouts and older coatings in South Auckland homes can push even experienced DIY painters past safe limits.
Older New Zealand homes often have pre-1978 coatings, sash windows with friction points that shed dust, and steep stairwells that complicate height safety.
Weather and family schedules add pressure to finish quickly while still ventilating spaces and cleaning thoroughly.
In South Auckland, painters South Auckland specialists such as Elite Painters Ltd can design containment, lead-safe methods, and ventilation plans that keep families on schedule without compromising safety.
A local crew can set up negative-pressure containment, select low-odor systems suited to New Zealand conditions, and sequence rooms so they come back online in a safe order.
They also manage ventilation to avoid back-drafting appliances and set practical re-entry windows for families with children or pregnant occupants.
Conclusion
Deciding to paint your home is definitely a cost effective decision. While providing satisfaction, it comes along with some safety considerations. These range from predefining the safety planning to preventing fire with active controls.
Hence, before getting ready to paint, try creating a checklist that will involve all the safety and security aspects – this small step will both save your investment and ensure your safety.
For you and your loved ones – it’s essential to give importance to house painting safety before, after and throughout the painting process.
What major step can be taken to ensure fire safety?
Build a separate cabinet to keep all the flammable essentials. Doing this will significantly reduce chances of fire.
Why is a separate room-by-room checklist important?
Not every space has the same safety hazards. This makes it essential to consider every room separately.
How can not having a ladder be the reason for most problems?
As a ladder is the most crucial element to paint properly. Not having one includes more risk of falling through alternatives.