


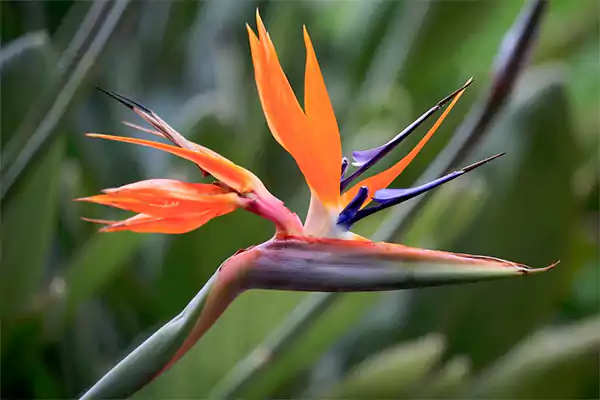
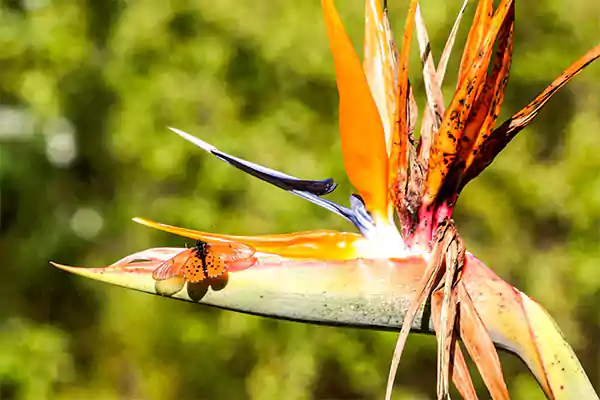
Growing Bird of Paradise indoors requires the right balance of sunlight, watering, soil, and regular checks. Botanically called Strelitzia reginae, this ornamental houseplant typically grows 4-6 ft tall and is suitable for USDA hardiness zones 10-12.
This plant species is a favorite among many horticulturists, designers, florists, and gardeners. In this guide, you will explore the best growing methods, care requirements, common problems, and maintenance tips to help your plant thrive for years.
Quick Answer
You can grow Bird of Paradise indoors using three methods: using a nursery plant, growing from seeds, or using the division method. For the nursery plant or division method, make sure the container is 1-2 inches larger than the root ball. Once you have a well-established plant, place it in bright light and water it moderately.
How to Grow Bird of Paradise Indoors?
There are several ways to grow Bird of Paradise indoors. You can choose to grow them from a nursery plant, grow them from seeds, or use the division method.
1. Growing Bird of Paradise From Nursery Plants
Buying a healthy nursery-grown Bird of Paradise is the easiest and fastest method. This method is ideal for beginners and the fastest way to grow a mature plant.
Step 1: Choose a healthy plant with bright green leaves and sturdy stems.
Step 2: Check the leaves for signs of pests, yellow spots, or damage.
Step 3: Remove the plant from its nursery pot carefully.
Step 4: Place it in a container that is 1-2 inches wider than the root ball.
Step 5: Fill the pot with permeable soil and water thoroughly.
Step 6: Place it near a bright south- or west-facing window.
2. Growing Bird of Paradise From Seeds
Growing the Bird of Paradise from seeds is a rewarding experience, but it requires patience. It takes many years for the plant to mature and produce flowers. This method is less expensive in comparison to buying mature plants and allows you to observe the entire growth process.
Step 1: Use fresh seeds for better germination.
Step 2: Soak the seeds in warm water for 24-48 hours to soften the hard coat.
Step 3: Remove all the fuzzy coating attached to the seed.
Step 4: Fill the seed tray with a light, well-draining soil mix.
Step 5: Plant each seed about ½-1 inch deep.
Step 6: Water lightly to keep the soil evenly moist but not soggy.
Step 7: Place the tray in a warm location between 24°C and 29°C.
Step 8: Cover the tray with a clear plastic sheet to mimic humid conditions.
Step 9: Germination usually takes 1-3 months, although some seeds may take even longer.
3. Growing Bird of Paradise by Division Method
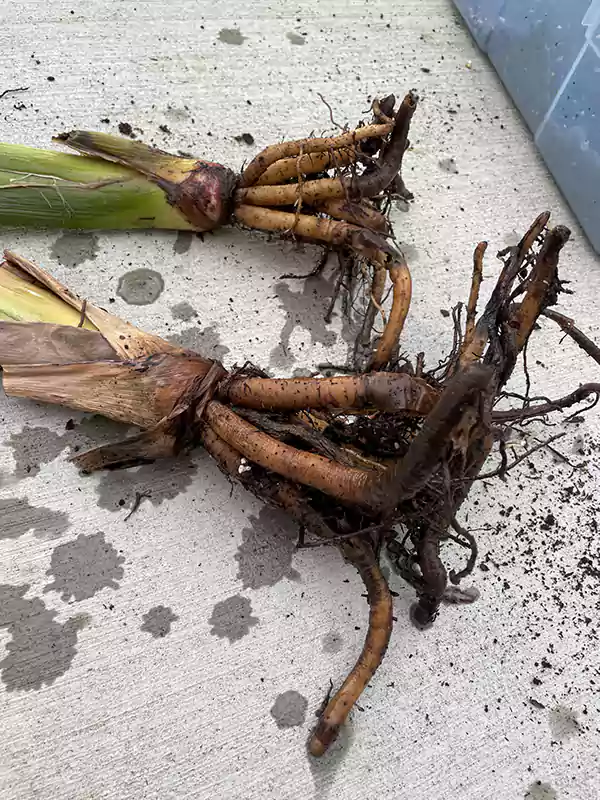
The division method is one of the most reliable procedures to create new Bird of Paradise plants. This procedure involves separating developed species into multiple new plants. The best time to perform the method is spring or early summer during the active growth season.
Step 1: Carefully remove the mature plant from its pot.
Step 2: Shake off all the excess soil from the roots.
Step 3: Check if there are any natural clumps with roots and leaves.
Step 4: If the clumps are tangled, separate them using a clean knife.
Step 5: Plant each division into a separate pot filled with fresh, permeable soil.
Step 6: Water thoroughly after planting.
Step 7: Keep the new plants in bright indirect light for a few weeks.
If you are new to growing birds of paradise indoors, starting with a nursery plant is the easiest step, as it requires less attention and is cost-effective. There are some varieties of this genus that can also be grown as indoor vine plants.
Care Guide for Bird of Paradise Indoor Houseplant
To grow Bird of Paradise effortlessly, place it in a bright place with at least 6-8 hours of direct sunlight, use well-draining soil, water when the top 2-3 inches of the soil feel dry, fertilize using a liquid plant food, prune all the dead or damaged leaves, and maintain warm temperatures.
With the right environment and plant care guide, you can witness a long-lasting centerpiece in your home.
- Sunlight: Bird of Paradise is a tropical plant and needs plenty of sunlight to flourish. Provide the species with at least 6-8 hours of bright light daily, whether direct or indirect. Place the pot near a south or west-facing window. I prefer using an LED grow light for at least 10-12 hours if the natural light is insufficient. Make sure to rotate the pot every few weeks to promote even growth.
- Watering: This tropical plant prefers evenly moist soil and cannot tolerate waterlogged roots. Allow the top 2-3 inches of the soil to dry before every watering session. Make sure that the excess water drains from the bottom of the pot. According to BBC Gardeners World Magazine, it is ideal to water more frequently during spring and summer. Reduce watering during fall and winter when growth slows.
- Soil Type: The ideal soil type for this plant is well-draining, rich in organic matter, and slightly acidic to neutral. I usually prepare the mix by adding 2 parts of high-quality potting soil, 1 part perlite, and 1 part of orchid bark. Avoid using heavy garden soil that retains excess moisture, as it can damage the roots.
- Fertilizer: Regular feeding enhances the foliage growth and flowering of the plant. It is ideal to use fertilizer once every 4 weeks during spring and summer to boost development. Using a balanced liquid fertilizer in the ratio 10:10:10 is necessary, and do not feed it during late fall and winter.
- Temperature and Humidity: Bird of Paradise grows best in warm indoor conditions. The ideal temperature range is between 18 °C and 29 °C. It is important to protect the plant from harsh winter and summer conditions. The humidity of the area where the plant has been placed should be around 60% or higher. I generally use a humidifier if the indoor air is dry or place the pot on a pebble tray with water.
- Pruning: This step keeps the plant healthy and improves its overall appearance. Remove all the yellow, dead, or damaged leaves using clean pruning shears. Make sure you do not cut off healthy green leaves. I usually perform heavy pruning during spring, as it is the active growing season.
Potting and Repotting Bird of Paradise
Potting a Bird of Paradise is very easy. Here are the exact steps that you can follow.
Step 1: Select a sturdy pot with proper drainage holes. Choose a planter that is 1-2 inches wider than the root ball. I prefer terracotta pots because they allow excess moisture to evaporate, whereas plastic ones retain moisture for a longer time.
Step 2: Prepare the potting mix by combining the ingredients thoroughly before filling it into the pot. Use 2 parts of high-quality potting soil, 1 part perlite, and 1 part orchid bark.
Step 3: Fill the bottom of the pot with a few inches of potting mix. Make sure to leave enough space so that the top of the root ball sits about 1 inch below the rim of the container.
Step 4: Gently take out the Bird of Paradise out of its nursery pot. Loosen all the tangled roots if they are circling the root ball. Using clean shears, remove all the dead and damaged roots.
Step 5: Place the plant in the center of the pot. Make sure that it is at the same depth as it was in the nursery pot, and do not plant the crown too deep.
Step 6: Add fresh potting mix around the roots of the plant. Press the soil down to remove any air pockets, but do not compact it too firmly. Water until the excess quantity drains out from the drainage holes. Allow the mix to settle down and add a little more if you think it is needed.
Bird of Paradise requires repotting every 2-3 years or when the roots begin to outgrow the pot through the drainage holes. It is ideal to change its container in spring or early summer. Make sure that the pot is 1-2 inches larger than the current one. Replace the old soil with a fresh mix, place the plant in the pot, and water thoroughly.
Once this is done, I prefer placing the pot in bright indirect light for about 1-2 weeks. Avoid fertilizing for 3-4 weeks to prevent root stress.
Common Pests and Diseases Affecting the Plant
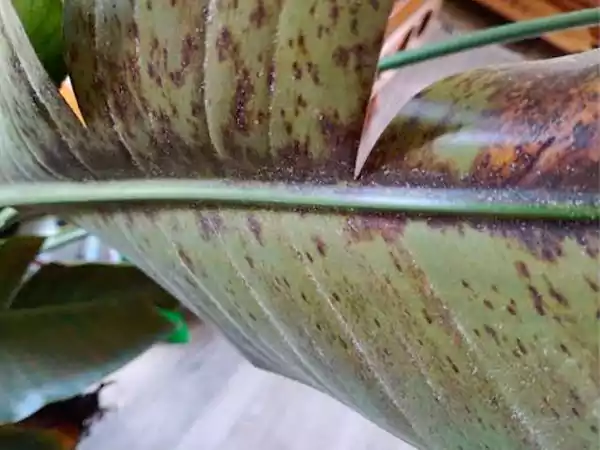
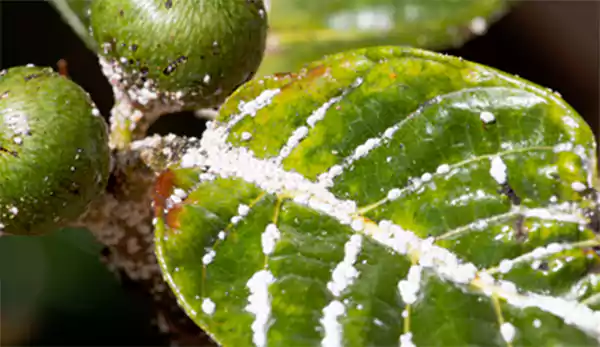
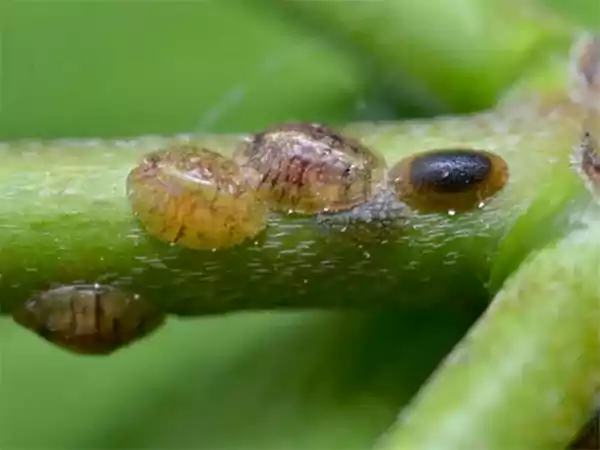
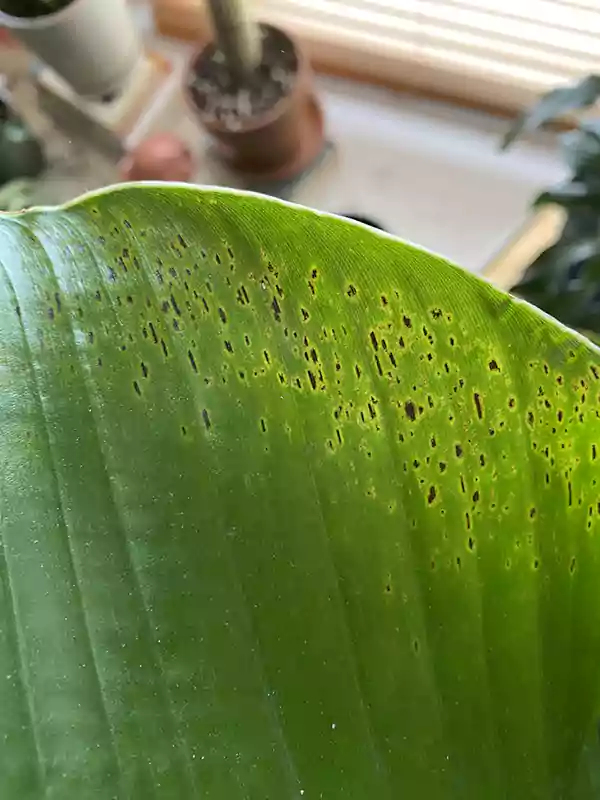
Spider mites, mealybugs, scale insects, root rot, leaf spot, and gray mold are some common pests and plant diseases that affect the plant.
Conclusion
Growing a bird of paradise indoors is simple when you provide the plant with basic requirements. Abundant sunlight, organic and nutrient-rich soil with proper drainage, and moderate watering when the soil feels dry are some ideal growing conditions needed by the plant. By following all these steps properly, this tropical houseplant can reward you with lush foliage and exotic-looking flowers.
FAQs
How often does an indoor Bird of Paradise bloom?
The bird of paradise typically blooms from late fall to late spring. If the right growing conditions are given, it may bloom all year long.
What are common problems with Bird of Paradise plants?
Spider mites, mealybugs, scale insects, leaf spot, gray mold, and root rot are some common problems faced by the bird of paradise plant.
How often should I water the Bird of Paradise?
Ideally, the bird of paradise should be watered once or twice every 1-2 weeks. Adjust the frequency depending on the drainage quality of the soil. Water only when the top 2-3 inches of the soil feels dry to prevent root rot.
Should I cut off brown leaves on Bird of Paradise?
Trimming or cutting off the brown leaves depends on the extent of the damage. If you feel that the plant can be saved by improving the air circulation or adjusting the watering schedule, then avoid cutting the foliage.
Do birds of paradise like deep pots?
Yes, birds of paradise prefer growing in large and deep pots as they have an aggressive root structure. Always use a container that is 1-2 inches larger than the root ball.
- Bird of Paradise – San Diego Zoo Wildlife Alliance (Plants and Animals)
- How to Grow Bird of Paradise Plant (Strelitzia) – BBC Gardeners World
- Bird of Paradise Gardening Solutions – University of Florida
Expert Installation and Care for Garage Doors and Gates
[…] learn how to grow birds of paradise […]