

Tulips, or Tulipa gesneriana, have big statement colors and interesting shapes and look lively in containers. They are a perennial variety of flowers that announce the onset of spring with their bulbous head, circus-tent stripes, and every shade imaginable, with a bloom size of 2-4 inches.
Traditionally, they should be planted between October and November. However, September-October is the preferred timeline for northern regions, and late November/December for warmer climates.
Through this guide, learn how to plant tulip bulbs in a pot, their growing requirements, care tips to maintain tulips, common issues to avoid, and the impact of pests and diseases, along with their solution.
Quick Answer
To grow tulips in a pot, the container should be 12-15 inches deep and 12-18 inches wide with drainage holes; add potting mix with sandy soil. Plant them 6-8 inches deep in the pot. Regular watering and steady temperatures help trigger spring blooms. Keep them in an outbuilding and relocate to sunnier spots later. Store them in a cool, dry place to reuse.
How to Plant Tulip Bulbs? (Step-by-Step Guide)
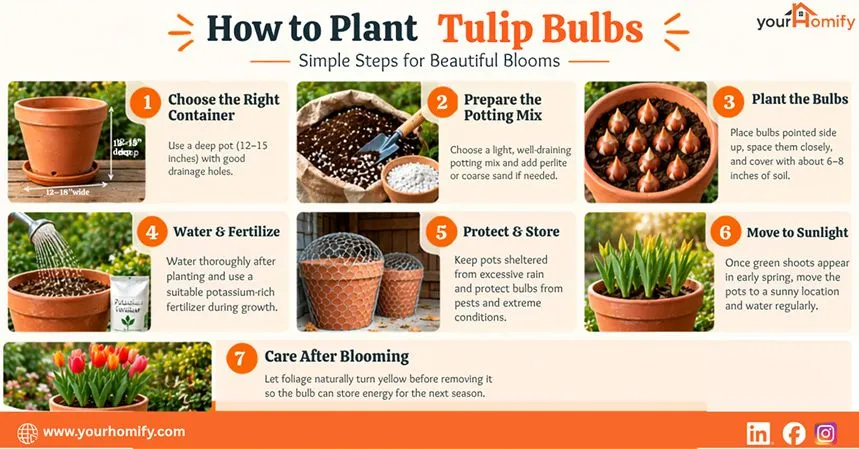
To grow tulips, select the right container as per RHS Advice, use a high-quality potting mix, plant a bulb, water it regularly and add fertilizer, then choose a spot to store your pots, relocate them for blooming, and focus on after-bloom care.
Now let us understand how to plant tulip bulbs in detail.
Step 1: Select the Right Container
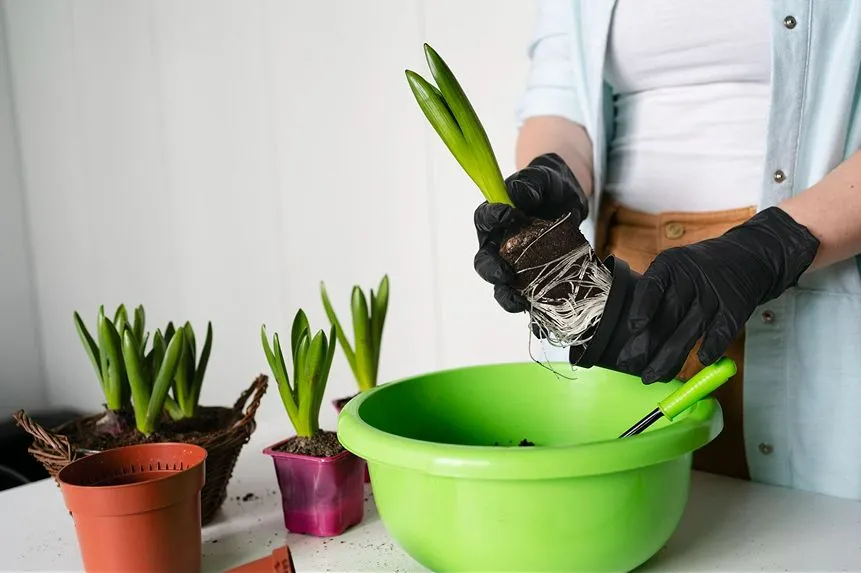
Large pots that are at least 12-15 inches deep and 12-18 inches wide, with large drainage holes to allow 2-3 inches of soil, should be used for the bulbs to prevent root and bulb rot. Terracotta and plastic pots both work well in this case.
Step 2: Use a High-Quality Potting Mix
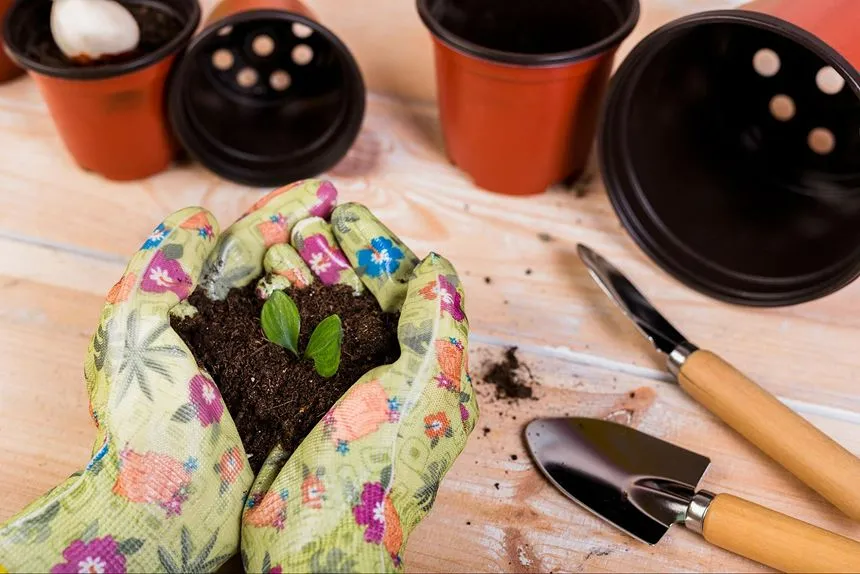
Use high-quality, fast-draining commercial potting mix instead of the heavy garden soil. A peat-based or compost-based mix retains moisture without becoming heavy. Add perlite, vermiculite, or coarse sand to prevent waterlogging.
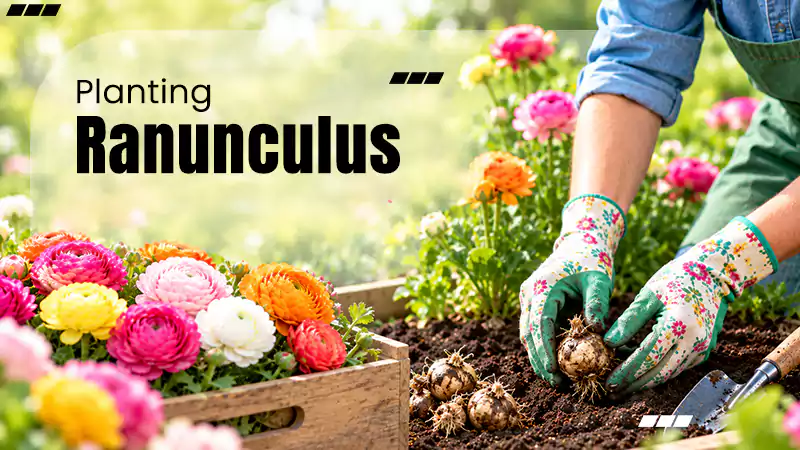
Step 3: Plant a Bulb
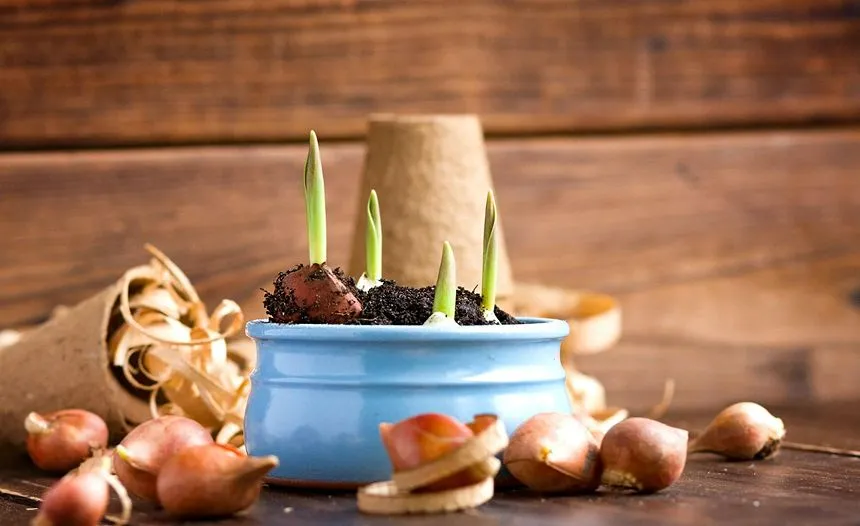
Place the tulip bulbs with their pointed end facing upwards and position them close together. The flat side of the bulb should face the outer rim for better leaf presentation. Now cover the bulb at a depth of 6-8 inches and add 2-3 inches of soil over it.
Step 4: Water Them Regularly and Add Fertilizer
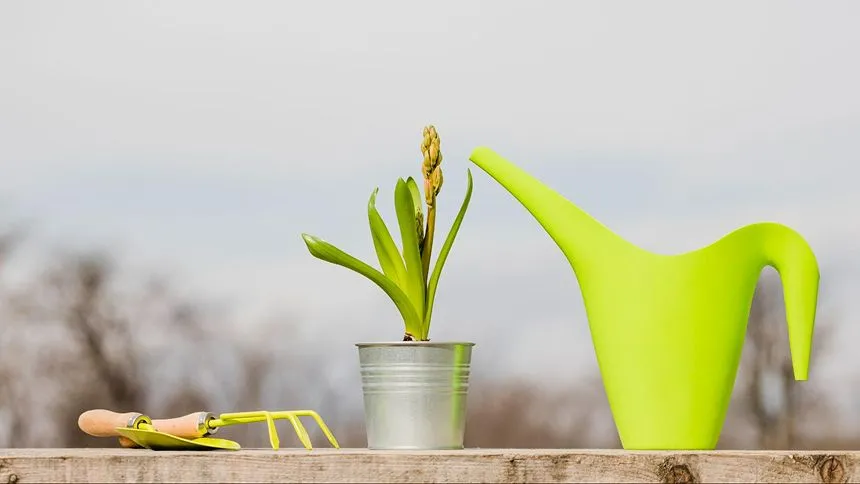
Water the bulbs thoroughly right after planting so the soil settles. Cover them with chicken wire or a mesh so small animals like squirrels don’t ruin the plant. Feed the plants regularly with a potassium-rich fertilizer like tomato feed.
Step 5: Choose a Spot to Store Your Pots
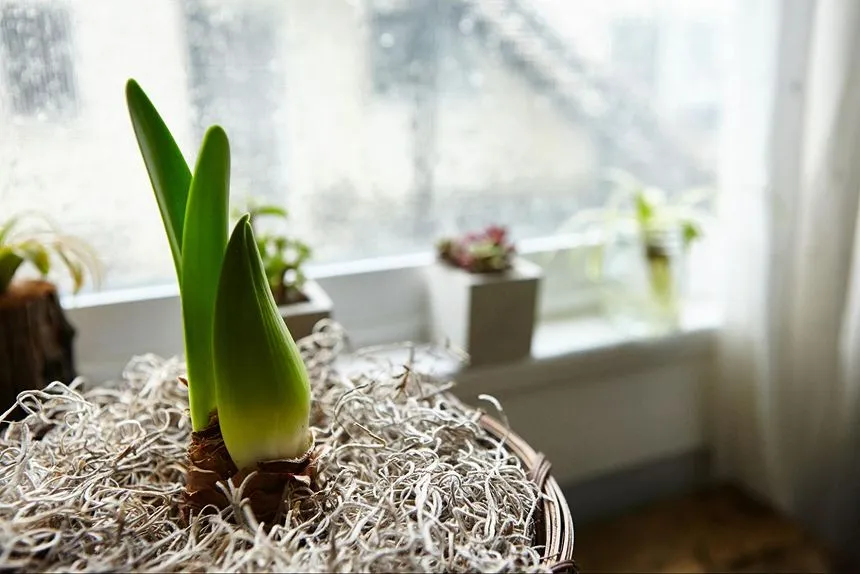
Tulips have a temperature requirement of 35-45℉ to grow. The spot should be sheltered so that rain doesn’t make the bulbs rot. Protect the bulbs from freezing temperatures, as prolonged freezing prevents proper drainage in the pots. An outbuilding or unheated garage is a great option to store your pots until they are ready to bloom in spring.
Step 6: Relocate the Pots
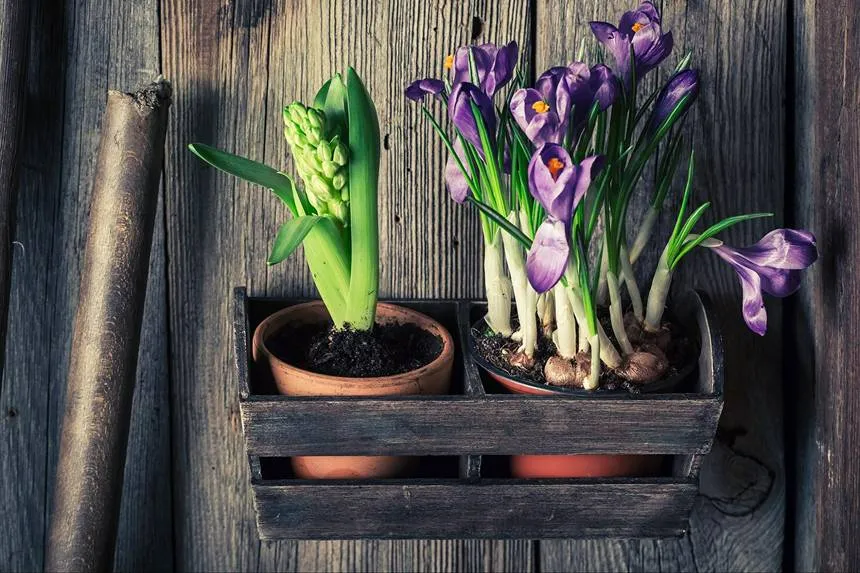
As the weather starts to get warmer during early spring, the bulbs will start sprouting and therefore will need to be watered regularly and moved to a sunny location. This should be done as soon as you notice tips of green in the foliage.
Step 7: After-bloom Care
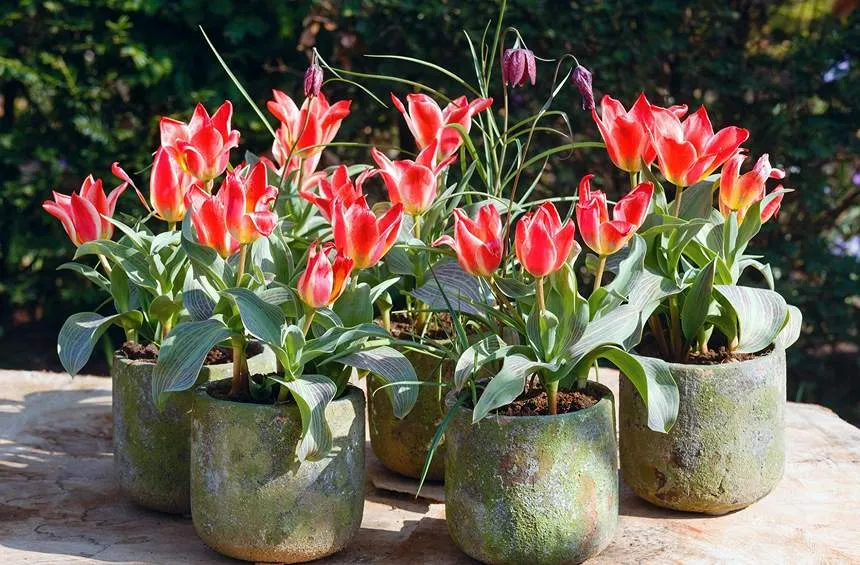
Once the tulips and spring bulbs have finished blooming, leave the foliage as it is until it turns yellow. This allows the bulb to save energy for the next season. In such a case, allow them to dry out and store them in a cool, dark place during summer so they can be reused.
YourHomify Insight Box: Planting tulips in fenced areas or tall pots keeps the rabbits out. Alternatively, you could use a repellent like liquid fence or mix in companion plants like daffodils and hyacinths, which rabbits dislike.
Growing Requirements for Tulip Bulbs in Pots
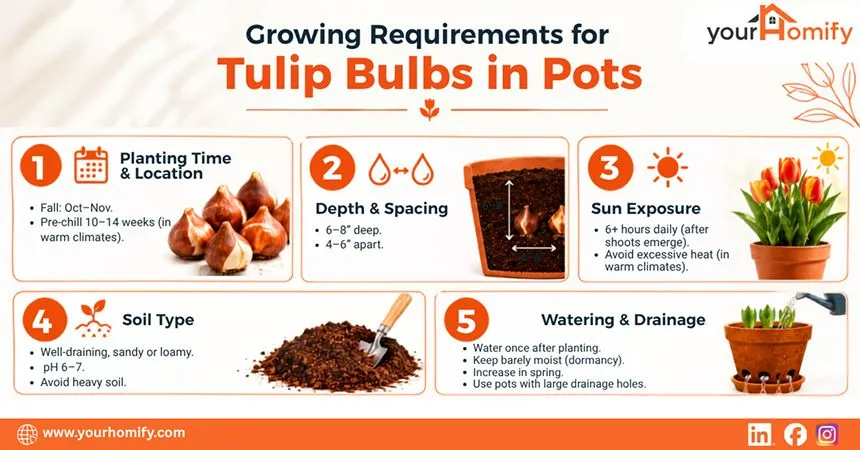
In order to know how to plant tulip bulbs in pots, the timing of planting the bulbs and their location, how deep to plant tulip bulbs/spacing, sun exposure, soil type, and watering/drainage are factors that contribute to deciding how the flower will grow.
So, let me walk you through each and every factor in detail.
Time/Location of Planting: Tulips require a “chilling period” to bloom. Ideally, the bulbs should be planted in the fall season between October and November, with temperatures between 35-45℉ to grow well.
For people who are growing them in warmer climates, pre-chilling bulbs in a refrigerator for 10-14 weeks before planting will help start the blooming process. Additionally, cool, dark, and sheltered spots are good for the bulbs during dormancy.
Depth/Spacing: It is crucial to know how deep to plant tulip bulbs: they should be buried three times or 6-8 inches deep, and 4-6 inches apart to allow for proper functioning, bulb health, air circulation, and to promote root growth.
Sun Exposure: Tulips perform best in full sun as soon as green shoots emerge in early spring. The pots need to receive at least 6 hours of direct sunlight daily to encourage strong stems and vibrant colors. Since they are spring flowers, protect them from scorching heat in warmer climates, or they might burn.
Soil Type: Tulip bulbs require well-draining soil to prevent bulb rot. Since they do well in sandy, loamy soil, it could be neutral or acidic in nature. The required pH is between 6 and 7. Native or garden soil is too heavy for pots and might trap water, eventually suffocating the bulb.
Water/Drainage: The pot needs to be watered once immediately after planting the bulbs to let them settle in the soil. During dormancy, the soil should be barely moist so the bulbs can be chilled properly. Avoid winter rains to prevent waterlogging and relocate the plants. Increase watering during early spring for growth.
Containers should have large, unobstructed drainage holes at the bottom so excessive water gets removed on its own. However, to keep soil from washing out and to keep the soil from clogging the exit paths, mesh pads or coffee filters are good options.
YourHomify Insight Box: Most tulips perform well in USDA Zones 3-8, where they can be left outdoors year-round.
How to Take Care of Tulip Bulbs?
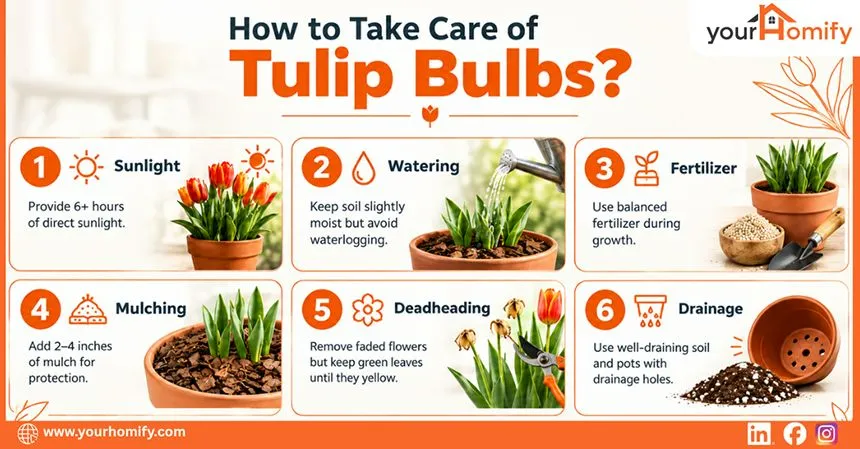
Care tips for tulip bulbs include using fertilizers that are diluted and water-soluble, knowing about the toxicity levels in tulip bulbs for humans and animals, mulching, pruning, and deadheading.
Let us understand how to take care of tulips in detail through this section.
Fertilizer: Fertilizers with a ratio of 10:10:10 NPK that are diluted and water-soluble should be used every two weeks. Slow-release bulb fertilizer such as peat moss or coco coir retains balanced moisture, while perlite and vermiculite increase drainage and aeration. Bone meal also makes for a light-feeding fertilizer.
Toxicity: Tulip bulbs contain compounds called tulipalin A and B, available in concentrated amounts in the bulb itself, which can cause digestive distress if ingested and skin irritation upon contact in humans. ASPCA says that horses, dogs, and cats are at high risk if they consume the bulbs since it can cause vomiting, diarrhea, loss of appetite, and even respiratory issues or tremors.
Mulching: There are 2 methods to mulch tulip bulbs in pots. The traditional method is to cover the bulbs 6-8 inches deep and then cover the soil with 2-4 inches of mulch on top to provide immediate protection. The top planting method includes loosening the top 2 inches of soil, placing the bulbs directly on top of it, and covering with 3-4 inches of mulch.
Shredded bark, wood chips, shredded leaves, pine needles, and straw are some of the common types of garden mulches that work well for tulips. They help regulate soil temperature, retain necessary moisture, control weeds, and hide your bulbs from hungry animals.
Pruning: Use sanitized shears or hand pruners to cut back foliage all the way to the base and dispose of the trimmed-off pieces into the compost bin after the plant has yellowed post-bloom to ensure energy storage for the next season. This process should be done from early to late spring to avoid interference with the plant’s natural cycle.
Deadheading: After flowers have emerged, tulips tend to develop seedheads sometimes. These seedheads are removed through deadheading, which means cutting off the stalk right above the leaves. It is done to prevent the plant from wasting energy on seed production. In the case of specialist tulips, some of them can be grown from seeds, so it is alright to leave the seedheads until they are ripe.
Common Mistakes While Planting Tulips in Pots
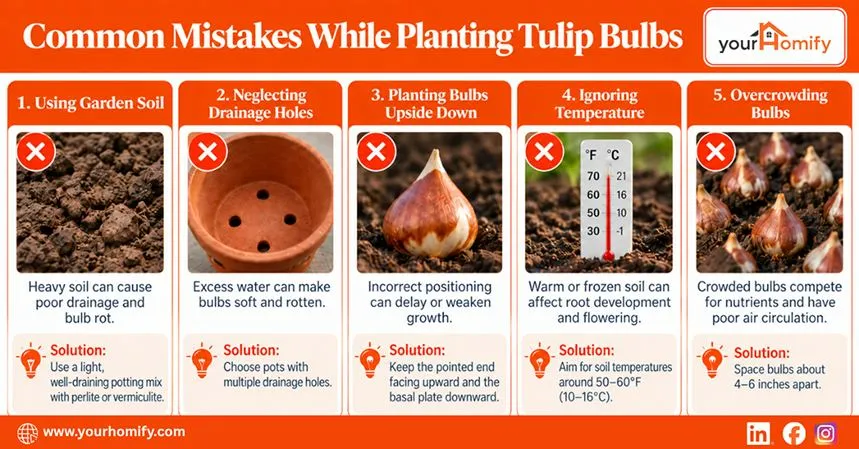
Common mistakes while planting tulip bulbs include using garden soil instead of potting mix for the pot, neglecting drainage holes, planting the bulb in the wrong way, forgetting their temperature requirements, and overcrowding the bulbs in a compact space.
Now let us discuss these problems, what to keep in mind, and how to fix them.
Using garden soil: Garden soil from your yard tends to be heavy and contains various amounts of sand, clay, or silt, becoming too dense for a container to allow ventilation and water movement. It could also be a breeding ground for worms and bugs. Eventually, it causes poor drainage that leads to rotting in plants.
Solution: Potting mix is the preferred option since it is relatively sterile and great for starting seeds. Perlite and vermiculite increase drainage and aeration, making it much lighter than garden soil.
Neglecting Drainage Holes: If a pot doesn’t have enough holes at the bottom, water will accumulate and rot your bulbs within weeks. Tulip bulbs cannot handle wetness if they stay in stagnant water for too long. Gradually, the bulbs will soften up, turn mushy, and decay before blooming season.
Solution: Look for pots with multiple holes. Terracotta pots are typically breathable; moisture and air can pass through the walls, while plastic or resin pots hold moisture longer and are lightweight, making them easier to relocate and also providing proper insulation.
Planting Bulbs the Wrong Way: Bulbs are dormant when planted, which is why it can get difficult to place them correctly. There are no roots or shoots to tell apart. The bulbs will still grow towards light; however, this mistake wastes energy of the plant, and the flower may bloom later than usual, and the stems might look smaller and weaker.
Solution: Always put the pointed end facing upwards, since this is where the sprout will emerge. The flat or rough basal plate should face the ground because the roots need soil as an anchor to grow and absorb necessary nutrients.
Forgetting the Temperature Requirements: If the soil is too warm, the bulb will have a hard time establishing itself, or it might even begin to rot, but if the soil is frozen, the bulb won’t grow enough to survive the winter or spring. Warm soil tricks the plant into thinking that it’s spring and might lead to premature growth, wasting the energy for spring flowers.
Solution: Always aim for a soil temperature between 50 and 60℉ to provide the perfect conditions for root growth without risking premature sprouting and preventing fungal infections.
Overcrowding the Bulbs: Overcrowding leads to competition for limited soil nutrients and increases the risk of pests and diseases. Potted bulbs are inevitably planted closer for lush growth, but these are mostly treated as annuals that won’t perform well next year, since it causes stunted growth or failed blooms due to poor air circulation as well, making it vulnerable to fungal growth.
Solution: Position your bulbs about 4-6 inches apart, leaving a small gap of soil between each of them. Leave enough uncrowded depth beneath the bulbs so the roots can expand without becoming dense.
Pests and Diseases in Tulip Bulbs
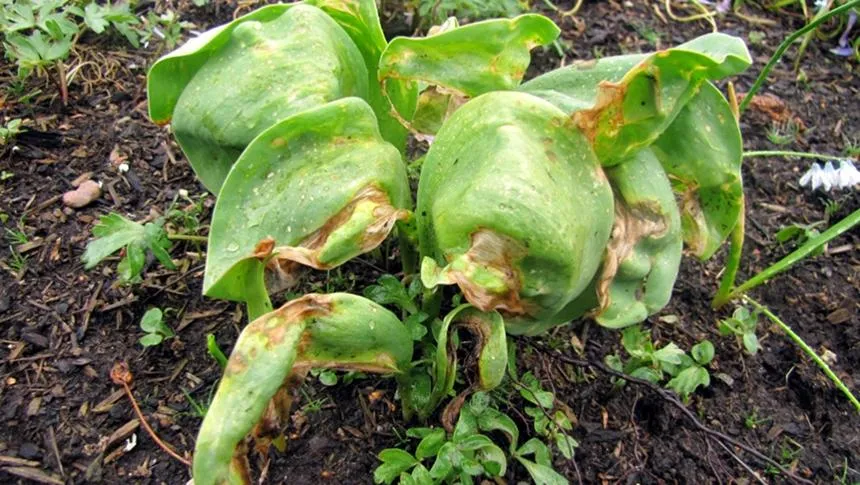
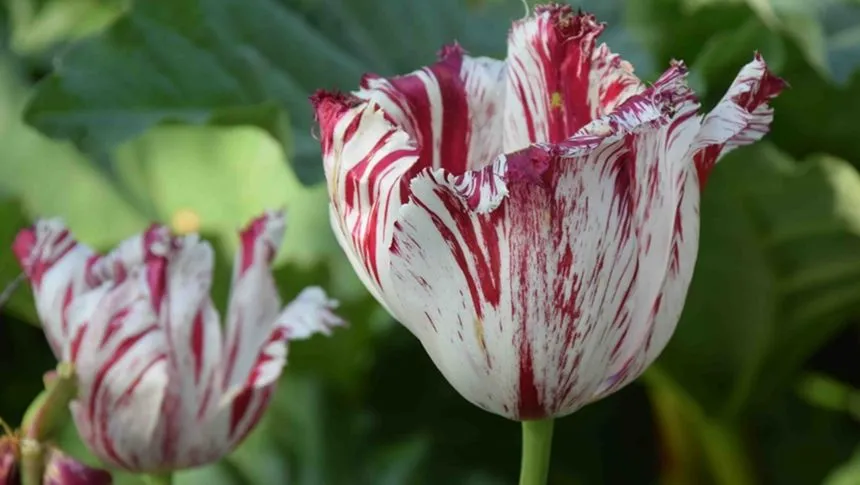
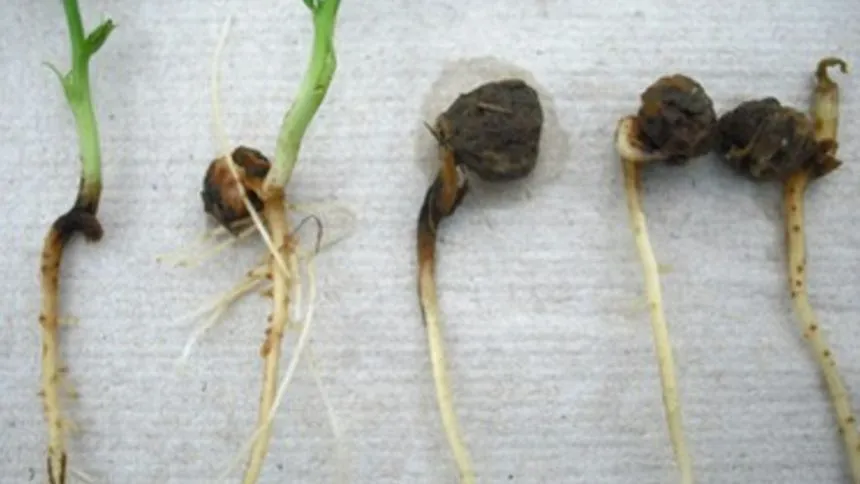
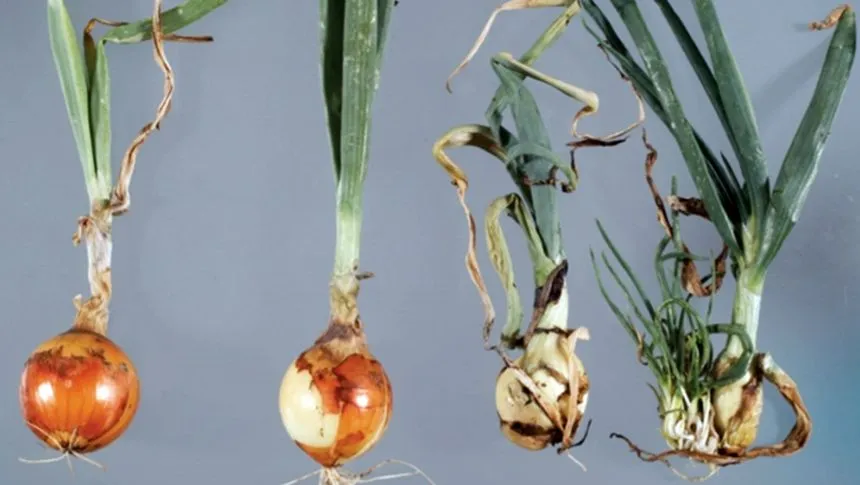
Tulip fire, breaking virus, basal rot, pythium root rot, and stem and bulb nematode are some of the pests and diseases that affect the growth of tulip bulbs.
Let me explain the symptoms of these pests and diseases on tulip bulbs and how to deal with them effectively to help protect your plants.

Final Thoughts
Planting tulips requires time and patience to grow, but if you use the right container, plant them in permeable soil, keep them in full direct sunlight for at least 6 hours regularly, and avoid winter rains during their initial stages, you will see a lush growth of tulips in the upcoming spring.
Foliage management and monitoring for pests and diseases will help you experience the colorful, blooming tulips. Growing them in pots also leaves you with plenty of options, like being able to relocate them to your desired spot for decoration and filling up the smaller areas in your house with their blooming display.
FAQs
What month is the best time to plant tulip bulbs?
The best months to plant tulip bulbs are October and November. The soil temperature needs to be between 35 and 45°F, and planting the bulbs 6-8 weeks before extreme winters promotes root growth.
Are tulips better in pots or on the ground?
Neither of the options is inherently better than the other, since both methods have their own pros and cons, depending on the region where you are growing them and how much space you have. Growing tulips in the ground requires less maintenance; similarly, pots give you more flexibility to move them around.
How to plant tulips for beginners?
Plant healthy bulbs 6-8 inches deep into the pot with their pointed side facing upwards. Use well-draining soil, along with potting mix, and feed them in their initial stages. Keep them in 6 hours of direct sunlight and water them regularly early on.
Will tulip bulbs multiply on their own?
Tulip bulbs can multiply on their own by growing small offsets at the base of the mother bulb. This happens after the original bulb fades and uses its energy to create new baby bulbs. The wild varieties and Darwin hybrids are known for spreading on their own.
Why do pennies keep tulips straight?
This is an old trick that includes putting a penny in tulip water, with the idea that copper acts as a natural antimicrobial agent and fungicide. It essentially kills bacteria and fungi in water and prevents blockages in the stem, supporting drooping flowers so they stand straight. However, there is no scientific backing for this claim.