

Growing potato plants in pots is easier than you imagine. Select the right variety first. Use “seed potatoes,” prepare them a day or two before planting, pick a container, and use a potting mix. Provide adequate water and fertilization for their healthy development, and harvest them once the tops are yellowed.
Potatoes, or Solanum tuberosum, are an annual vegetable, native to the Andes region of South America, and suitable for USDA hardiness zones 3-10.
The duration of their growth is 90-120 days, and they perform well in loamy, well-drained soil with a pH of 5.5-6.5.
Potatoes bloom during June-September in temperate zones; year-round in warmer countries. They are sensitive to temperatures and prefer cooler weather, ideally 7-21℃ depending on their growth stage. Tubers grow about 12-30 inches, depending on the variety, and the spread is around 18-36 inches. Potatoes that contain glycoalkaloids are toxic to humans and pets.
Moving further, I will take you through a step-by-step guide to growing potatoes.
Quick Answer
To grow potatoes, use a 10-15 gallon bucket, add compost and potting soil, plant 2-3 healthy potato seeds facing upwards, with 3 inches of soil covering them. Water them and keep them in 8-10 hours of direct sunlight. Space the spuds and hill them regularly. Repeat this process, watch out for pests and diseases, and harvest when they are ready.
How to Grow a Potato Plant in a Pot?
A 10-15 gallon container is a good way to get medium-sized produce and the most common choice for growing potatoes. They grow from seed potatoes, not actual seeds. It is important to use the right variety for this reason, preferably not store-bought, since they are sprayed with chemicals that make them unable to sprout and may carry hidden diseases. Use proper compost and soil, and place 2-3 seeds facing upwards. Cover them with a few inches of soil afterwards.
Now let us discuss the steps in further detail for a medium-sized container.
Step 1: Select the Right Variety
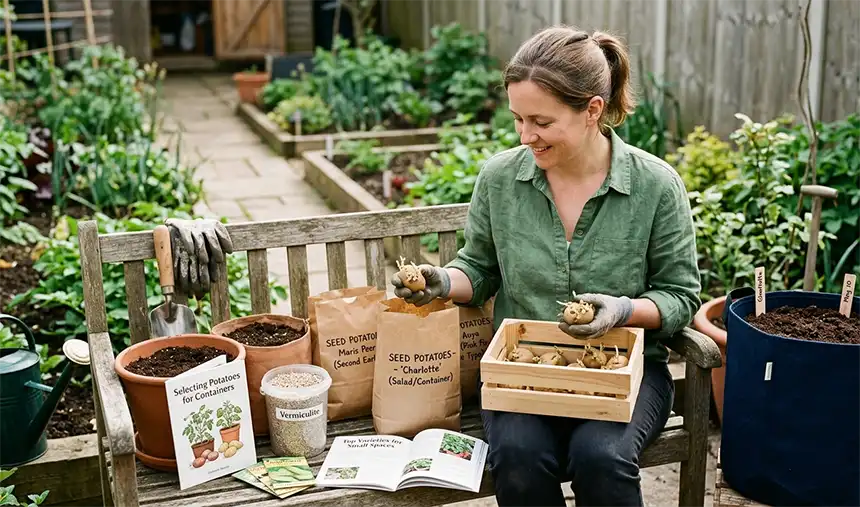
To grow potatoes, you don’t need seeds. Seed potatoes are actual potatoes that you plant by weight. Ensure that they are disease-free. The fruits might look like small tomatoes that are green or purple in color. It is also suggested not to consume the potato plant fruit since it is poisonous in nature.
Step 2: Chitting the seeds
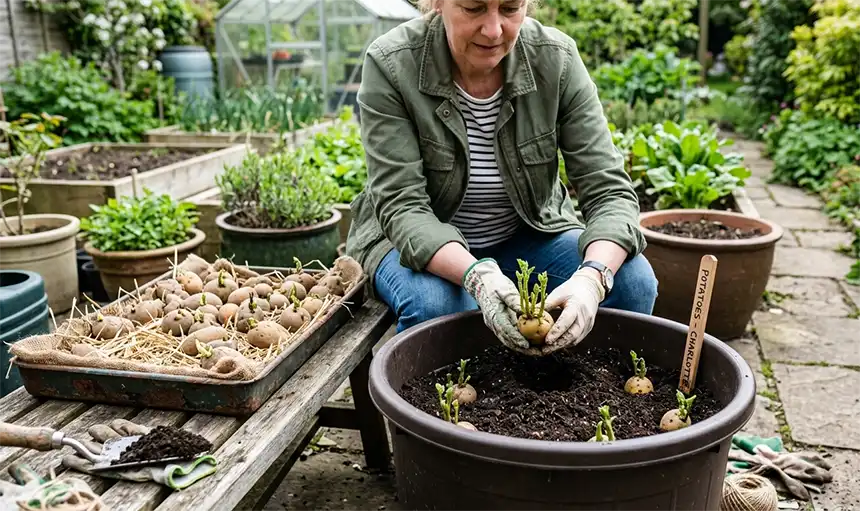
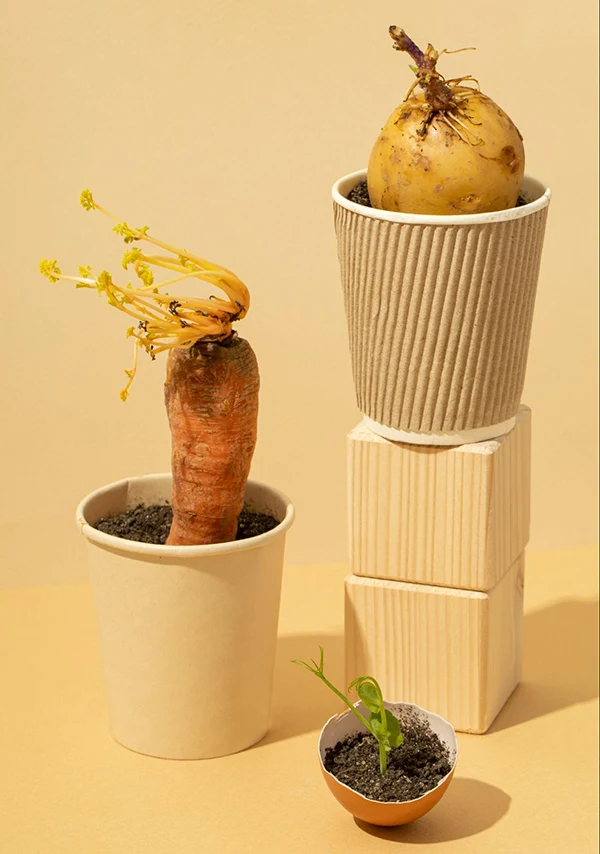
The seeds need to be bought about 4-6 weeks before planting. You can plant 1-2 of them in a single container. A tip is to look out for any indentations or an “eye.” Place them near a window or a place that actively gets sunlight, with the potato eyes facing upward. The temperature should be cool, and the environment should be ventilated. Keep an eye on the sprouting process till it reaches 1-2 cm in length.
Step 3: Put it in a pot
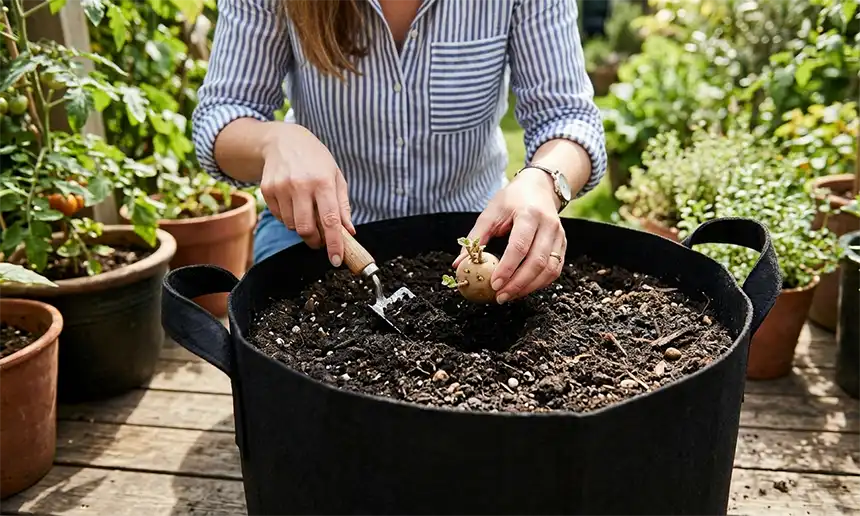
A layer of soil should be mixed with compost. This mixture needs to be put 6-8 inches deep at the bottom. Your container should be 2-3 feet tall and be able to hold 10-15 gallons with good drainage capacity. Spread 1-2 seed potatoes on top of this layer, and add another 3 inches of mixture on top of it. Cover the potatoes completely.
Step 4: Appropriate Atmosphere and Hilling
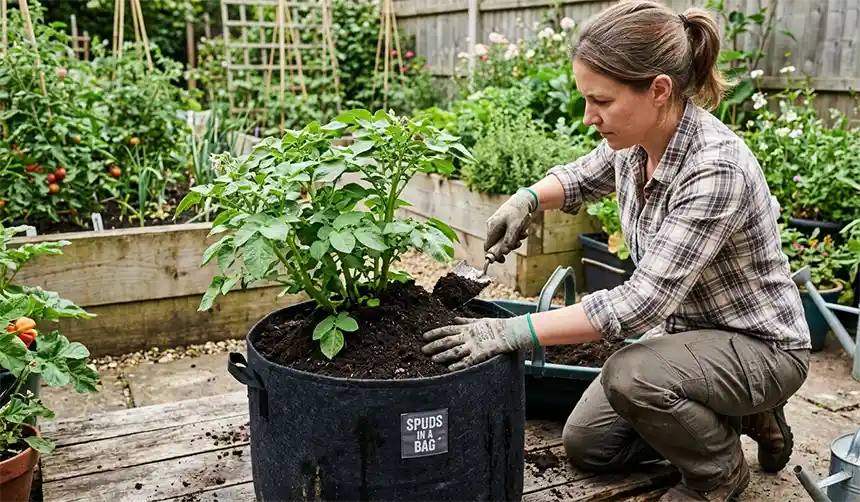
Choose the right location so that your potatoes can bask in at least 6 hours of sunlight every day. Keep checking the water retention of the soil and keep adding more soil (hilling) as the shoots grow to around 6-8 inches in length. This process typically takes 2-4 weeks. Uncover the fruit by removing the leaves to prevent bitterness and promote ripening of the plant to give a yellow color.
How to Take Care of Potato Containers in Your Garden?
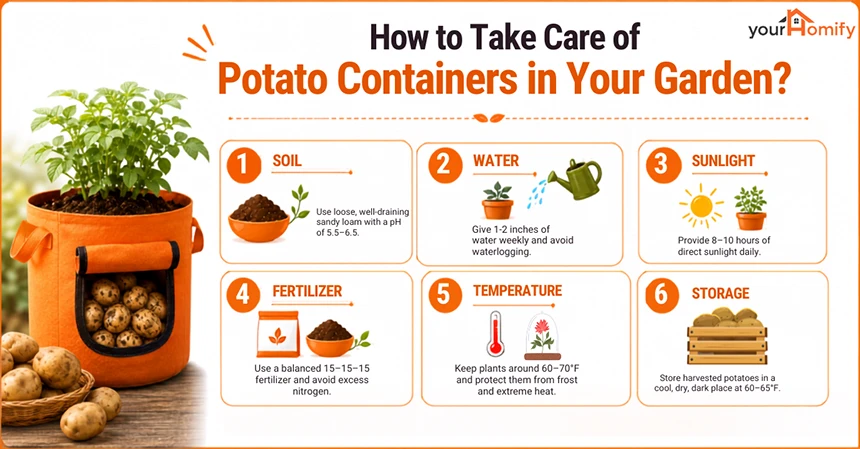
Potatoes require consistent care to grow well. Some of the steps include: optimum soil with a neutral 5.5-6.5 pH balance, 8-10 hours of direct sunlight, temperature requirements between 60-70℉ and protection from frost or overheating, consistent watering every week, and using a water-soluble fertilizer with a 15-15-15 ratio.
Now let us take a look at all these requirements in detail.
Soil Preparation: Loose and well-drained sandy loam soil is best for growing potatoes, so a neutral pH of 5.5-6.5 is preferred, since they don’t prefer alkaline soil because it makes them more susceptible to diseases like common scab. More irrigation is required for the sandy types because it has low water-holding capacity and dries out quickly.
Water: 1-2” of water every week is good to keep them hydrated but prevent waterlogging. Stick a finger down to the second knuckle inside the pot, and if it comes out dry, it’s a sign that the plant needs watering. Maintain consistency with it and remember that underwatering will produce smaller potatoes, while overwatering will make the roots and tubers rot.
Sunlight: Ideally, potatoes require 8-10 hours of direct sunlight on a daily basis; 6 hours is the minimum. Prevent shading to promote strong stems and foliage so the tubers can grow. Deal with inadequate sunlight by using plant stands or moving them to sunnier areas. In scorching heat, provide temporary shade if sunburns are spotted.
Fertilizer: Water-soluble fertilizer that provides them with more phosphorus and potassium, in a 15-15-15 ratio, is what they need. High doses of nitrogen result in leafy overgrowth and should be avoided. Fish emulsion foliar, kelp extract, or even bone meal twice a week is another common feeding practice in a potato plant’s initial stages.
Temperature: For potatoes in containers, the best temperatures range between 60-70℉. For the initial stages, like foliage and tuber development, the optimum temperature is between 45-55℉. Monitor and relocate your containers indoors during severe conditions, such as intense heat with temperatures over 80℉, and during frost, which damages the foliage. During frost, it is suggested to cover the pots with fleece to avoid moisture build-up.
For storage, potatoes should be kept in a cool, dry, and dark place, with temperatures around 60-65℉ for any cuts or bruises to heal.
How to Harvest Potatoes?
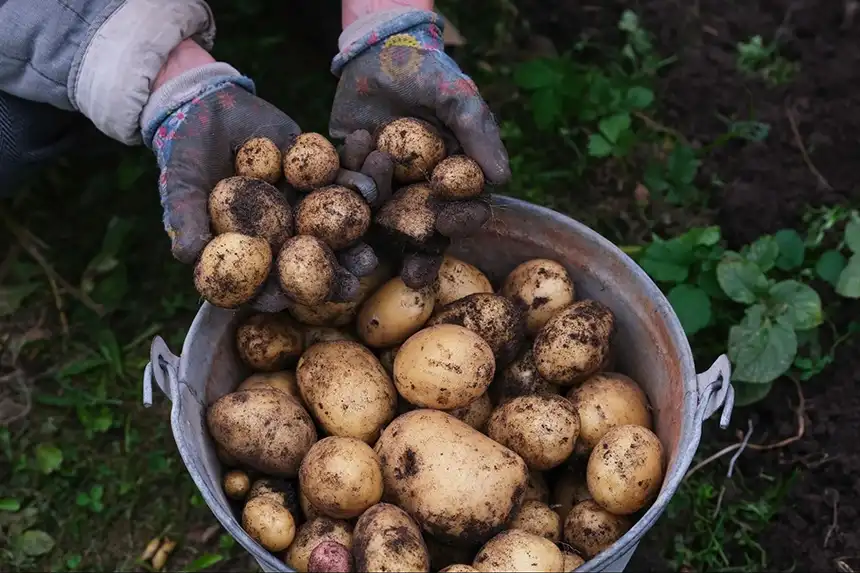
Potatoes are generally ready to be harvested between July and October, with new potatoes coming in as early as June. It takes about 90-120 days for potatoes to grow. When they turn yellow, allow the foliage to die and stop watering the plant so that its skin can thicken to prevent damage during harvest season. Flowers indicate that potatoes are ready to be harvested.
The steps to harvest potatoes in a container involve: not watering before harvest, removing dead foliage, laying out the potatoes on a tarp or sheet, sorting through the soil, and finally cleaning off the produce for curing and storage.
Step 1: Not Watering before Harvest
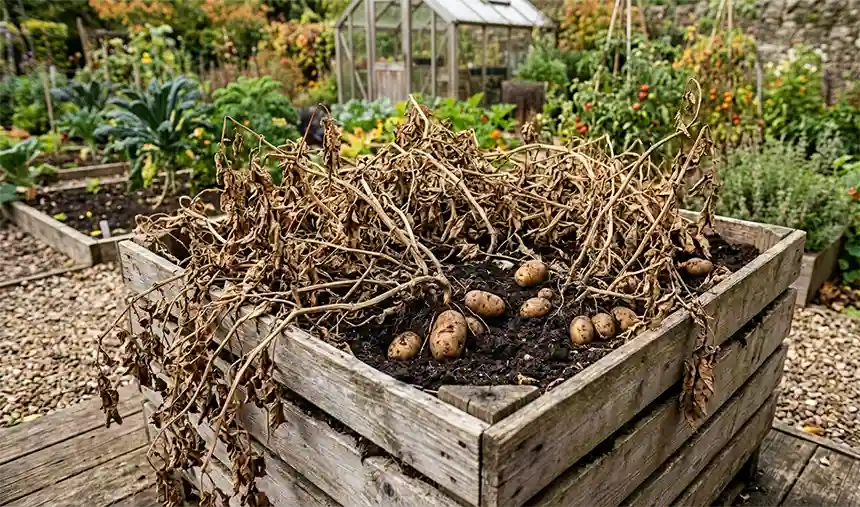
Stop watering your plants 1-2 weeks before they are ready for harvest. This is to set the potatoes tightly after the soil dries out so they do not bruise, scratch, or peel easily. Dead foliage invites pests, fungal issues, and rotting around harvest time when combined with wet soil.
Step 2: Removing Dead Foliage
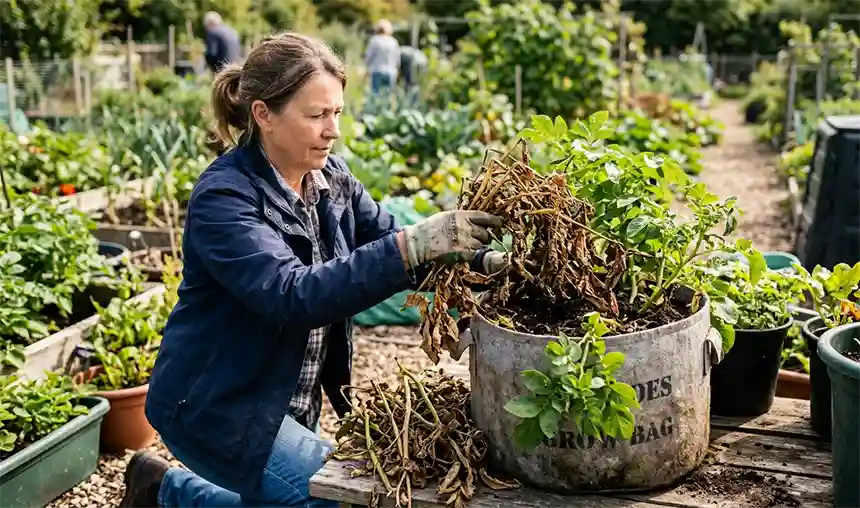
To condition the tubers, remove the leaves when they turn yellow and brown. This shows that the plant is reaching the end of its life cycle and is not giving energy to the potatoes. It also becomes convenient to harvest potatoes as and when you want after cutting the tops.
Step 3: Laying Out the Potatoes on a Tarp
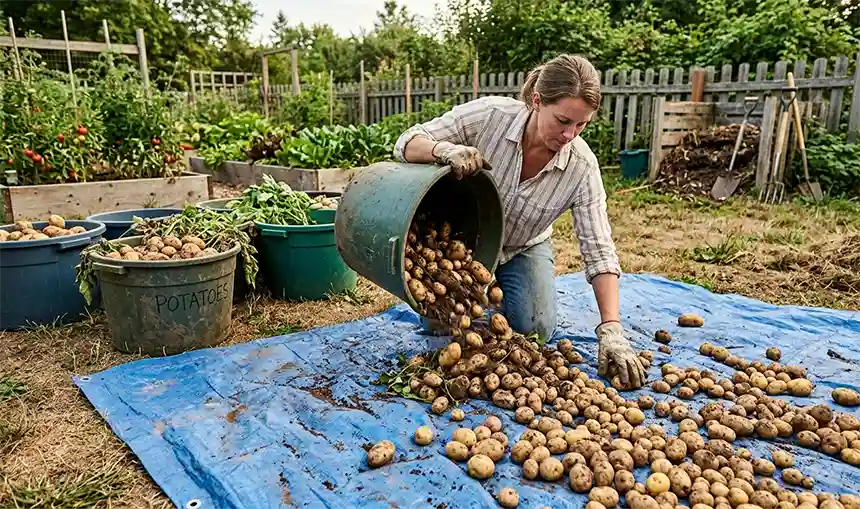
You can lay a large plastic sheet or tarp on the ground. Now carefully flip the pot to empty the contents onto it. This is to ensure an easy sifting process through loose soil.
Step 4: Sorting and Cleaning
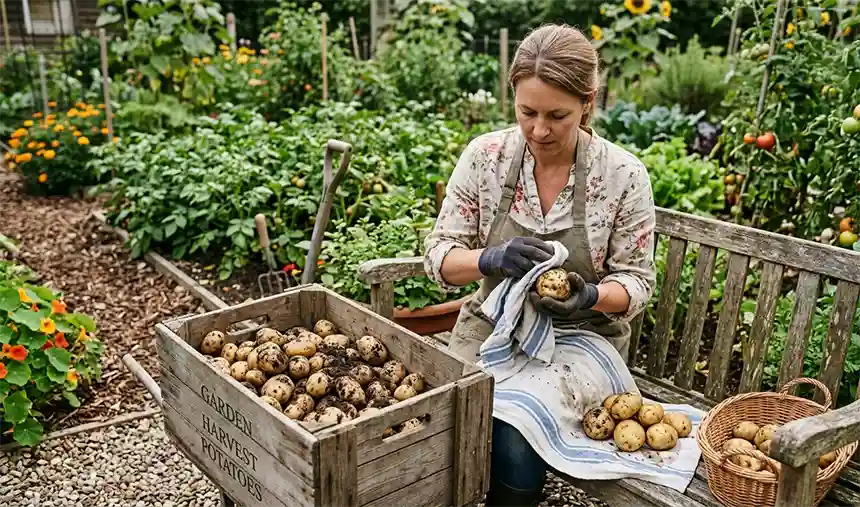
Use your hands or a towel to gently grab the potatoes out of the soil. Avoid bruising or nicking their skin.
Step 5: Curing and Storage
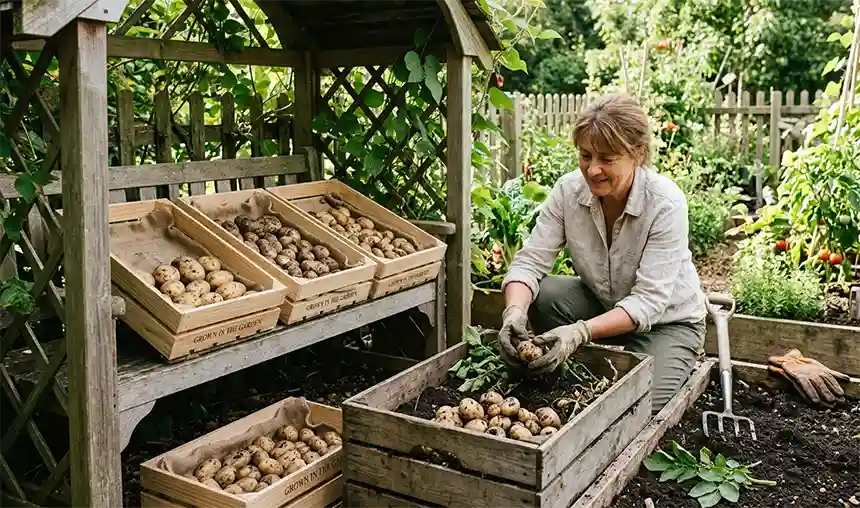
Curing potatoes hardens their skin and prepares them for long-term storage. So, brush off loose, dry dirt and keep them in a cool, dark, and dry place. Wash them only when you are ready to eat.
Raw potatoes can be stored for up to 2-3 months and for about 1-2 weeks at room temperature. When cut or peeled, they can only be kept for about a day.
What Are the Best Types of Potatoes to Grow in Containers?
Yukon Gold, Red Norland, German Butterball, Fingerling, and Adirondack Blue are some of the top varieties that can be grown in containers. They come in different colors, textures, sizes, tastes, and times of harvest. For growing spuds in containers, it is best to consider varieties that don’t require massive root space, mature early, and are generally compact.
1. Yukon Gold
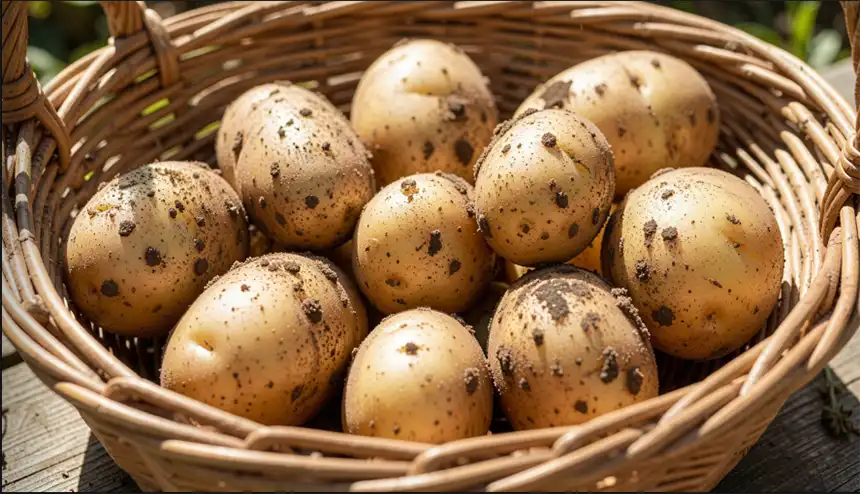
Yukon Gold is a smooth and moist variety with decent starch levels. It is a cool-weather crop and an early-season variety. With a moderate to high yield, white skin and yellow flesh, the tubers are mostly small, round, and have pink eyes. They can be harvested during both early and mature stages.
2. Red Norland
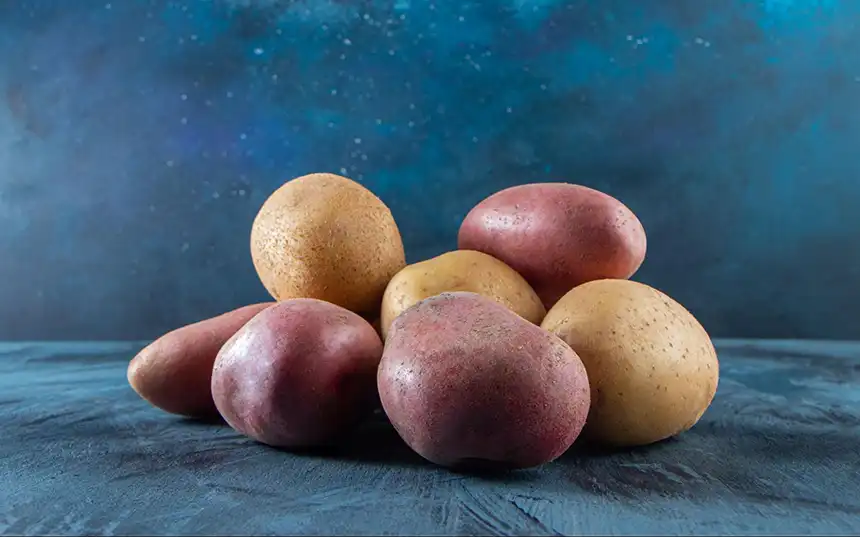
Red Norlands tend to have smooth, red colored, and thin skin. They have a moist and waxy texture, with a light-yellow or white flesh, and hold their shape well. It is a cool-weather crop with shallow eyes and mild flavor, offering moderate resistance to early blight and common scabs with a decent-sized yield. They are a mid-season crop.
3. German Butterball
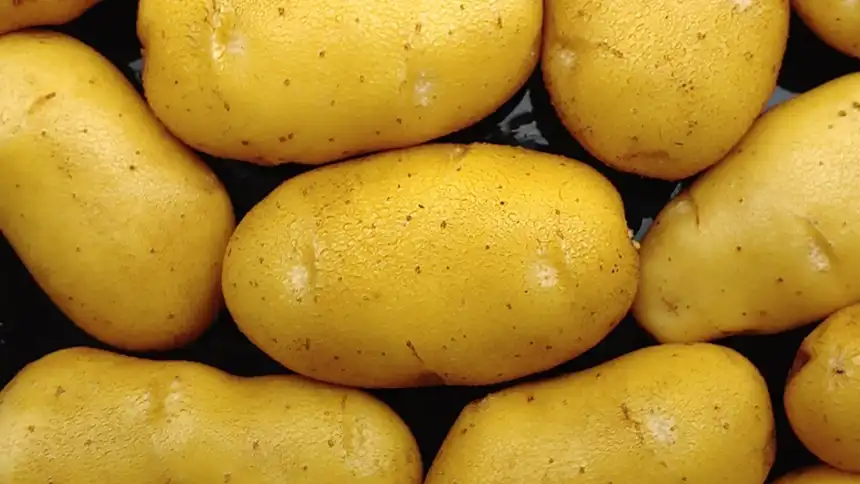
German Butterball has a rich, dense, and creamy texture, with golden netted skin and a rich butter-yellow color. They are a late-season, medium oval-shaped variety with a high tuber set and good disease resistance. As a high-performing variety with abundant harvest every season, the tubers are easy to store for long periods of time.
4. Fingerling
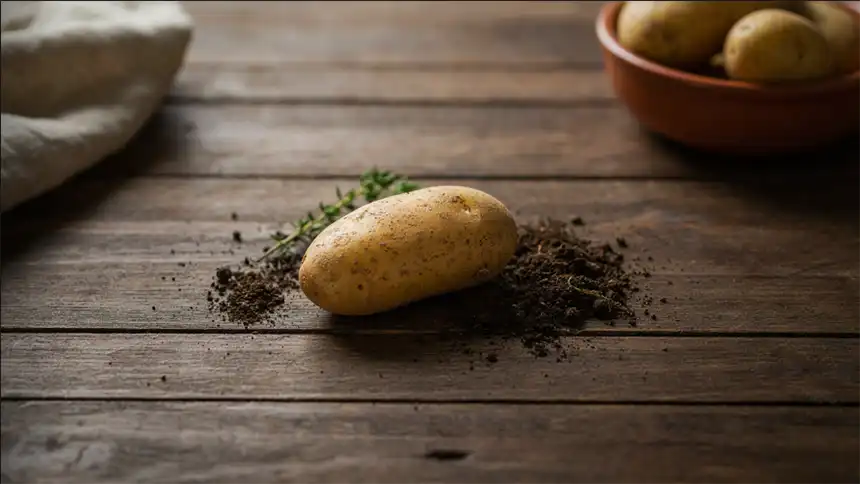
Fingerling potatoes have a waxy and moist texture, and they do not need to be peeled before cooking. They are slender and oblong, resembling a small finger, available in yellow, orange, red, and purple varieties. Fingerlings are a late crop and should be cured in a humid spot 1-2 weeks before long-term storage.
5. Adirondack Blue
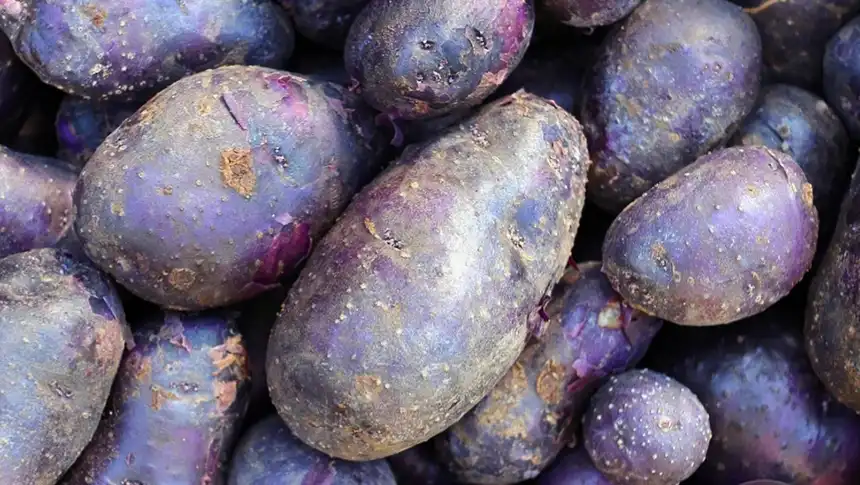
Adirondack Blue are blue-purple colored potatoes that retain their hues even while cooking. They have a dense, creamy, and moist texture with a mild flavor profile. Their blue color comes from an antioxidant called anthocyanins. The medium-large tubers are a mid-season, high-yield variety that is more susceptible to diseases compared to the other varieties.
What Are the Common Challenges You Might Face While Growing Potatoes in Pots?
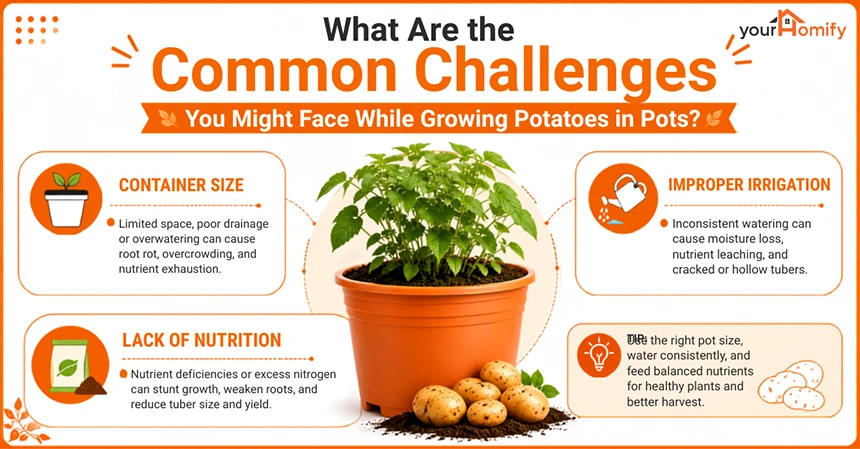
The most common obstacles that occur while growing potatoes are generally container size issues, irrigation and nutrition struggles, and pests or diseases.
Let’s take a look at all the common challenges in detail now.
Container Size: Limited space in containers produces a smaller yield. A 10-15 gallon bucket is the most preferred size by gardeners. Pots also lose moisture quickly in hot weather, while poor drainage or overwatering causes the roots of the tubers to rot. A container size issue often leads to overcrowding and nutrient exhaustion, leading to stunted produce.
Improper Irrigation: Drainage holes in pots expose all sides to air, which can lead to moisture loss. Frequent heavy watering flushes out the nutrients of the potting mix. With a dry spell, the soil often becomes hard and makes it harder for the plant to absorb nutrients. Inconsistent irrigation makes the tubers develop cracks, knobs, or hollow hearts.
Lack of Nutrition: Since potting mix holds a limited amount of food for the plants, heavy feeding causes potatoes to absorb macronutrients from the fertilizer within weeks. Excess nitrogen promotes leaf growth that starves the potatoes of energy, leading to stunted growth. During the early days, a lack of phosphorus slows down root and shoot development, while potassium shortage prevents a good bulk during harvest season.
Common Potato Pests and Diseases (and How to Treat Them)
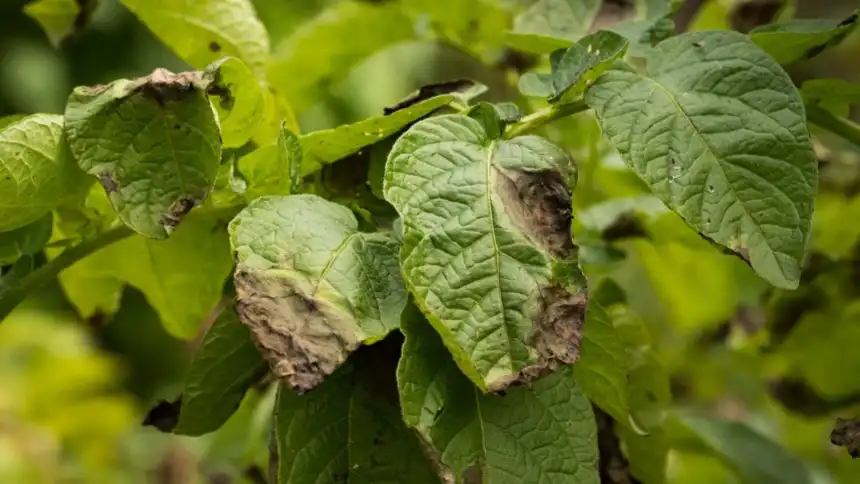
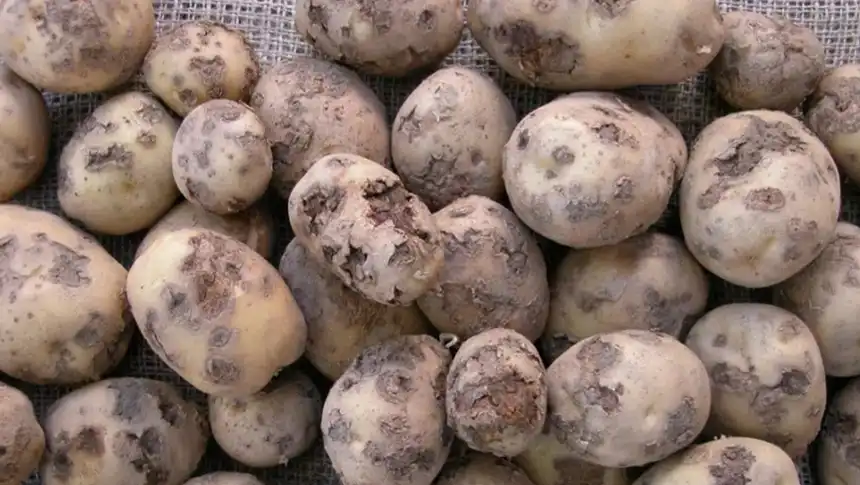
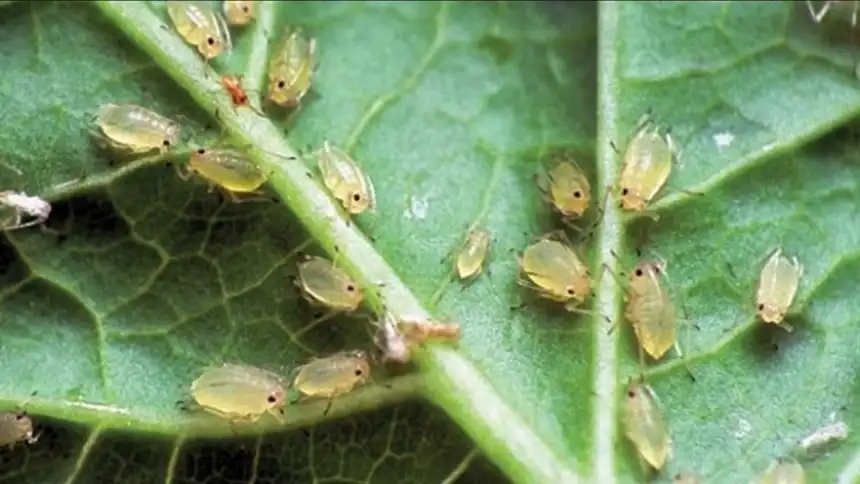
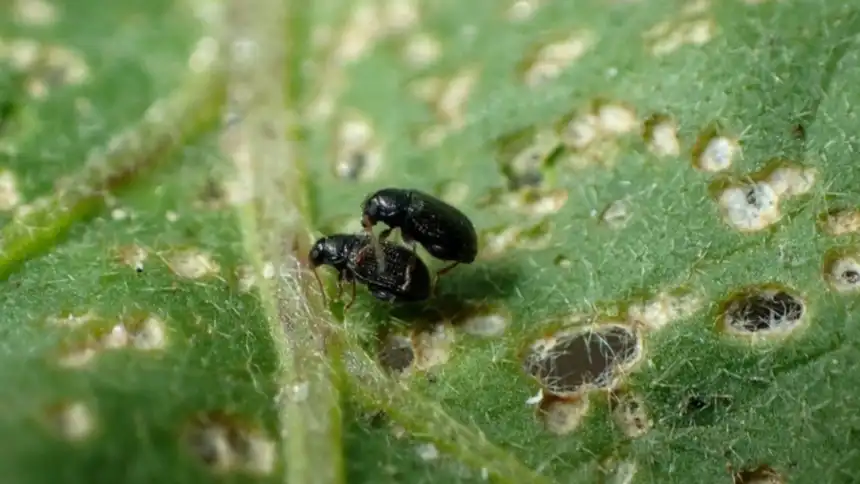
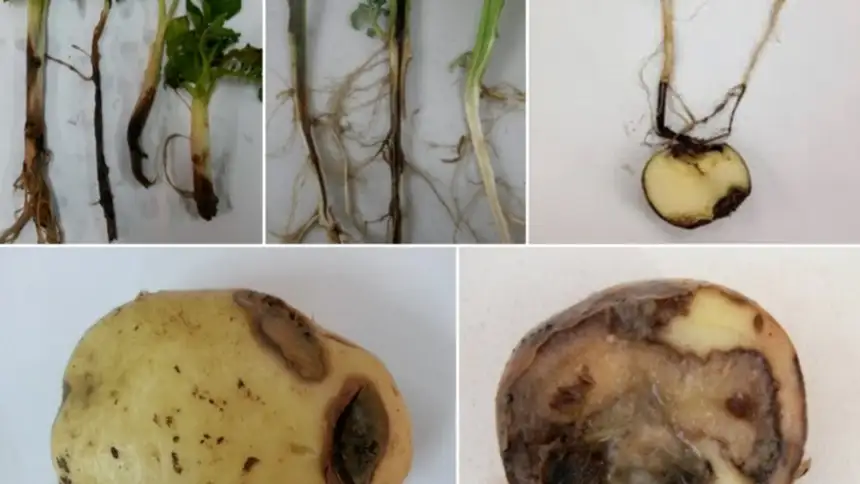
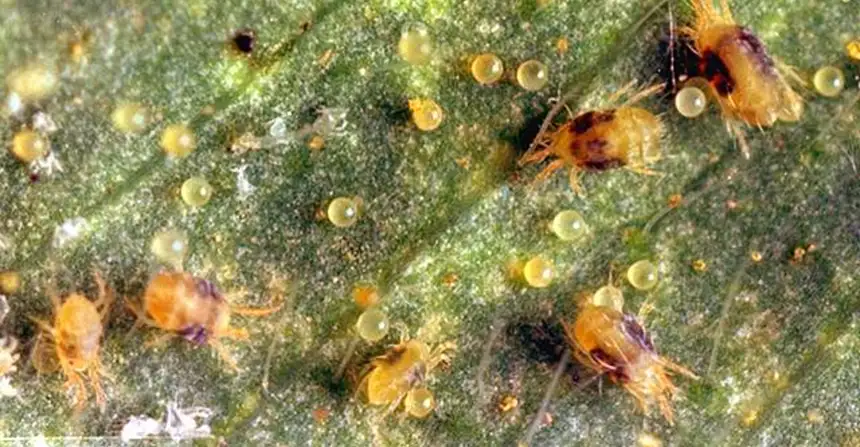
Blight, common scab, aphids, flea beetles, blackleg/soft rot, and spider mites are some of the common pests and diseases in potatoes.
In the table below, all common problems are explained with solutions.
Final Thoughts
Growing potatoes in containers is an easy way to gain a large yield. It is much easier to harvest and accommodates well in limited spaces. With the right varieties, they require 8-10 hours of sunlight and can be moved around easily. Consistent care with processes such as hilling will keep the quality stable and prevent pest-related issues.
Do not overwater them, and store them in a cool, dry, and dark place. Wash them right before use and enjoy them in various hearty and filling dishes.
FAQs
How many plants can I plant in a 5-gallon bucket?
A five-gallon bucket will fit 1 plant, and a 15-20 gallon bucket can hold 3-4 plants. Ensure proper soil space and depth to develop tubers. Avoid overcrowding and prepare drainage holes so there is no standing water.
What are common mistakes when planting potatoes in containers?
Overcrowding, watering too much or too little, planting the seeds too deep or too shallow, without enough drainage holes, using tight soil, and not hilling the plant regularly are some of the common mistakes.
How long do potatoes take to grow in containers?
Potatoes take about 10-20 weeks to grow generally. The early varieties take less time to yield, while the main crop potatoes take longer, since they are larger tubers.
How deep do pots need to be for potatoes?
Plant your potato seeds about 4 inches deep and then cover them with 3 inches of soil. Keep adding soil until they are 6 inches tall, also known as hilling, in the lower half of the plant and leaving the top parts out.
What month is the best to grow potatoes?
In cooler and temperate regions, March-April is a good time to grow potatoes. This should be done 2-4 weeks before the last spring frost, ideally. People in southern regions can plant them as early as February, or even in the fall months.
- Biological control of potato common scab by Bacillus amyloliquefaciens Ba01 – PubMed
- The evolution of insecticide resistance in the peach potato aphid, Myzus persicae – PubMed
- What is the best way to grow potatoes in containers? | University of New Hampshire
- Growing Guide: Potatoes – SeedSavers
- How to Grow Potatoes in Containers Easy » southernwv.edu