Chickpea plants are easy to grow if you get the basics right: a sunny spot, well-drained soil, and regular watering. Whether you want fresh green chickpeas or dried ones for cooking, knowing when to plant, how to look after the crop, and when to harvest makes all the difference.
In this guide, I share the methods and tips I have picked up from my own attempts, so growing garbanzo beans feels simple and enjoyable.
Quick Answer:
To grow chickpea plants, sow seeds about 3 inches apart in well-drained soil, either indoors 4 weeks before the last spring frost or outdoors once the soil has warmed. Give them 6-8 hours of sun and water about once a week. Protect young plants on cold nights, avoid thinning them so they support each other, and watch for birds and rodents.
What Is a Chickpea Plant?
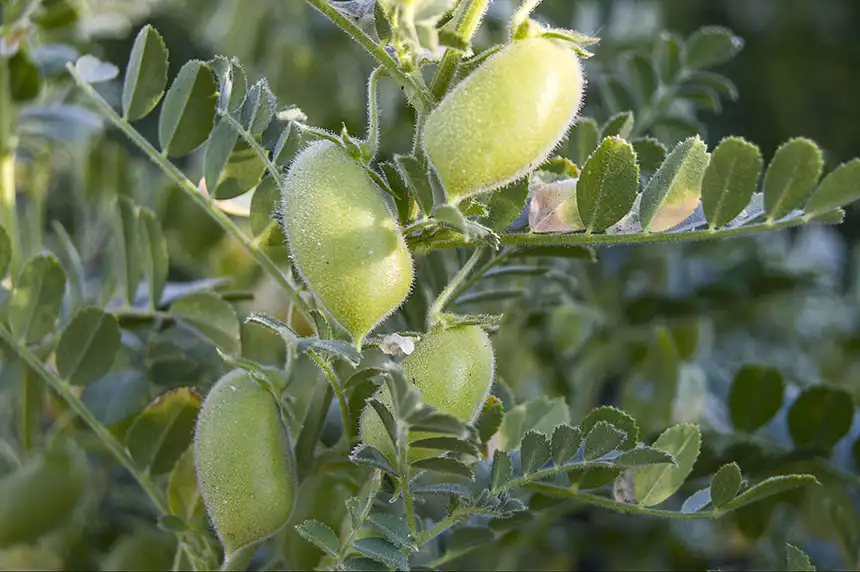
Chickpeas, also known as garbanzo beans, are legumes that produce edible seeds called pulses. These cool-season annual crops prefer moderately warm summers and are usually planted in spring and harvested in the late summer season.
Growing around 8-24 inches tall and wide, Cicer arietinum requires full sun for 6-8 hours in well-drained, sandy, loamy soil with a pH requirement of 5.3-7. They are native to Asia, Africa, and the Middle East, so their hardiness zones fall between 3 and 9 USDA.
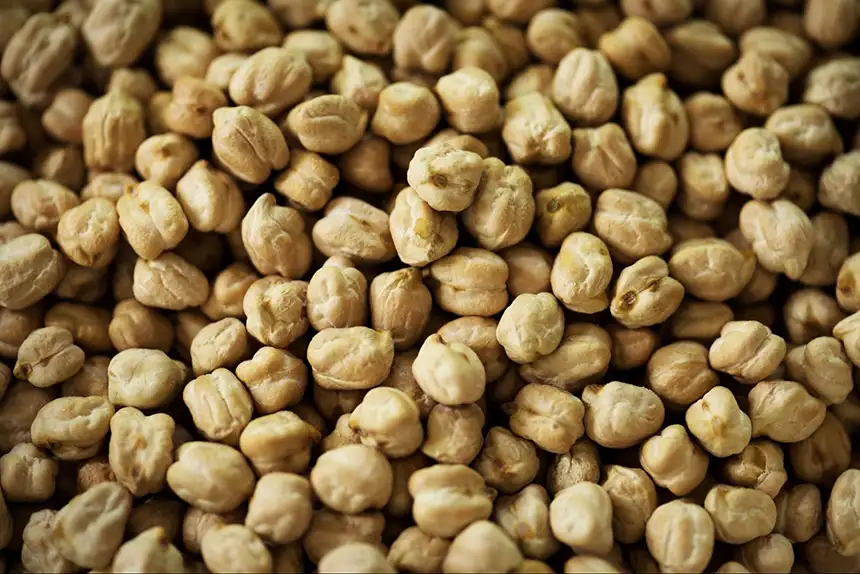
These plants have two main varieties: the large, round, and light-colored Kabuli-type, which is found in the United States, and the smaller, darker, and irregularly shaped Desi-type, which is most commonly found in India and the Middle East.
Ideal Growing Conditions Required for Chickpea Plants
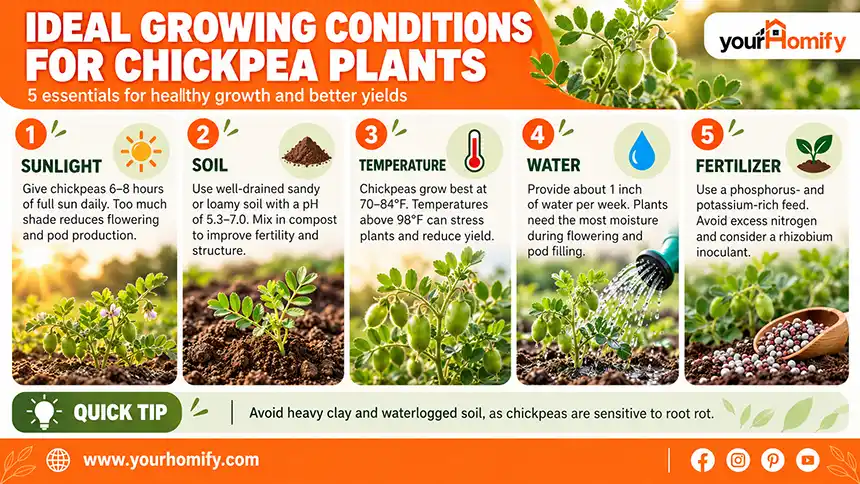
Growing garbanzo beans requires a spot with full sunlight for 6-8 hours daily, nutrient-rich soil, about 1 inch of water weekly, and a temperature between 70 and 84℉. Chickpeas require an organic fertilizer high in phosphorus, potassium, and micronutrients, avoiding excessive nitrogen to lower disease risk.
- Sunlight: Chickpea plant growing requires 6-8 hours of unobstructed direct sun during the afternoon. Shaded beds grow lush leaves but produce little or poor-quality crops, such as tall, pale, and floppy plants, which eventually leads to poor flowering and fewer fruits. Extreme heat can cause leaf scorch or sunscald, so move the plant out of harsh light for it to recover.
- Soil: Chickpea plants require well-drained, sandy, loamy soil with a pH between 5.3 and 7, according to North Dakota State University. Avoid growing them in heavy clay fields where the water does not drain well, because these plants are sensitive to waterlogging, and so they might suffer from root rot. Add compost or well-rotted soil manure to improve the soil.
- Temperature: Since chickpeas are a cool-season crop, and according to Montana State University, they grow best when the daytime temperatures are between 70 and 84℉. Temperatures over 98℉ can cause stress during early flowering and pod development, which usually results in poor yields.
- Water: Chickpeas require 6-10 inches of water once a week during their growing season. These legumes are quite drought-tolerant due to their long taproots and can draw water from the deeper soil layers. Chickpea plants consume the most water during pod-filling and early flowering stages, which is usually in the midsummer season.
- Fertilizer: Chickpeas are legumes, so they can fix 60-80% of their nitrogen requirements. The crop has a relatively high phosphorus requirement for healthy root development and nitrogen fixation, and it can draw a lot of potassium from the soil to support overall health. North Dakota State University also suggests that this crop requires an inoculant containing Mesorhizobium ciceri to trigger natural nitrogen fixation in a 5:10:10 ratio via a balanced feed.
How to Grow Chickpeas: Step-by-Step
Growing chickpeas is fairly easy. They require 90-100 days to mature from the sowing date, so start them indoors around 4 weeks before the last frost and prepare the soil. Water them once a week and ensure proper spacing so that they can grow well.
Let me take you through all the steps that have helped me grow garbanzo beans.
Step 1: Choose the Right Time
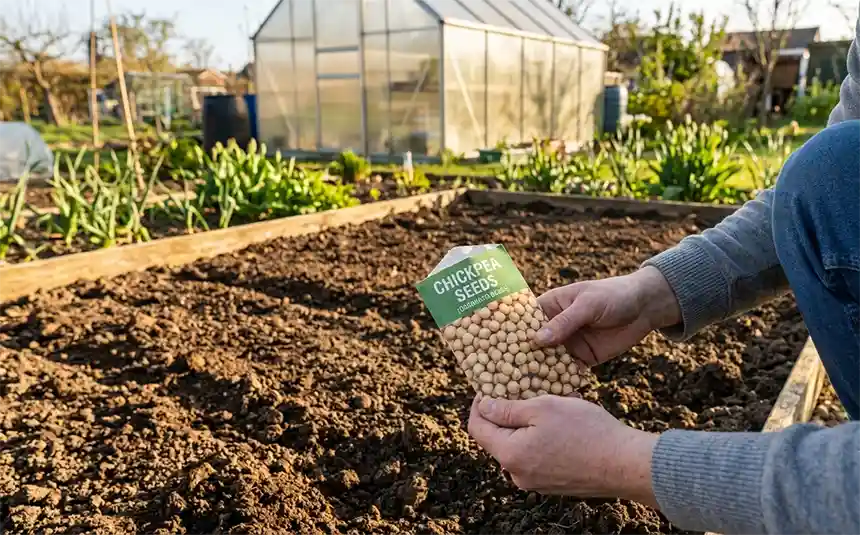
Start the chickpea seeds 4 weeks before the last frost of spring, or sow them directly once the soil has warmed up in the spring, between late February and midsummer.
Step 2: Prepare the Soil
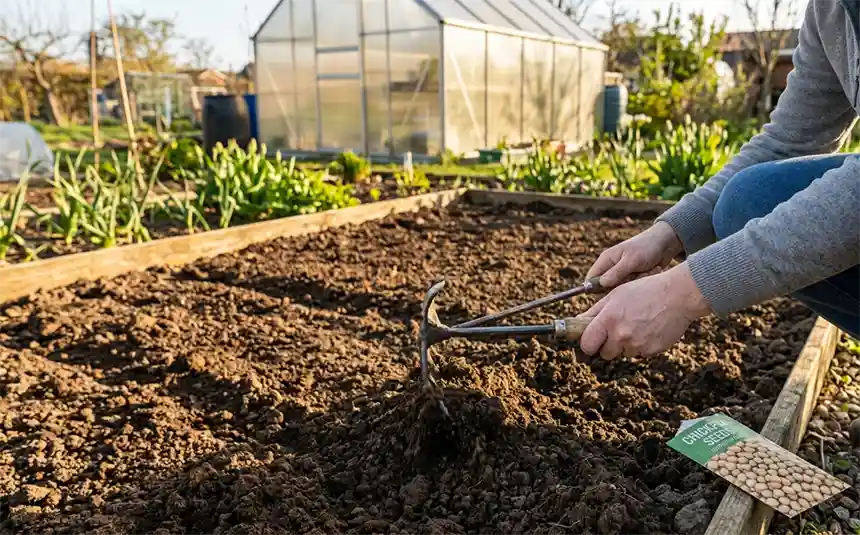
Chickpeas benefit from deep tillage and a good seedbed to help facilitate root and nodule development. Choose a well-draining site enriched with organic matter and full sun exposure.
Step 3: Sow the seeds
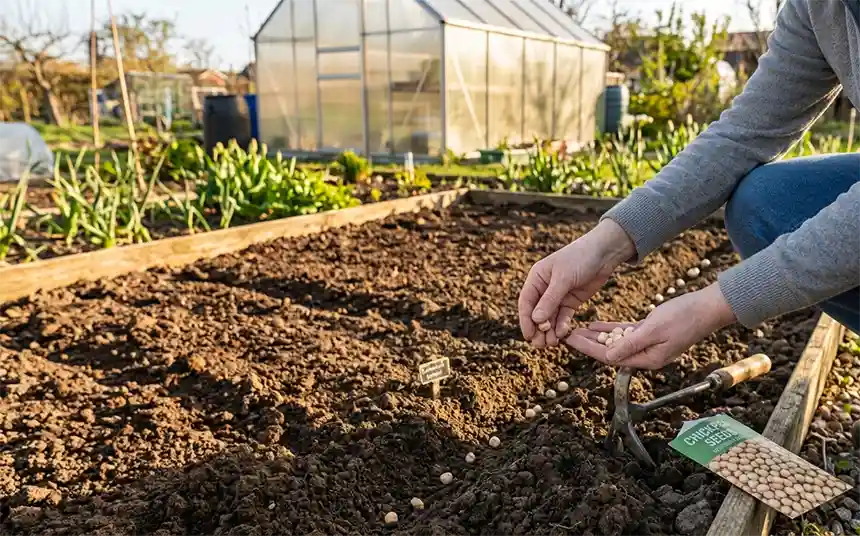
As per gardenorganic.org, when sowing outdoors, sow the garbanzo beans in rows and space them about 3 inches apart in a double row spaced 18-24 inches apart or 4 inches apart in a bed. For an early crop, sow in modules from late February and let them reach 4-5 true leaves before they harden.
Step 4: Water the Plants
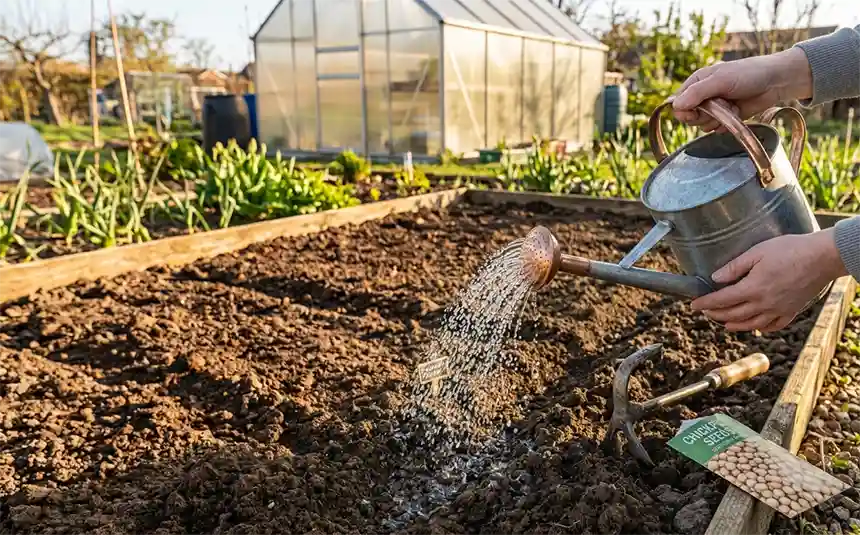
These plants need about 6-10 inches of water from precipitation or irrigation in the chickpea plant growing season, making them perfect for arid or poorly irrigated growing regions. Germination happens quickly (10-14 days) and depends on the plants’ growing conditions. Avoid overhead watering.
Step 5: Monitor the Crops
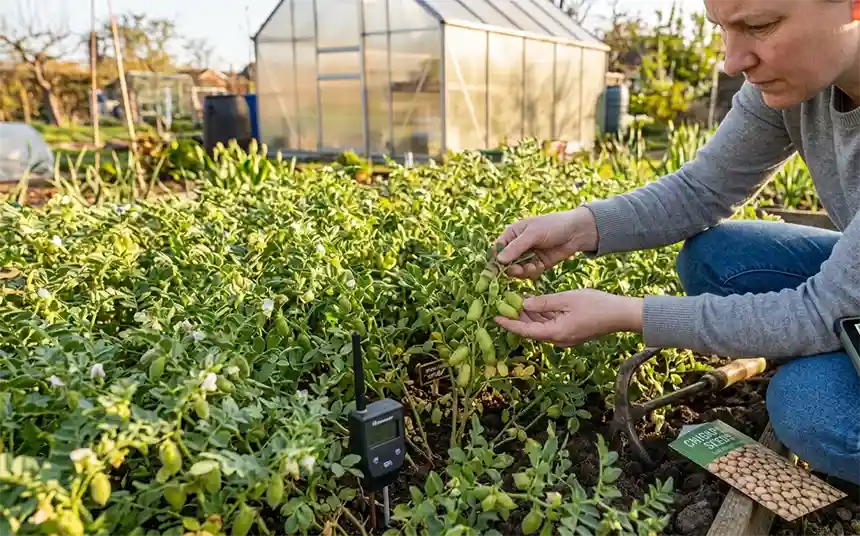
Established plants can tolerate light frost, since they are not as hardy as peas, but provide more protection on cold nights during the initial stages, and it is suggested not to thin out the plants so that they can support themselves. Watch out for birds and rodents.
Care and Maintenance Tips for Chickpea Plants
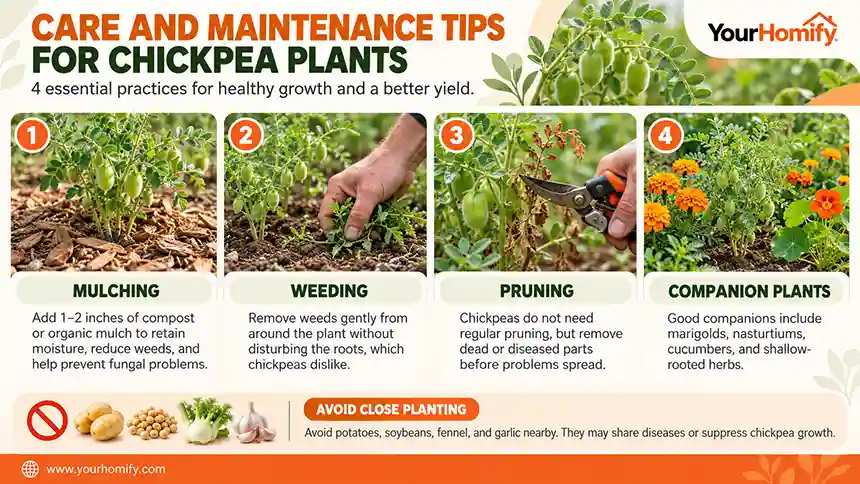
Some of the care and maintenance practices that you follow include mulching, weeding, pruning, and using companion plants.
Let me walk you through the aforementioned care tips in detail so that you can get a good yield.
- Mulching: Well-rotted compost or organic biomass that covers 1-2 inches of the topsoil helps the soil retain moisture, makes the weeds manageable, and prevents fungal diseases.
- Weeding: While chickpea plants dislike it when their roots are being tampered with, weeds from around the plant should be pulled out without damaging them.
- Pruning: Chickpea plants do not require pruning, but it is suggested to remove the dead or diseased parts of the plant regularly before it affects or spreads to all the stems and flowers.
- Companion Plants: Plants like marigolds, nasturtiums, cucumbers, and shallow-rooted herbs share a preference for warm and dry climates. Some of them have aromas that help deter pests, while others attract insects that kill wasps attacking the plants.
Potatoes, soybeans, fennel, and garlic are some plants that are vulnerable to the same diseases as chickpea plants, so it is better to avoid planting them closely. Fennel has allelopathic effects on most legumes, while garlic inhibits legume growth.
Common Pests and Diseases Affecting Chickpea Plants
Some of the common pests and diseases that hinder chickpea plant growth which I have noticed are dry root rot, gram pod borer/cotton bollworm, chickpea cyst nematode, verticillium wilt, and Ascochyta blight.
Let me take you through the common symptoms and preventative/management measures for the aforementioned challenges in your plants.
| Pests/Diseases | Symptoms | Solutions |
1. Dry Root Rot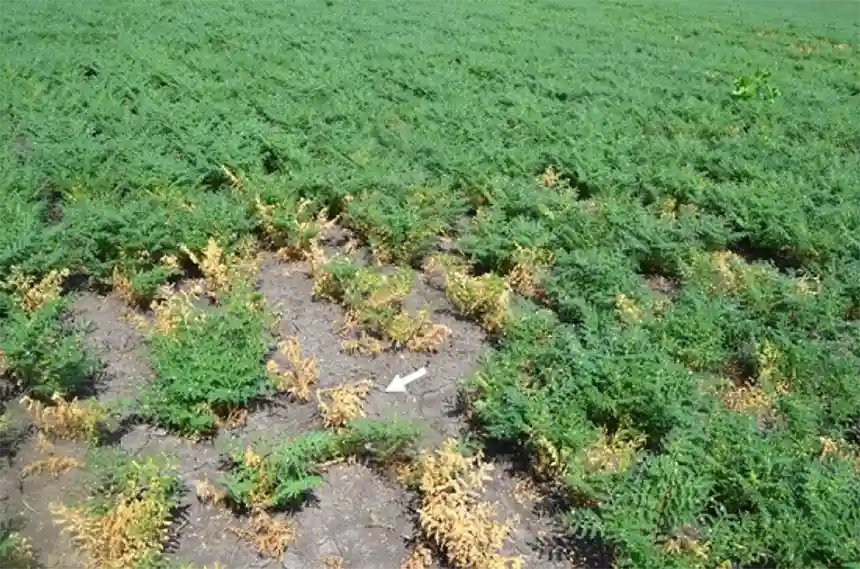 | Caused by the soil-borne fungus Rhizoctonia bataticola, the affected plants look scattered, with dried patches. Pale straw-colored leaves and stems, or yellowing (chlorosis), before the plant collapses. The taproot turns black and becomes brittle with the rotting of the lateral root system. | Application of fungicides. Seed treatments with biocontrol agents such as Rhizobium and Trichoderma spp. Plant a dry, root-resistant variety. Rotation of different crops for the next few seasons. |
2. Gram Pod Borer/Cotton Bollworm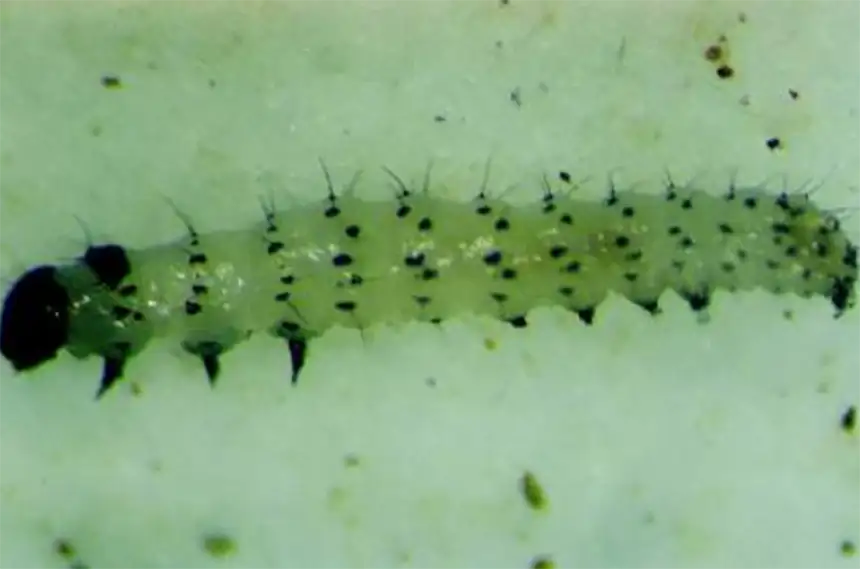 | Young larvae feed on the chlorophyll of leaves, consuming them or leaving small, irregular holes. Circular holes in flowers, buds, and green pods. The attacked pods are often empty, leading to yield loss. | Sowing the plants early. Using insecticides and entomopathogenic nematodes. Buying resistant cultivars. |
3. Chickpea Cyst Nematode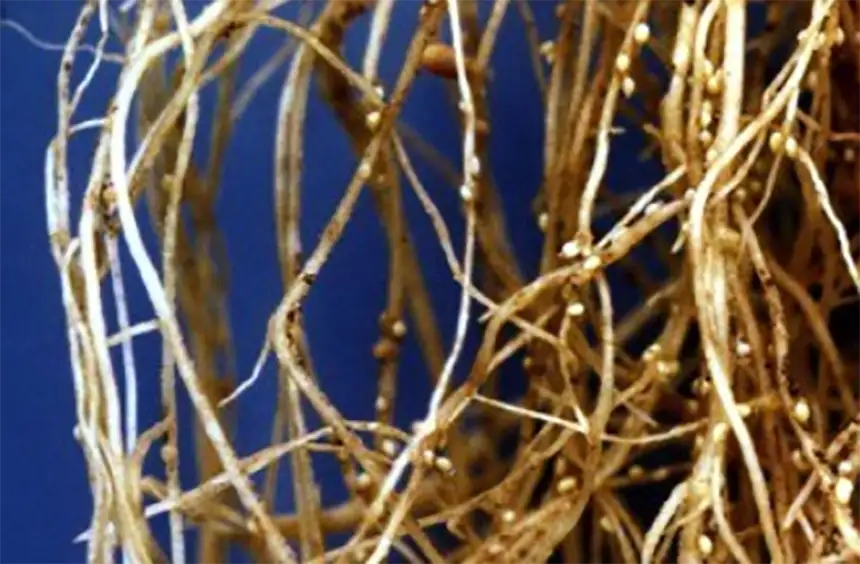 | Heterodera ciceri causes uneven plant growth with a shorter-than-normal height and pale/yellow leaves. Affected plants die early due to ruptured root cortex and lead to a reduced yield. Tiny lemon-shaped female nematodes or brown cysts are attached to the roots. | Sterilization of the soil by starvation. Rotation of nonhost crops. Using nematicides. |
4. Verticillium Wilt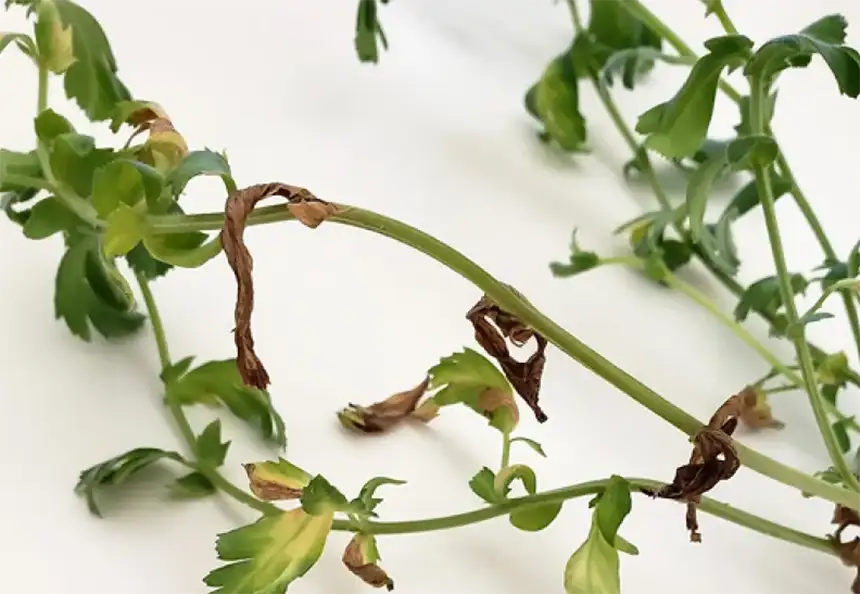 | Yellowing and necrosis of leaves. Sudden wilting of plants. Twisting, curling, or bunching of leaves/yellowing of the foliage. Brown discoloration in the internal vascular tissue and premature death in severe cases. | Strategic crop rotation. Buy high-quality seeds. Biological inoculants such as Trichoderma, Bacillus subtilis, and Pseudomonas fluorescens can be applied. |
5. Ascochyta Blight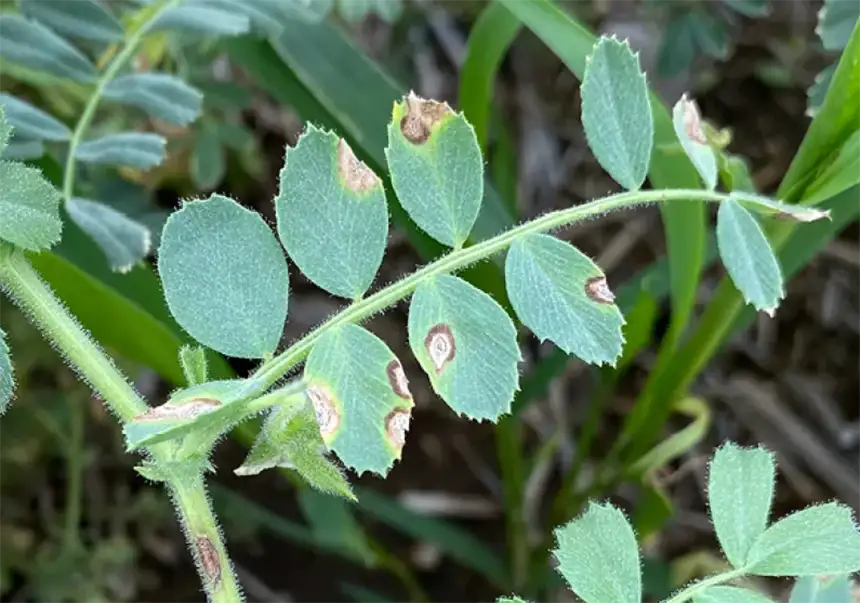 | Caused by Ascochyta rabiei, the damp leaves turn tan/brown with concentric rings called pycnidia. Dark lesions appear around the stem and upper part of the plant, causing it to wither quickly. Infected seeds and pods have discoloration. | Plant resistant varieties. Buy clean seeds that have been treated with fungicides. Crop rotation every three years. |
When and How to Harvest Chickpea Plants
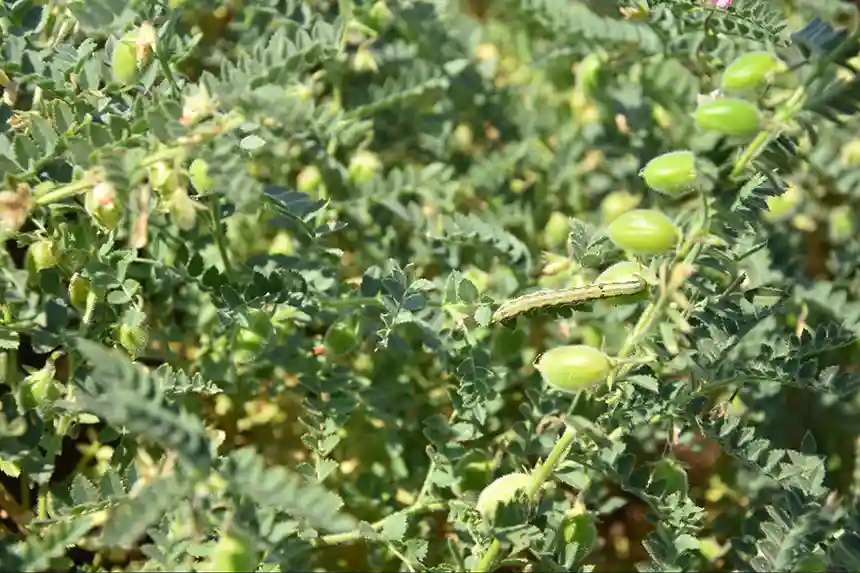
Chickpeas should be harvested 100 days after planting. Ideally, the green ones should be plump yet soft. Hold the stem gently and snip the ripe chickpea stem with scissors. Clean and blanch them briefly first, chill and dry the chickpeas, and freeze them in an airtight container.
Let me take you through the harvesting steps in further detail.
Step 1: Check the Plant
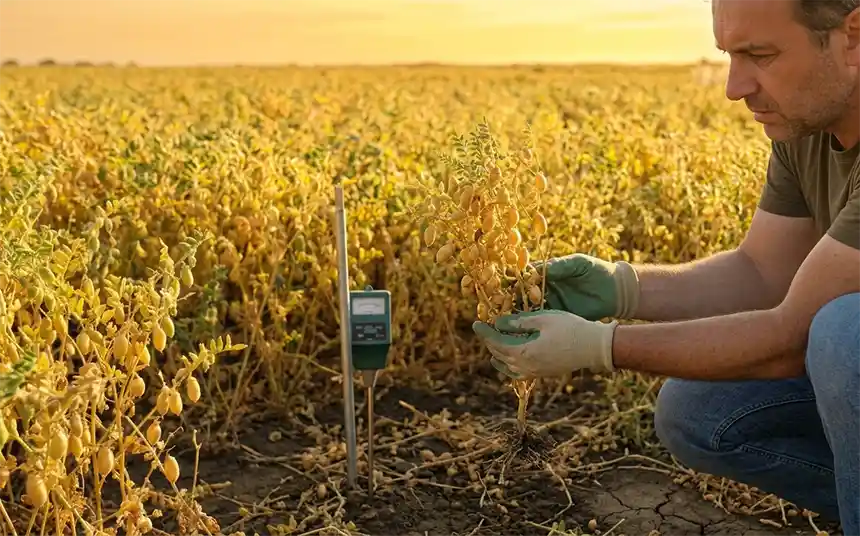
Chickpeas are ready when the plants are yellowing, and the pods are their mature color.
Step 2: Snip the Plant
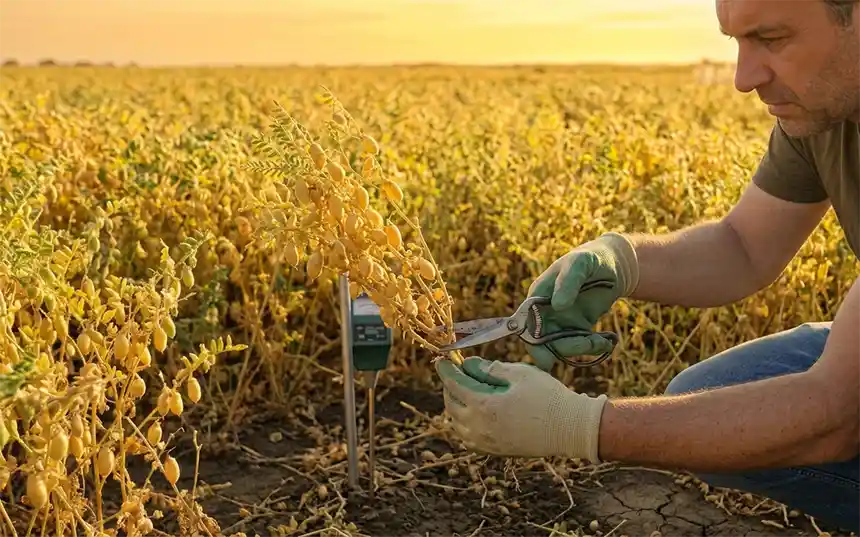
Pull at the base of the stem and remove the entire plant from the ground with the help of scissors.
Step 3: Clean the Plants
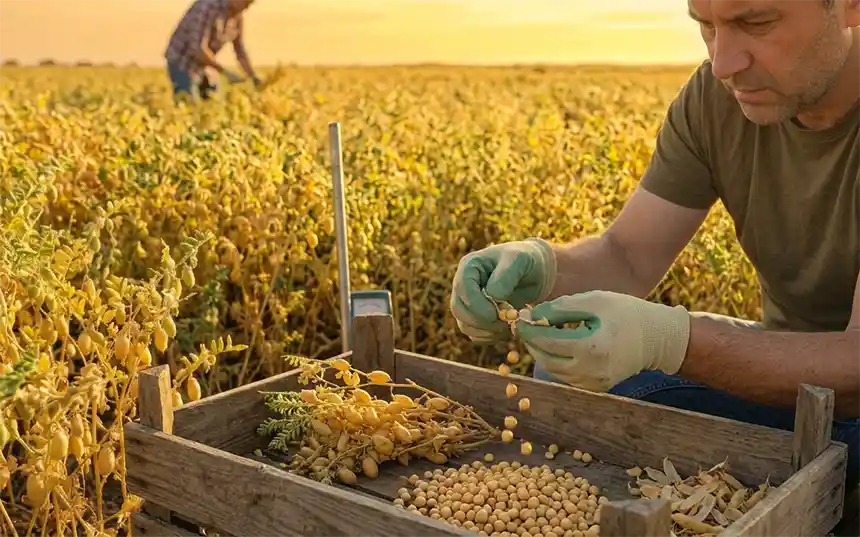
You can clean the pods by hand by cracking them open and releasing the seeds, or you can place the pods in a sack and gently beat them against a surface to free the seeds.
Step 4: Blanching the Seeds
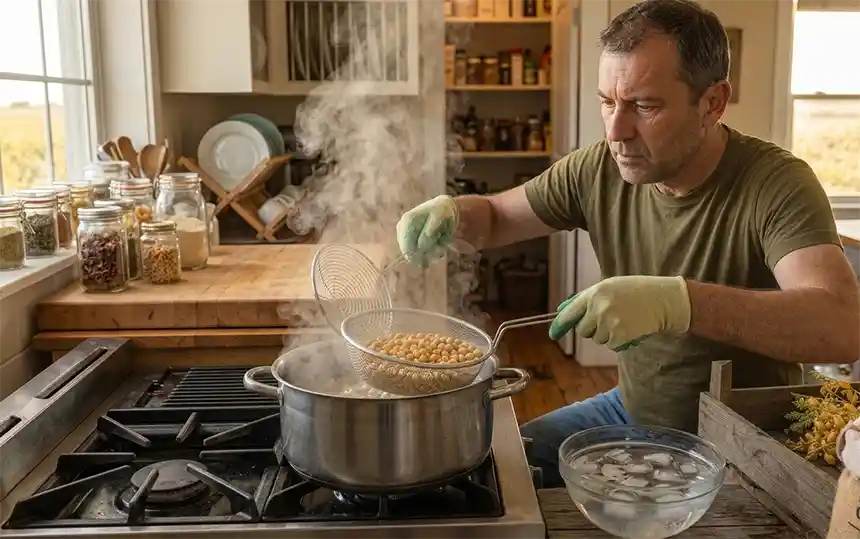
Blanch the seeds for about 2 minutes until they start floating on top. Ensure that their texture is still firm and not mushy from overcooking.
Step 5: Chilling and Drying the Chickpeas
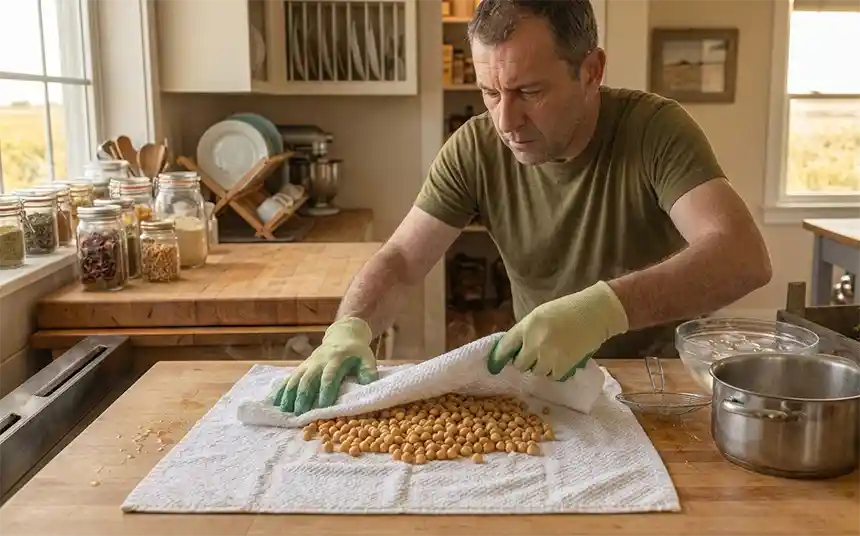
The chickpeas should be transferred to a bowl of ice-cold water for a couple of minutes and then spread out over a towel until they are completely dry.
Step 6: Freezing the Chickpeas
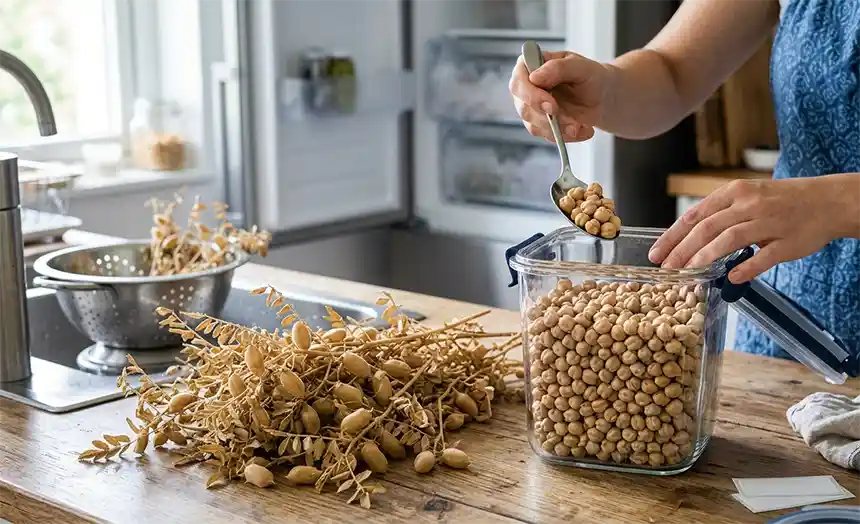
Put the dried chickpeas into an airtight storage container and keep them in the freezer for up to 8 months.
Health Benefits and Uses of Chickpeas
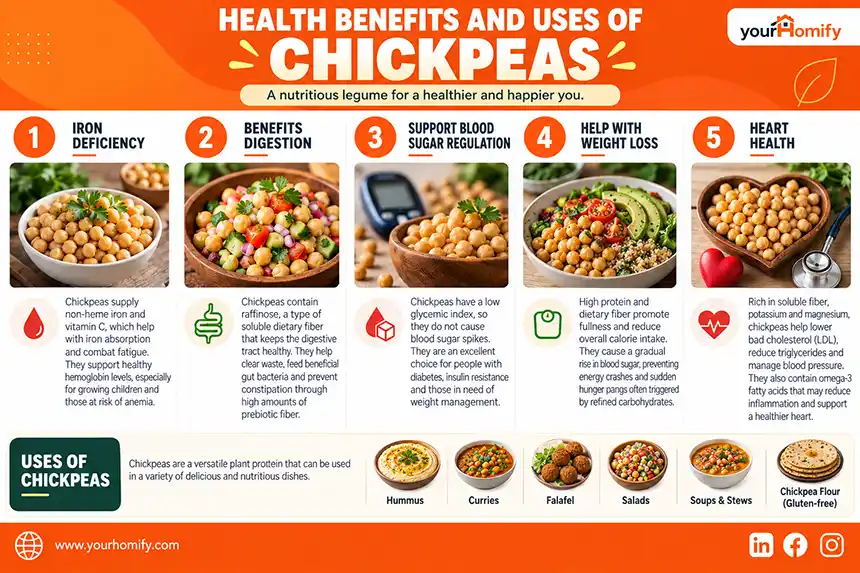
Chickpeas help with iron deficiency, benefit digestion, support blood sugar regulation, help with weight loss, and protect heart health.
- Iron Deficiency: Chickpeas supply non-heme iron and vitamin C, which helps with iron absorption and combats fatigue. Growing children and individuals at high risk of anemia are advised to consume this particular legume on a regular basis to support healthy hemoglobin levels.
- Benefits Digestion: Chickpeas contain raffinose, a type of soluble dietary fiber that keeps the digestive tract healthy by clearing out waste and toxic substances. Feeds beneficial gut bacteria and helps prevent constipation through high amounts of prebiotic fiber.
- Support Blood Sugar Regulation: Chickpeas have a low glycemic index, so they do not cause blood sugar spikes, as per NCBI. For this reason, they are an excellent choice for people with diabetes, insulin resistance, and those in need of weight management.
- Help with Weight Loss: Chickpeas support weight loss primarily through their high protein and dietary fiber content, which promotes fullness and reduces overall calorie intake. They cause a gradual rise in blood sugar rather than a sharp spike, which prevents the energy crashes and sudden hunger pangs often triggered by refined carbohydrates.
- Heart Health: High amounts of soluble fiber, potassium, and magnesium help lower bad cholesterol (LDL), reduce triglycerides, and manage blood pressure. Chickpeas also help reduce inflammation in the heart due to the omega-3 fatty acid and reduce the chances of arteriosclerosis.
Chickpeas serve as a plant protein that delivers essential amino acids, which help with muscle repair and growth. They can be used in traditional dishes like curries, soups, and stews. The legumes are also used in Mediterranean dips like Hummus and to make falafel or chickpea cucumber salad plant-based.
They make a decent option for people with gluten intolerance, as suggested by the Cleveland Clinic, since chickpea flour is frequently used for flatbreads and its liquid (aquafaba) can be used as an alternative to egg whites.
Final Thoughts
Chickpeas, or Garbanzo beans, are bushy plants that take about 100 days to reach maturity, with two primary types, and they perform well around shallow-rooted herbs. They can be made into easy salads, dips, and hearty curries, and are also easy to grow at home.
Just pick the right variety depending on your region, and take care of your plants to enjoy the health benefits and deliciousness of this legume.
FAQs
Is it easy to grow chickpea plants?
It is easy to grow chickpeas at home if you have enough space to keep them in a sunny spot for about 6 hours of daily sunlight and provide the plant with well-drained soil.
How many chickpeas can be procured from one plant?
A single chickpea plant yields 4-50 pods, and each pod contains 1-3 seeds. In total, one plant produces between 4 and 150 chickpeas.
What is the appropriate time for planting chickpeas?
Chickpeas should be planted about 2-4 weeks before the last spring frost in temperate regions and between February and March in milder climates. These plants require almost 100 days to reach maturity.
When is it not suggested to eat chickpeas?
Raw or undercooked chickpeas should be avoided since they contain toxins and can be difficult to digest. Furthermore, people who have legume-related allergies, suffer from gout, or have kidney stones should also avoid eating them.
Is it okay to eat chickpeas after they sprout?
Raw sprouts can be consumed in the form of chickpea cucumber salad, plant-based dips like hummus, and grain bowls. They are especially good for vegans and vegetarians to increase their protein intake and meet their mineral goals. However, raw sprouts are harder to digest and should be eaten with caution.
- Chickpeas (Garbanzo Beans) – Nutrition Source Harvard
- Cicer arietinum | RHS Org
- Chickpea Production – Extension Store
- Soil Fertility Recommendations for Field Pea, Lentil and Chickpea in North Dakota | NDSU Agriculture
- Chickpeas: Planting to Harvest – Canadian Food Focus
- The Nutritional Value and Health Benefits of Chickpeas and Hummus – PMC