


Pressed flowers have a way of turning something fleeting, a garden bloom, a bouquet from a special occasion, into a keepsake that lasts for years. Whether you’re pressing petals for a scrapbook, a framed piece of wall art, or a handmade card, the process is simpler than most people expect, and you likely already have the tools at home.
There are a few different ways to press flowers, from the classic heavy-book method to using an iron or even a microwave for faster results, and picking the right technique (and the right flowers) makes all the difference between crisp, colorful pressed blooms and ones that turn brown or moldy.
Let’s walk through the 4 best methods to press flowers, which blooms hold up best, creative ways to use your pressed flower art, and the common mistakes worth avoiding.
Quick Answer
To press flowers, place blooms between parchment paper and put them inside a book. Add some weight to it. With the same parchment paper, a wooden press or a dry iron on low-medium heat can also be used to dry the moisture. Alternatively, you could place your flowers inside the oven until dry and crisp.
Essential Tools Required for Pressing Flowers
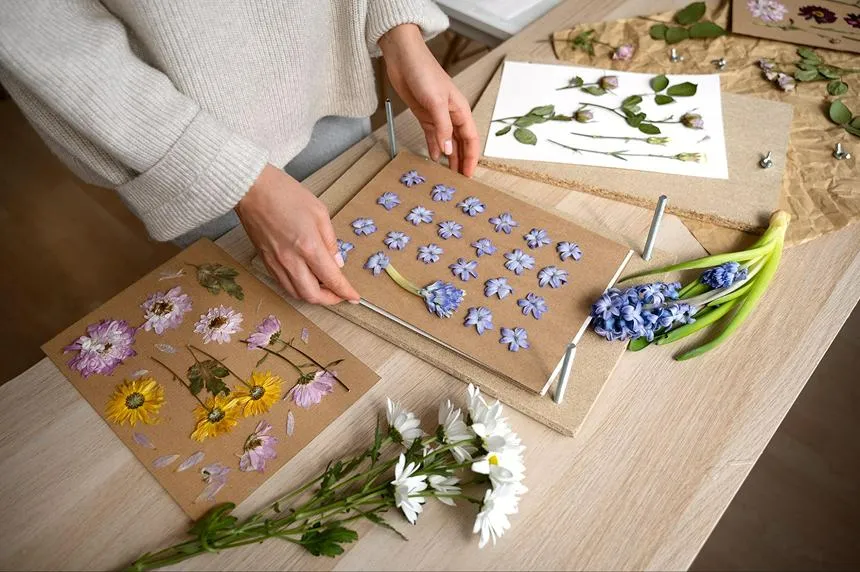
Essential flower pressing tools include a wooden press, parchment/blotting paper, tweezers, small scissors, a neutral pH adhesive, cardboard, and storage cases, according to the Natural History Museum. As there are many different ways to press flowers, most of these tools are required in almost every method.
Let me take you through all the products in detail.
1. Wooden Press
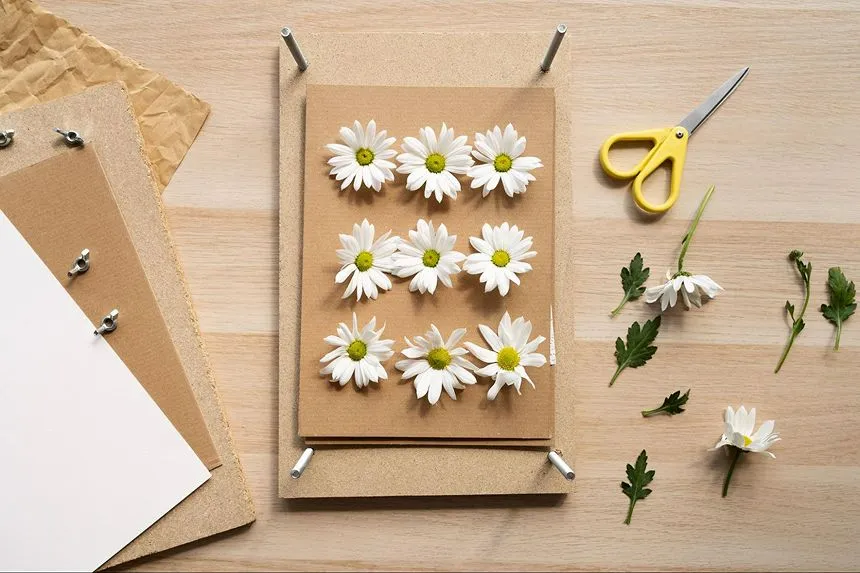
You can use plywood pieces or solid wood for compression. Parts of a wooden press include washers, 4 carriage bolts, and wing nuts at the corners so that you can manually set the pressure down as the planks shrink. It also consists of corrugated cardboard for ventilation and blotting or printing paper to absorb moisture so that it can protect the plant texture.
2. Parchment/Blotting Paper
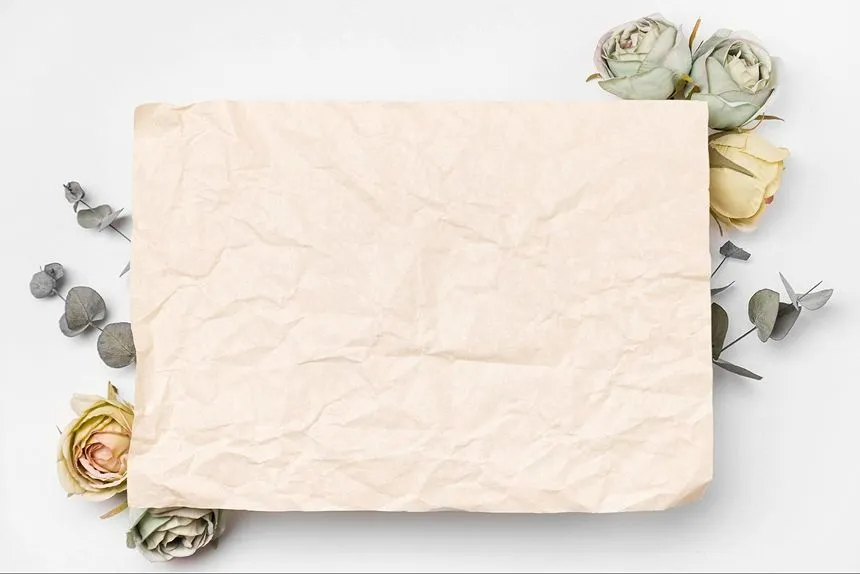
Parchment paper is a non-stick, heat-resistant paper that can be used to blot away moisture when making pressed flowers. Arrange your flowers and place them between the parchment paper; put it inside a heavy book or while using an iron. This helps keep the book pages clean from plant sap and makes it easier to peel off the blooms. This process takes about 2-3 weeks for the flowers to dry.
3. Tweezers
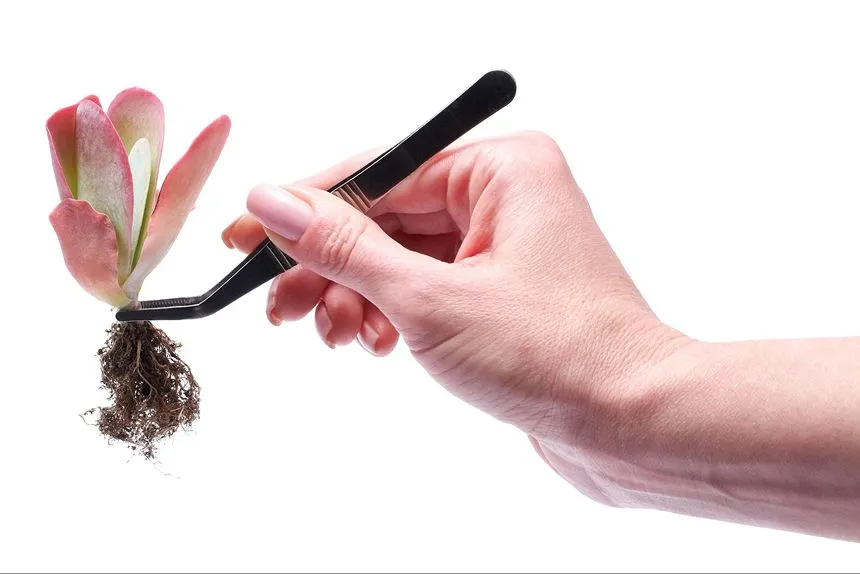
Fine-tip or nylon-based tweezers are for safely lifting, peeling, and arranging the delicate pressed flowers without damaging them. The stainless steel in such tweezers is best for precision when picking up individual petals or leaves. It also prevents scratching or puncturing wet petals. Always look for smooth edges and a lightweight grip when buying tweezers for pressing.
4. Small Scissors
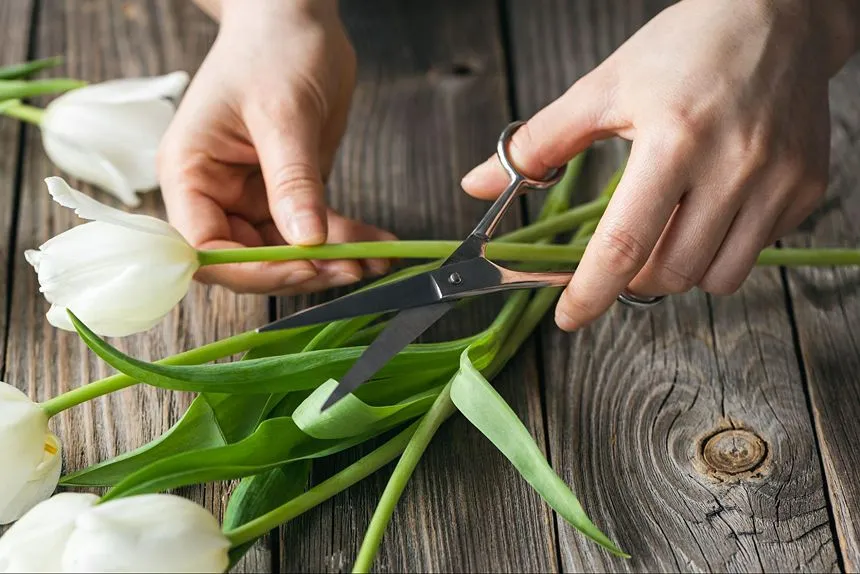
Small scissors let you trim bulky stems precisely, remove unwanted parts of the blooms, and arrange petals before putting them into a press. A pair of stainless steel scissors should allow you to have control while snipping through tight spaces so that you can make clean cuts even at the base while preventing rust from the plant juices and moisture.
5. Adhesive
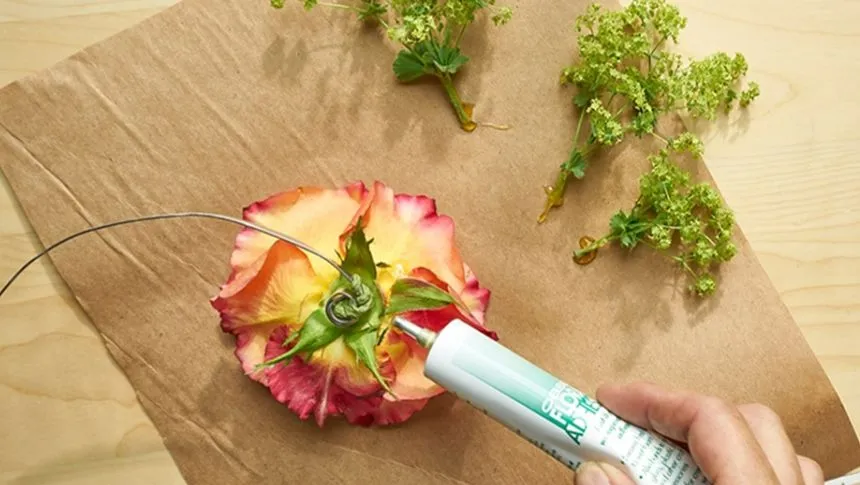
A pH-neutral adhesive such as diluted polyvinyl acetate dries clear and prevents discoloration in the blooms. It bonds paper and cardstock without degrading or staining fragile plant fibers. To apply the adhesive, mix PVA glue with a few drops of water to make the consistency a little runny. Put tiny drops of glue using a fine paintbrush on the back of the stem and center, leaving the edges to make it look more natural.
6. Cardboard
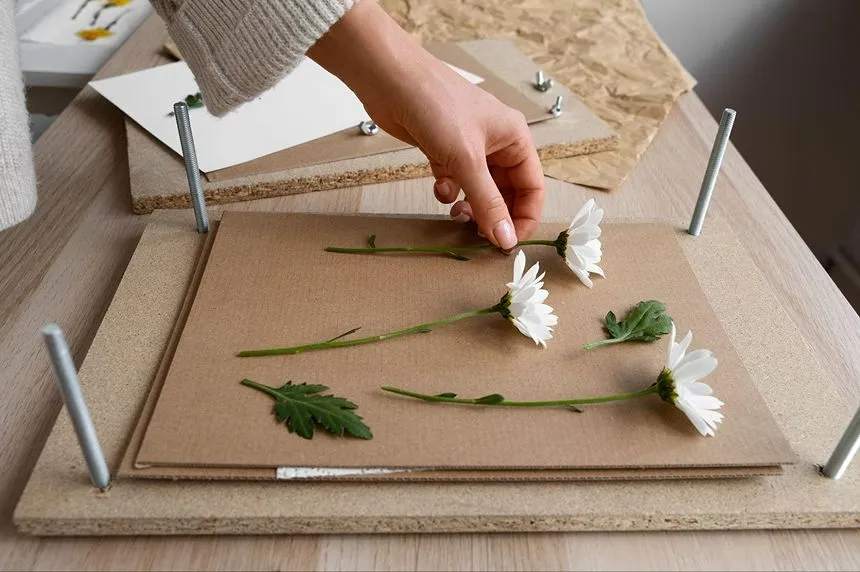
Corrugated cardboard is crucial for spacing in flower pressing. It ensures proper airflow to prevent moisture buildup and mold. It is important to layer your flowers between absorbent parchment paper inside the cardboard. Avoid placing flowers near the ridges so that no weird textures are left against the petals. Cardboards are mostly reusable; however, if they feel damp, warped, or moldy, swap them out with fresh pieces.
7. Storage Case
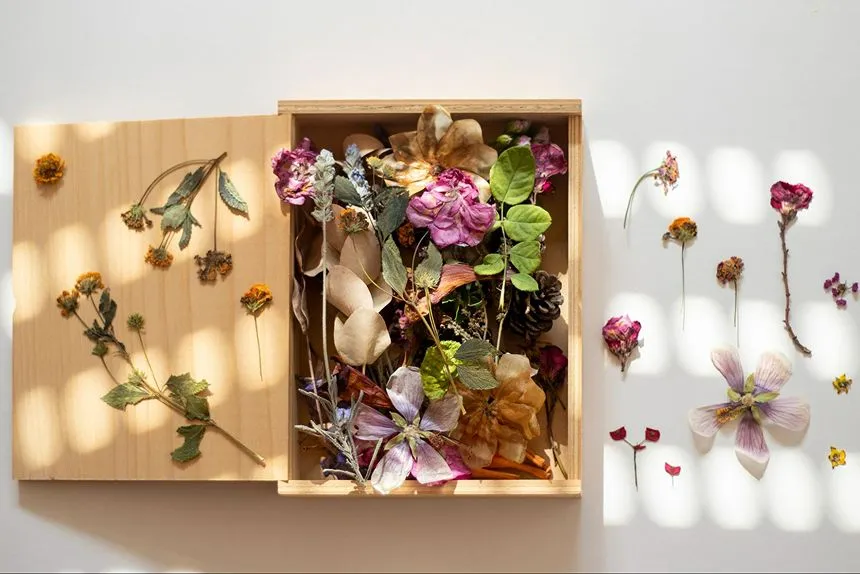
Pressed flowers should be stored in a completely dry state. Flat and acid-free paper folders are preferred, or use a sandwich method inside a rigid and dark container so that the petals don’t fade or accumulate moisture. Plastic sleeves should be avoided, as trapped humidity can lead to mold. Keep the blooms in single, non-overlapping layers so they don’t stick together or snap.
4 Different Methods for Pressed Flower Art
To press flowers, there are various methods, as suggested by RHS Gardening, such as using a heavy book, a traditional wooden press, a household iron, or microwaving your flowers. Pick a flower of your choice that is easy to press and does not take a long time to lose moisture, because it will get moldy. Bulky blooms will give you negative results for the same reason. Pressing requires you to put an even weight across the flower specimen so that no part of it is left in the open air, which will shrivel it up.
Now let us discuss the aforementioned steps in detail.
1. Using a Heavy Book
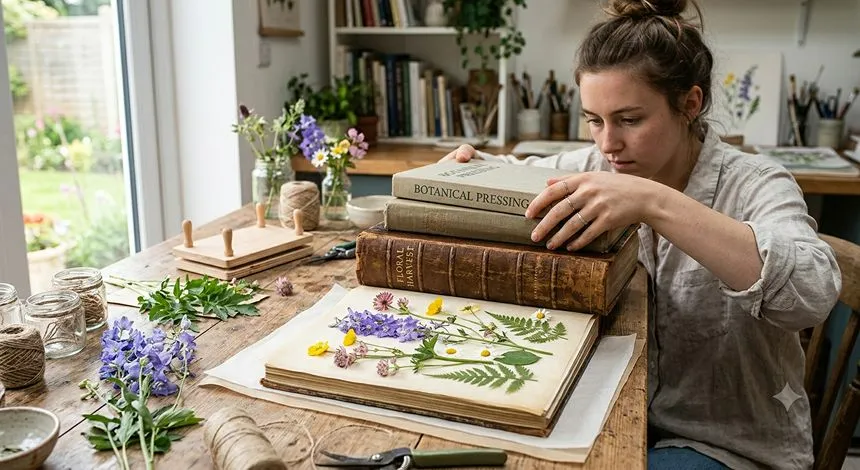
Using a heavy book to press is best for beginners because the steps are fairly basic and simple. Choose fresh flowers with flat, thin petals, and get a couple of heavy books along with some parchment paper.
Step 1: Select Your Flowers
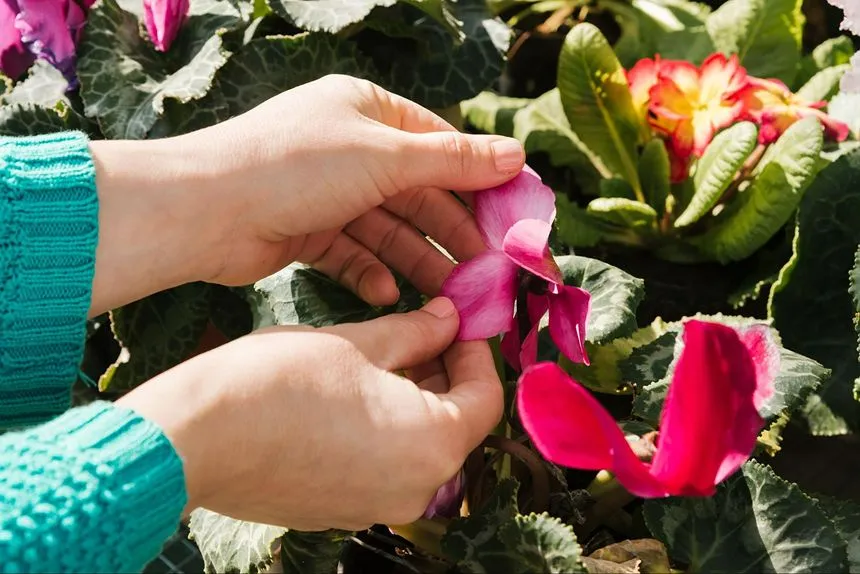
Pick fresh and flat varieties of flowers that have thin petals so that the moisture dries easily. It is better to pluck them after the morning dew has dried, probably later in the day.
Step 2: Blot the Moisture
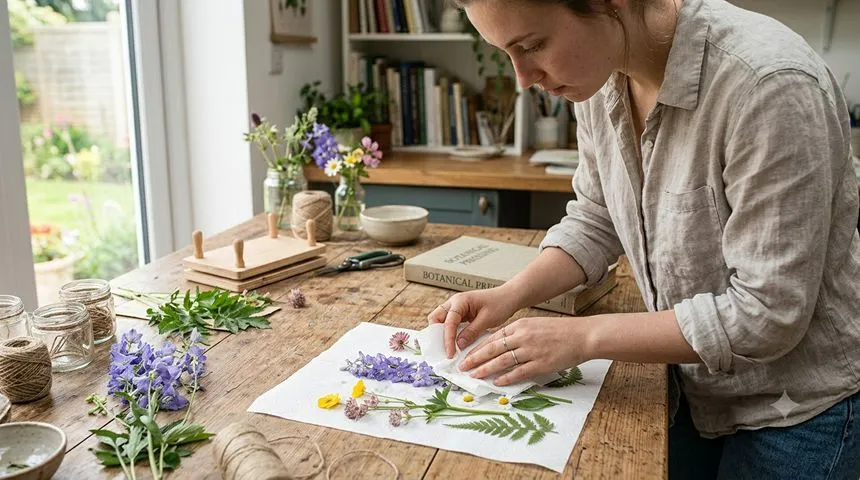
Look out for any excess moisture inside the blooms. Let it air-dry, and then gently place it between the folds of an absorbent towel, or use a tissue/blotting paper to blot away the remaining moisture.
Step 3: Prepare the Flower
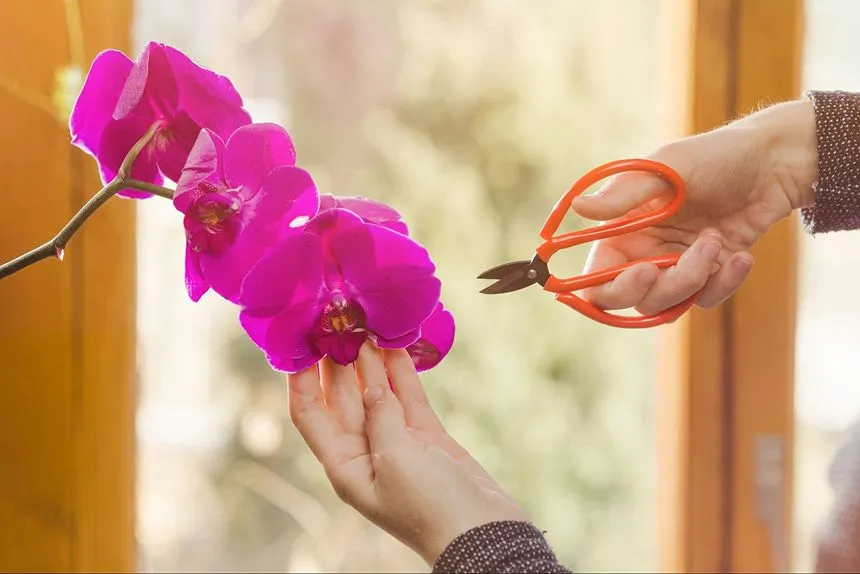
Clean off all the dirt and trim the bulky stems of your bloom. Remove any heavily pollen-coated stamens to prevent staining and discoloration. Watch out for insects and seed pods that might damage your flower or create uneven pressure points.
Step 4: Place the Flower Between Parchment Paper
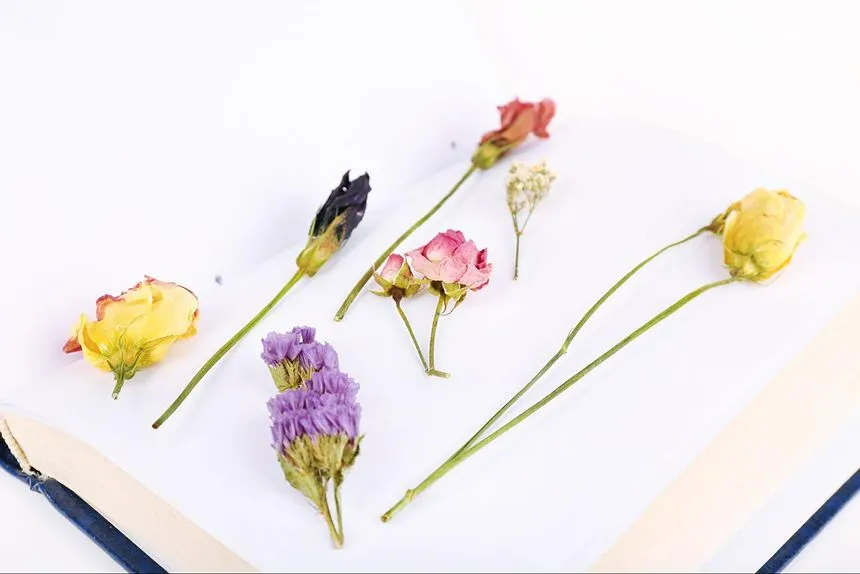
Place two sheets of parchment paper between the pages and carefully place your flowers face down onto the paper. Repeat the process of stacking until all your flowers have been placed.
Step 5: Put Weight and Leave It Undisturbed
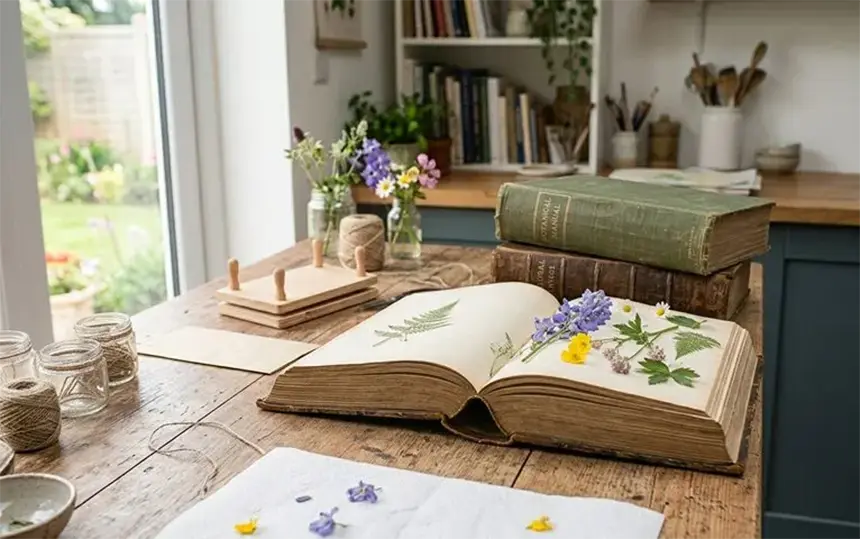
Place the sheets in a heavy book and close it carefully. Put another book on top as additional weight, like a dictionary or other objects, and leave it undisturbed.
Step 6: Check for Dryness and Display

Check for moisture between the parchment papers every two days and swap them with new ones if there is any dampness. After 2-3 weeks, the flowers should be completely dry and ready. Use tweezers to gently pull them out and place them in your craft project.
2. Wooden Press
A wooden flower press is a device that consists of adjustable clamps and specialized wicking paper to dry blooms for botanical art and keepsakes. You can use it to compress the flowers more tightly than the book method, eliminating moisture and air that usually cause color loss and molding. It is an option that requires patience, but you can set up a ton of flowers through it, all at once.
Step 1: Pick the Right Variety
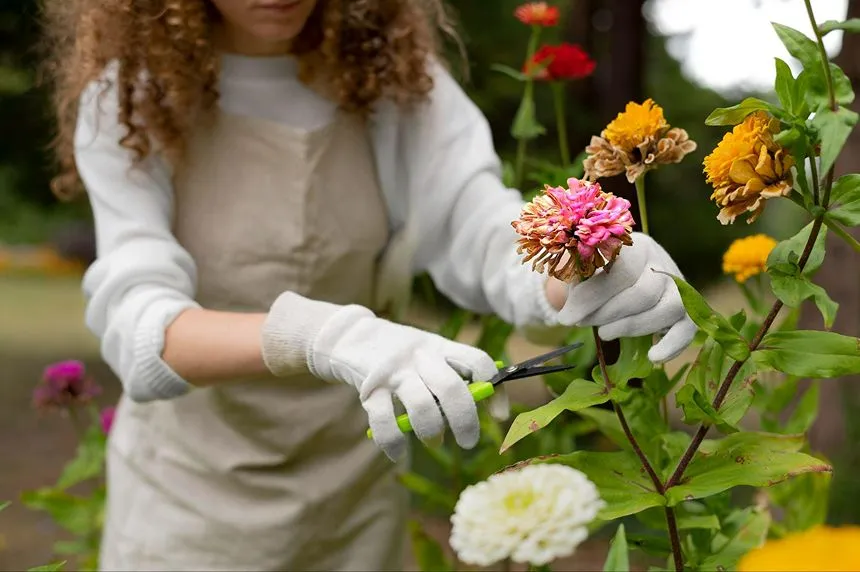
Select flowers that are dry and fresh, with bold pigments that retain their color well even after pressing. Ideally, these flowers should have flat and thin petals with low moisture content. Remove any excess surface moisture gently to avoid molding or wilting, and dispose of any damaged pieces.
Step 2: Prepare the Base
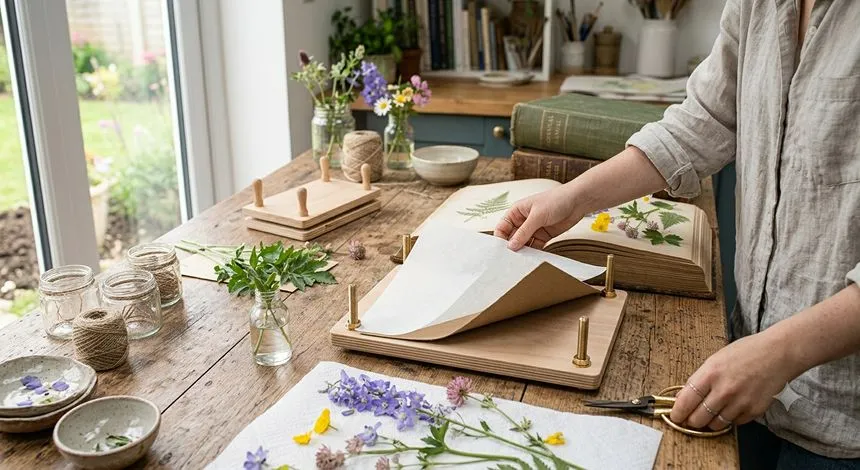
The bottom of the wooden board should be placed with the bolts facing upwards. You’ll need to drill holes around the edges of the board for this.
Step 3: Layer the Cardboard
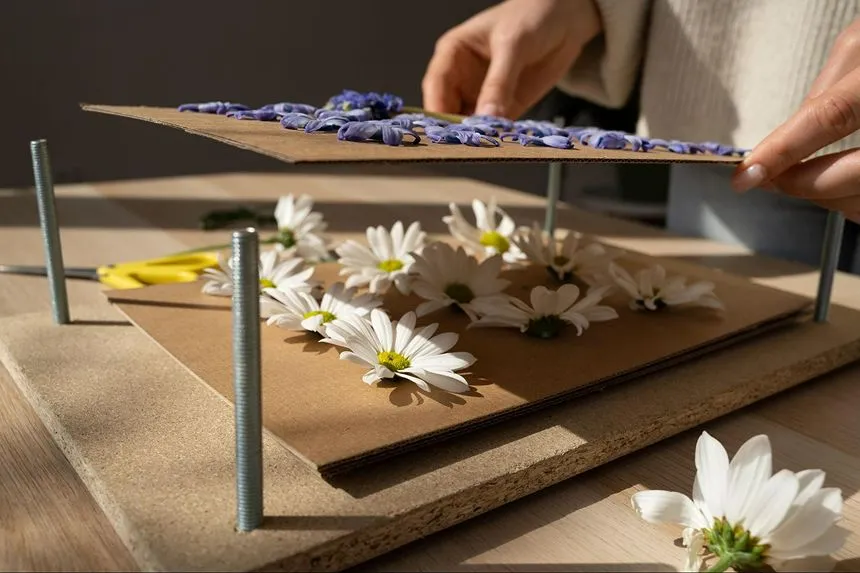
Lay down pieces of cardboard and keep adding sheets of parchment paper in between, and add your flowers onto it.
Step 4: Sandwich the Plants
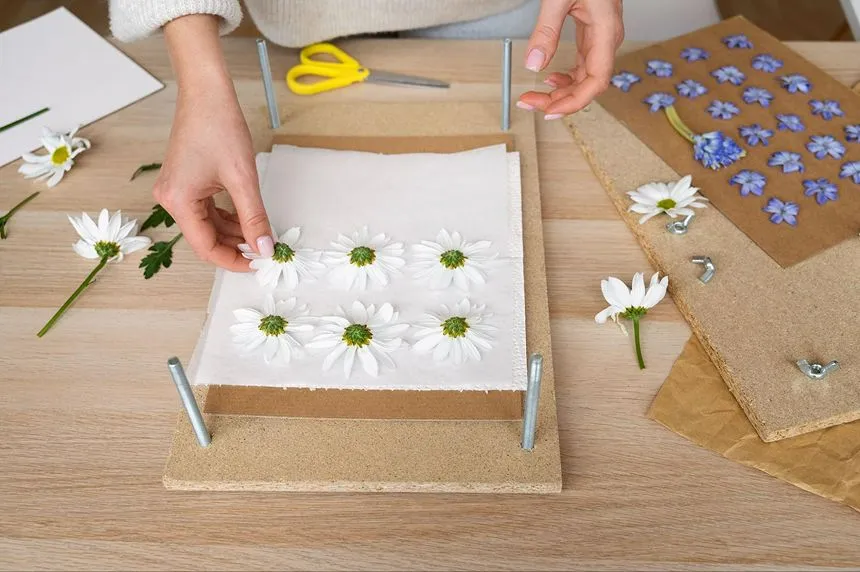
Arrange your flowers in a single layer without them touching or overlapping. Cover them with parchment paper and create multiple sets of it repeatedly.
Step 5: Secure and Tighten the Press
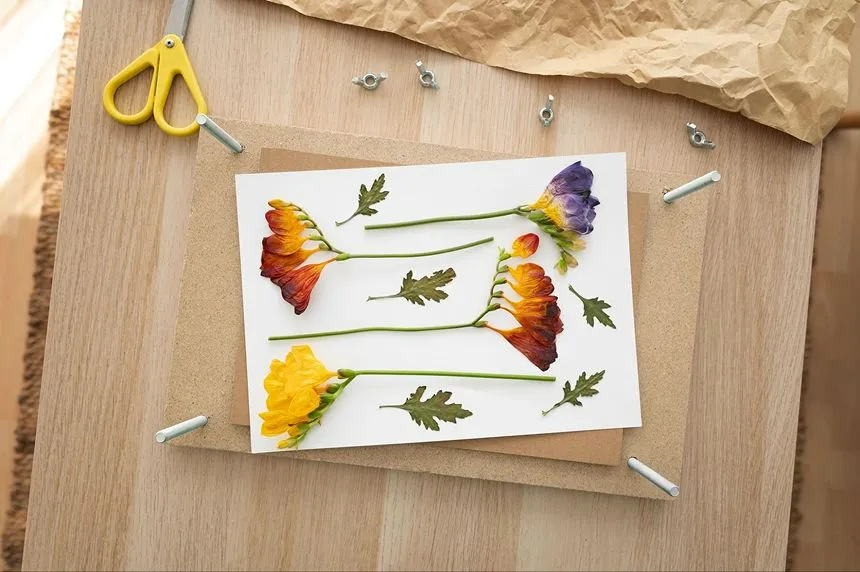
Place the top board over the stack and add the bolts and nuts to their assigned places. Tighten them firmly and keep doing it every few days as the flowers shrink.
Step 6: Wait for It to Dry
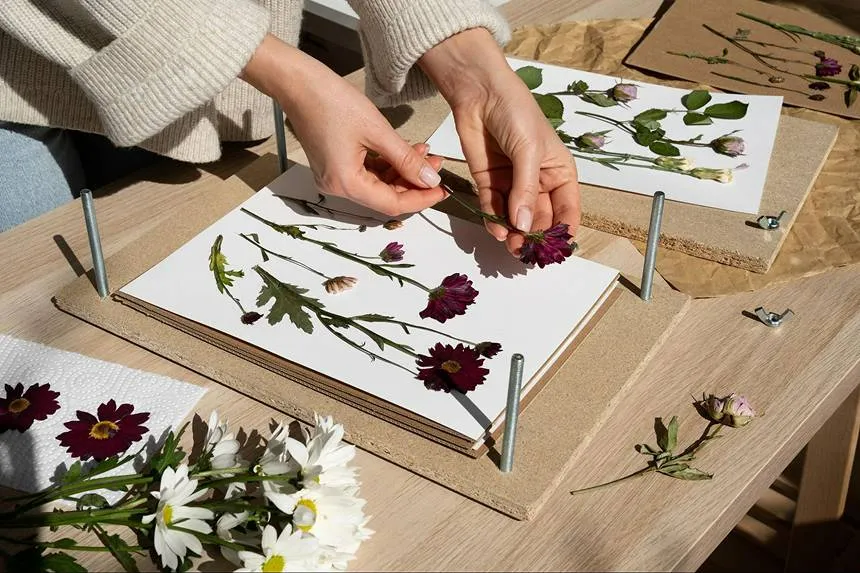
Leave the stack in a warm and dry place for 2-3 weeks. Dismantle the stack layer by layer. Remove the papers carefully to prevent breakage of the petals.
3. Household Iron
To press your flowers with an iron, you need parchment paper, a heat-safe surface or ironing board with a hard exterior, and a thin cotton towel or paper towel to help with extra moisture.
Step 1: Prep the Iron
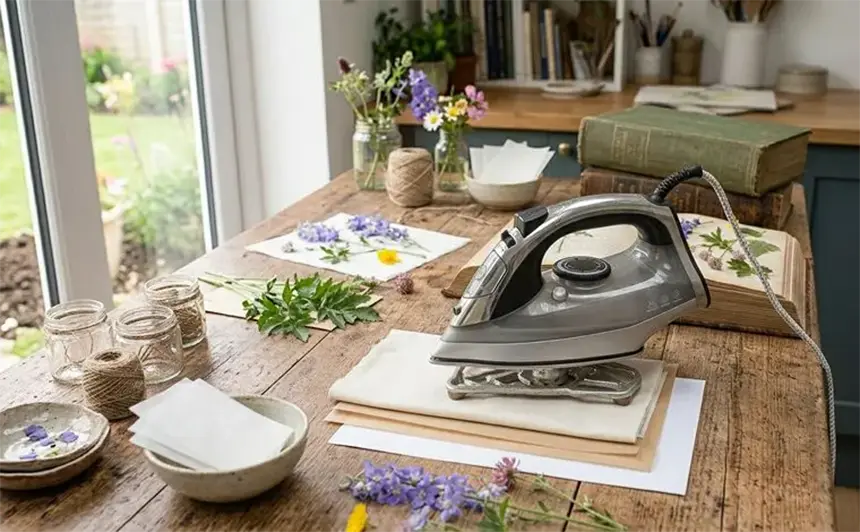
Clear the water reservoirs to avoid any chance of steam. Turn the dial to a medium-low heat to prevent browning or burning of the petals.
Step 2: Arrange the Flowers
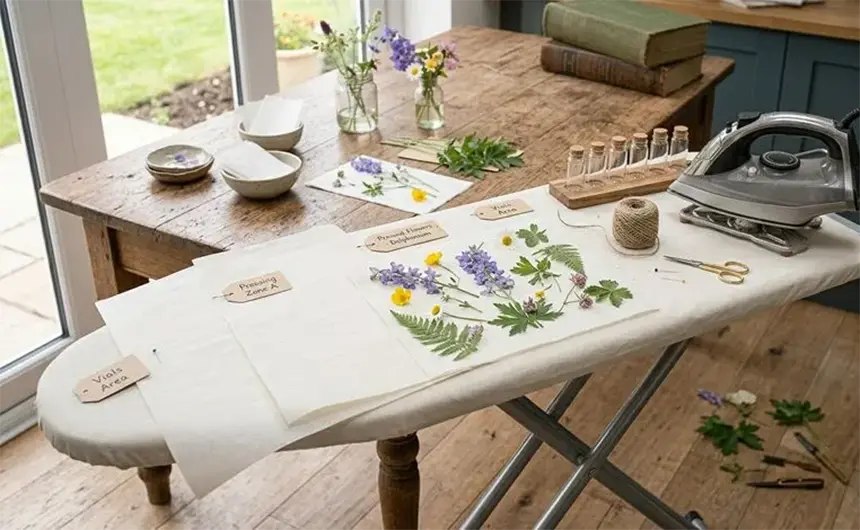
Place a piece of parchment paper on your ironing board or a hard surface and arrange the flowers on the paper, as per your choice. Handle them carefully so that they don’t wrinkle or break.
Step 3: Cover the Flowers
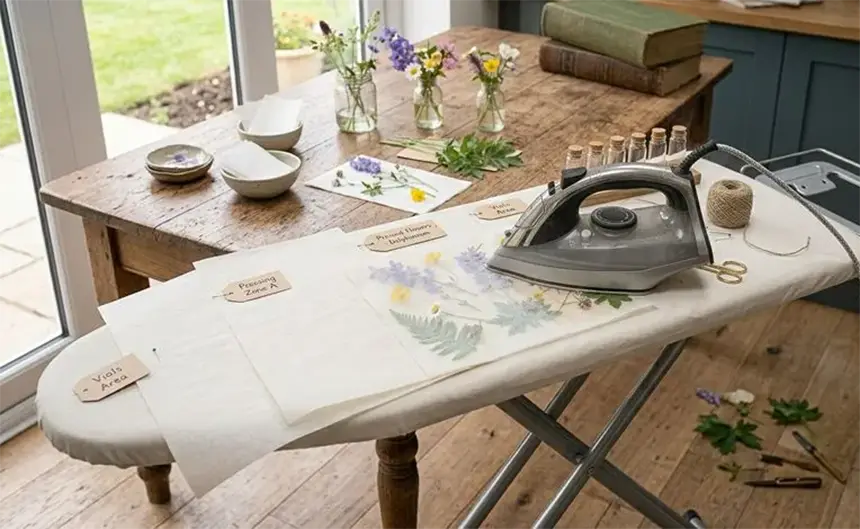
Place a sheet of parchment paper directly on top of the flowers to cover them so they stay secure.
Step 4: Ironing the Flowers
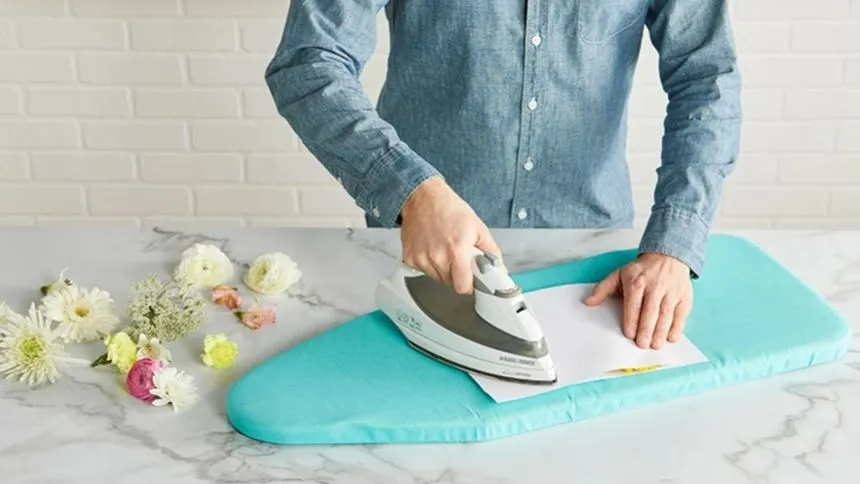
Press the iron down onto the parchment paper for 10-15 seconds at a time. Do not move it back and forth over the paper, as this might tear or wrinkle the petals. Lift the iron completely and let the flowers cool down for a bit until the moisture is gone and their texture feels dry.
Step 5: Flattening the Flowers
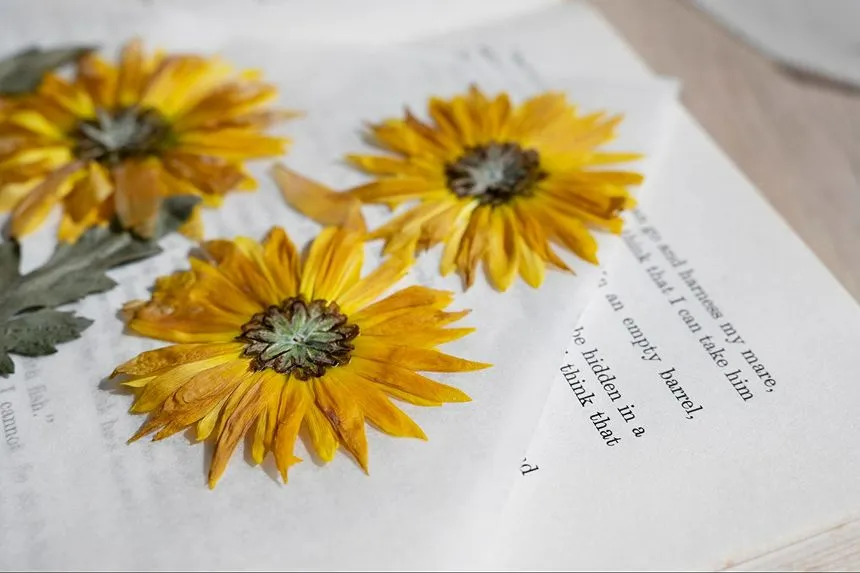
Since iron-pressed flowers can sometimes be damp or become slightly wavy, place them inside a heavy book or under a stack of heavy objects overnight to flatten them completely and ensure that they are fully dehydrated.
4. Microwave Method
Fresh flowers can be pressed and dried using a microwave in just a couple of minutes. For this, you need plain paper towels and a heavy microwave-safe glass or ceramic dish.
Step 1: Prep the Blooms
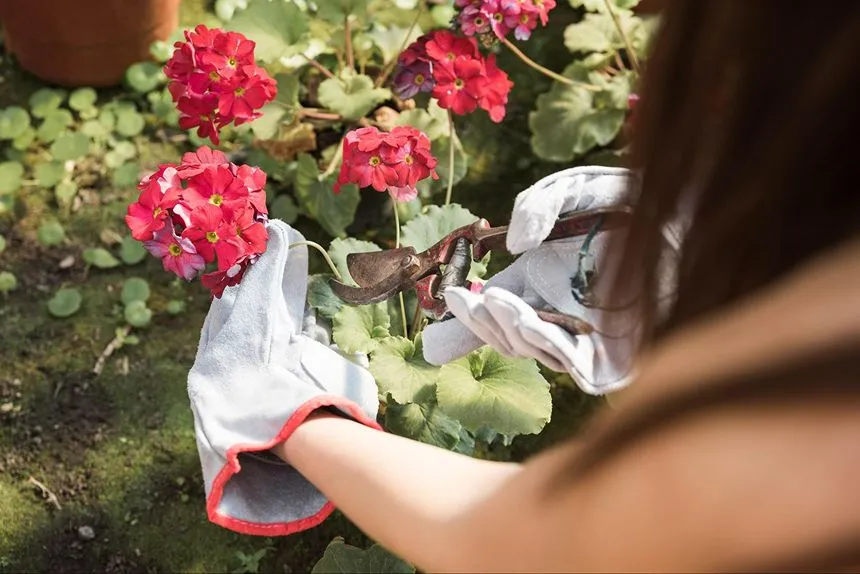
Trim your blooms and stems right below the flower, or leave them on the stem as per your desire. Ensure that they fit in the microwave, and remove the leaves to dry them individually if there is a lack of space.
Step 2: Arrange the Flowers
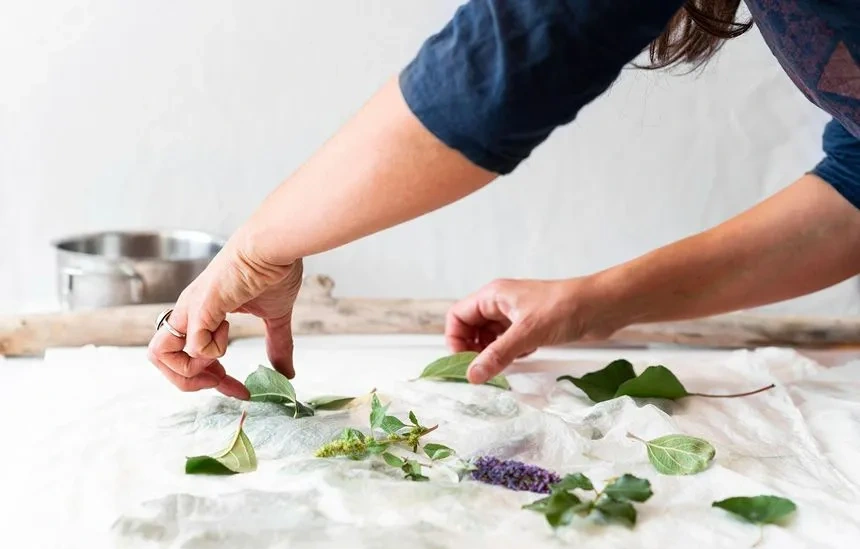
Arrange your blooms on top of a piece of paper or on one side of a cotton rag. Your placement of the flowers decides how they will dry, so make sure that the petals are flattened and smooth.
Step 3: Cover and Weigh Down
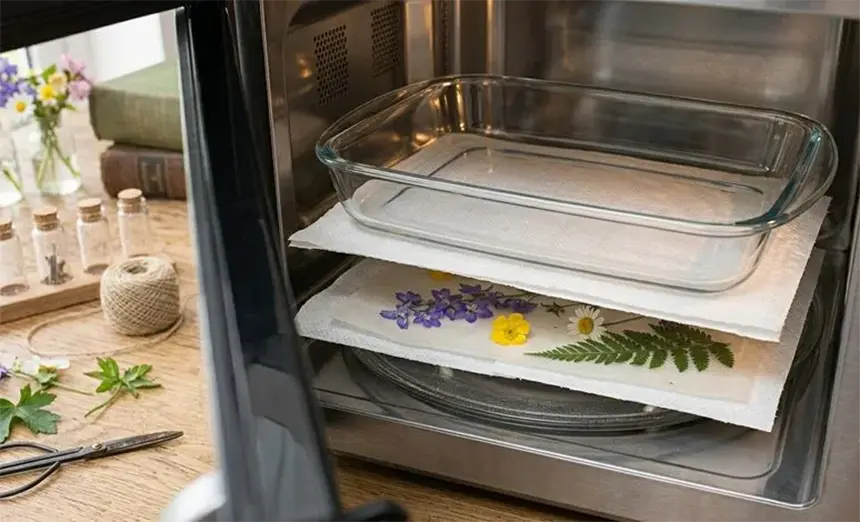
Place another paper towel over the flower arrangement and then top it with a microwave-safe dish to provide flat pressure, especially in cases of thick flowers that tend to retain moisture.
Step 4: Microwaving

Microwave the blooms at half power for 90 seconds. Remove the dish and check on them. If they still feel moist, put them in the microwave again for another 30 seconds until dry. This process usually takes 1-2 minutes in total.
Step 5: Cool It Down
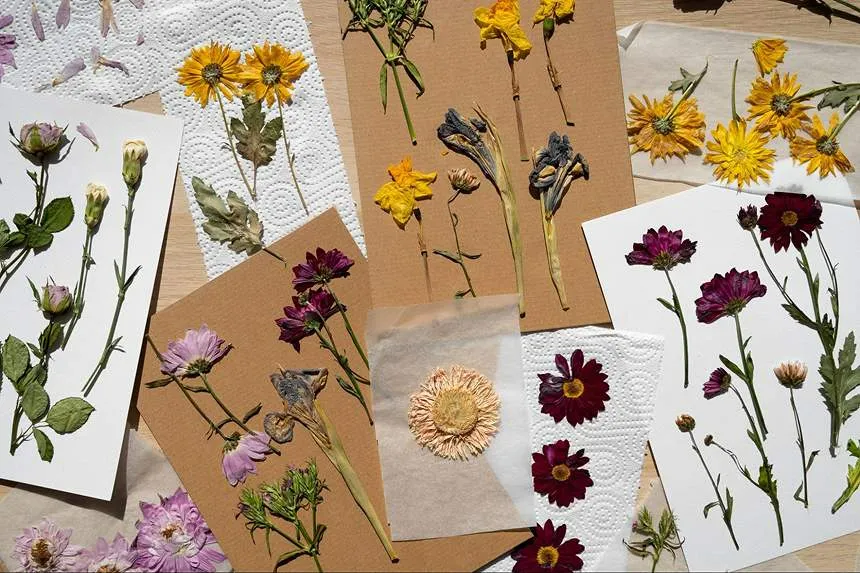
Carefully remove the top plate and transfer the flowers to a fresh sheet of parchment paper to let them cool and firm up completely.
Which Flowers are Best for Pressing?
Some of the best flowers for pressing are lavender, daisies, pansies, baby’s breath, and small varieties of chrysanthemums. Pressed flowers are best when blooms are naturally thinner, petals are flatter, or they can be opened and pressed evenly.
Moving further, let me explain which flowers are the best for pressing and why it is so.
1. English Lavender
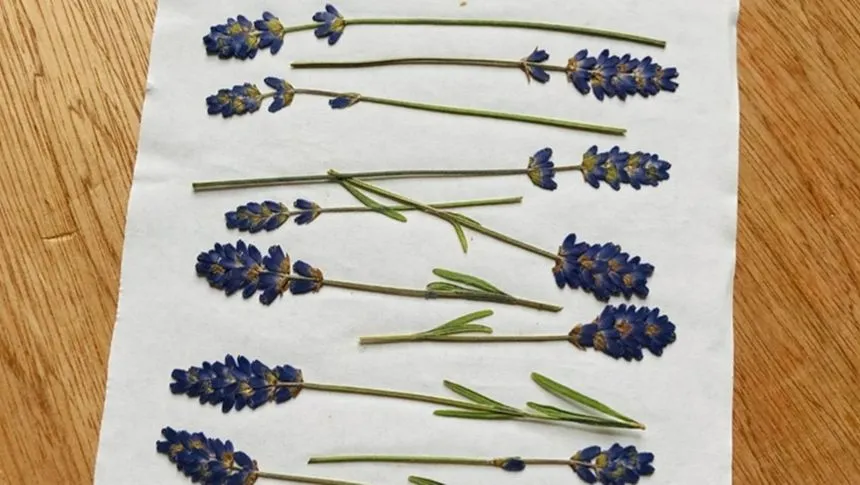
English lavender is a visually appealing flower that dries well, and not only does it press well, but it also retains its fragrance even after drying. The flowers’ small, compact heads hold their shape well. Since its stem presses nicely too, they make a great choice for full-stem composition. Their purple hues generally darken slightly but remain the same otherwise. These flowers take 2-4 weeks to press completely.
2. Daisies
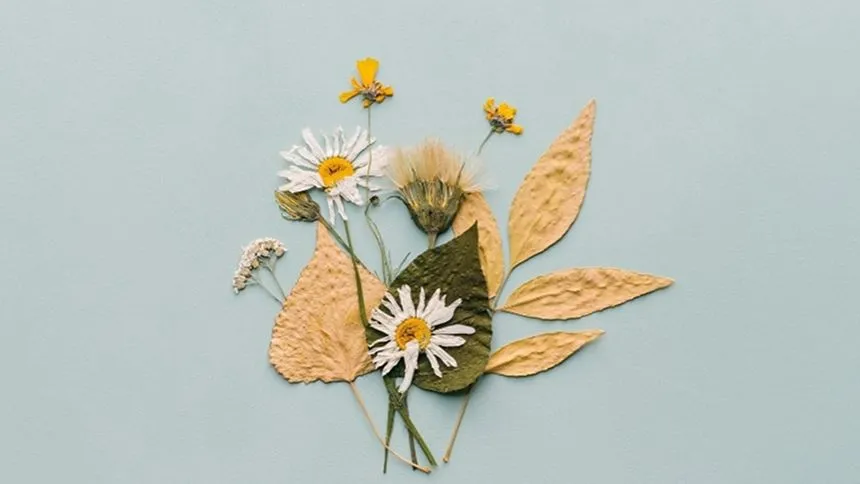
Daisy flowers tend to have a simple structure with open faces, thin petals, and wide availability, which makes them perfect for flat art. They maintain their shape easily, and white daisies are the most popular choice. The white petals will shift slightly towards cream over time, but the yellow center stays bright. This entire process takes about 2 weeks to complete.
3. Pansies
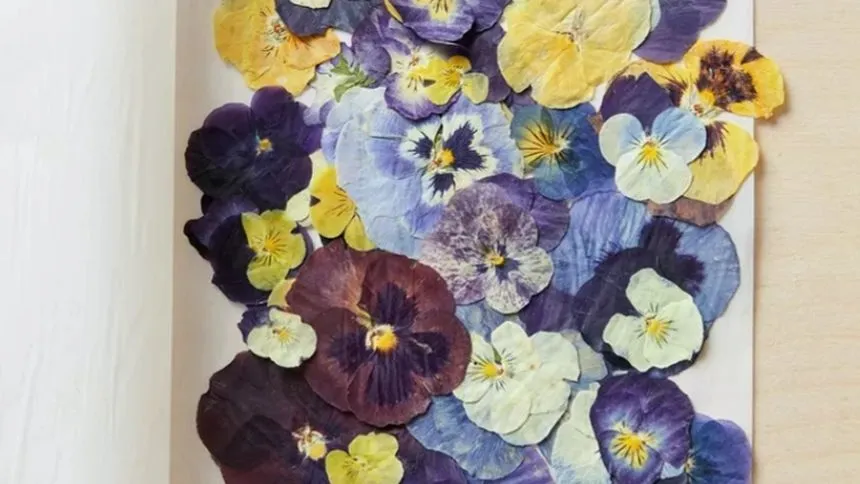
Pansies are seasonal flowers that boast a diverse variety of colors and intricate patterns, which make them a popular choice for pressed flower arrangements. They have relatively thick petals and flat faces with a soft, open form that doesn’t need too much handling and takes about 1-2 weeks to dry. Their colors remain vibrant even after pressing. It is important to pick them when they are fully open, or pressing them afterwards will give you a wilted look.
4. Baby’s Breath
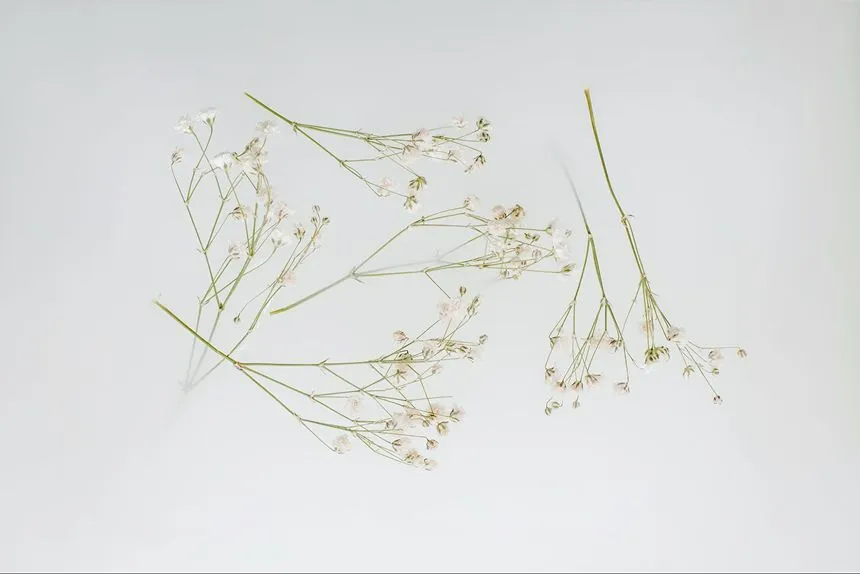
Baby’s breath is a small and dainty white flower often used in bouquets, and their blooms press beautifully, taking about 1-2 weeks to fully dry and press. It adds an airy look to flower arrangements. The tiny, white blossoms retain their shape well, and their whiteness stays better than most pale flowers, although they turn towards cream eventually. Notably, these flowers handle dyes well after pressing, opening opportunities for pressed flower art.
5. Chrysanthemums
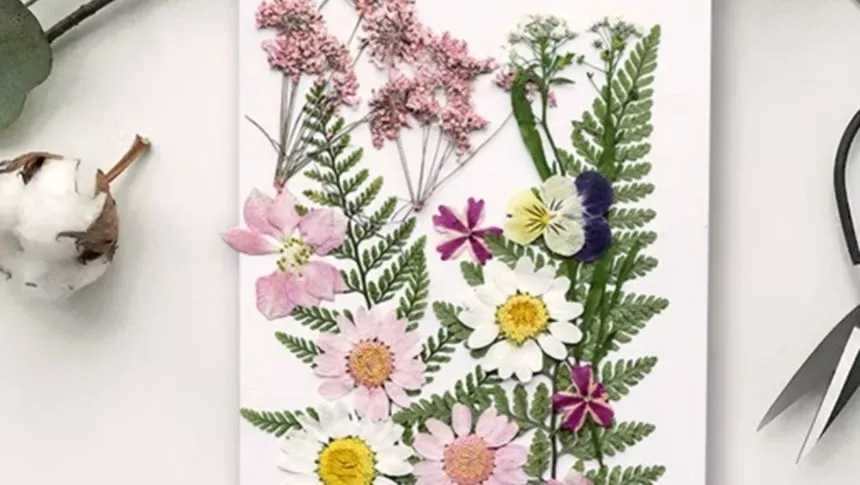
The smaller varieties of chrysanthemums can be pressed to create complex designs. Individual ray florets retain rich pigments that stand out, and their geometry offers deep, textured designs once flattened. Chrysanthemums do require a bit of extra care in comparison to other flowers since they have a thicker center with a high moisture content, which is why they also take 3-4 weeks to dry and press fully using traditional methods.
Ideas for Pressed Flower Art
Ideas for pressed flower art include bookmarks, glass frames, ceramic and clay, cards or gift tags, and lanterns. Let’s discuss these flower art projects in more detail.
1. Bookmarks
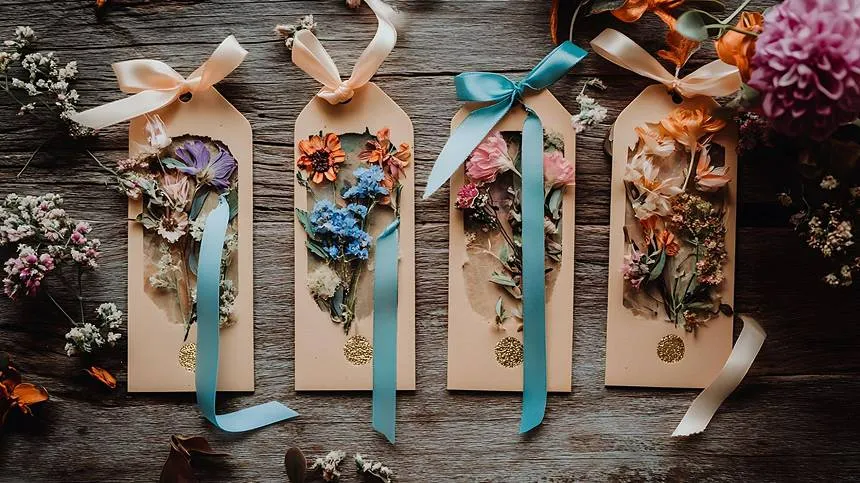
Cut your bookmark from a cardboard piece. Use a guillotine for precision and round off the edges. You can also use recycled cotton paper or a page from a rustic book. Apply your flowers using a small amount of glue at their centers, sepals, stems, or leaves. Seal it with a layer of glue again and cut out a small hole at the top of your bookmark. Add a tassel, and it is ready for use.
2. Glass Frames
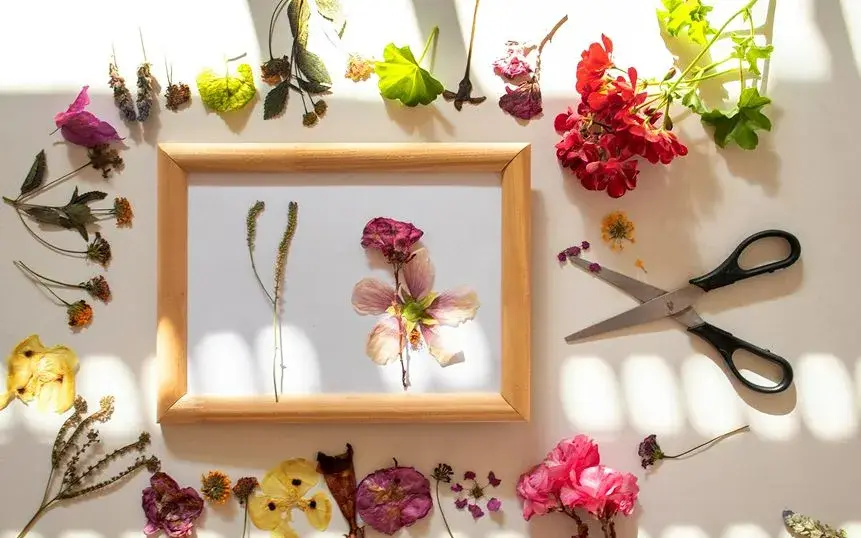
Put together delicate stems, ferns, and petals between two panes of glass with the help of some clear glue. Secure the edges with a brass or gold frame with a hanging chain to add a vintage look. Use tiny bits of acid-free glue to keep larger blooms from slipping out of the frame. Avoid hanging the frame in direct sunlight to prevent the colors from fading.
3. Ceramics and Clay
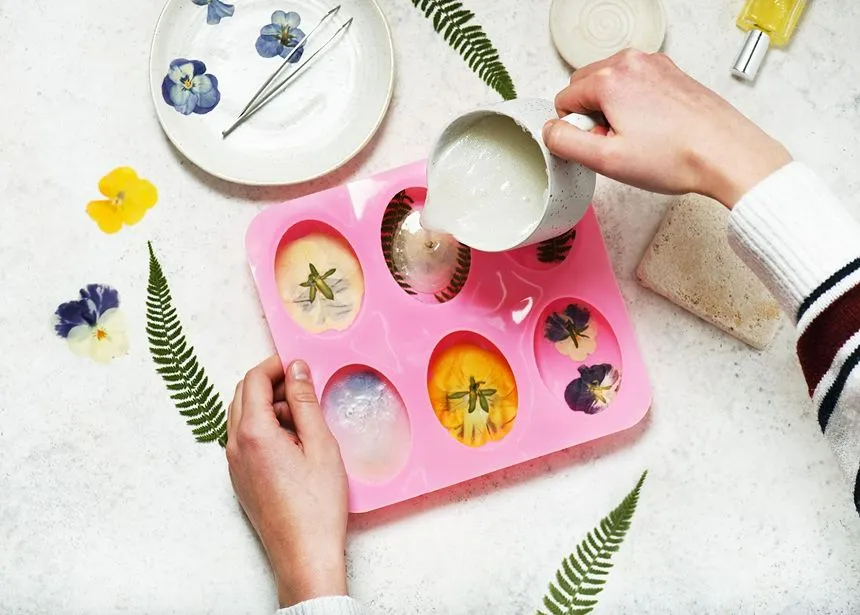
Blank ceramics are available in all kinds of shapes and sizes, so you can create vases, hanging ornaments, dishes, or coasters on a ceramic surface. Pick an unglazed ceramic and apply your pressed flower with a little glue. Use it as a sealant again for a glossy finish. Alternatively, you can use clay and apply your flowers in a similar manner once the clay has fully dried.
4. Cards/Gift Tags
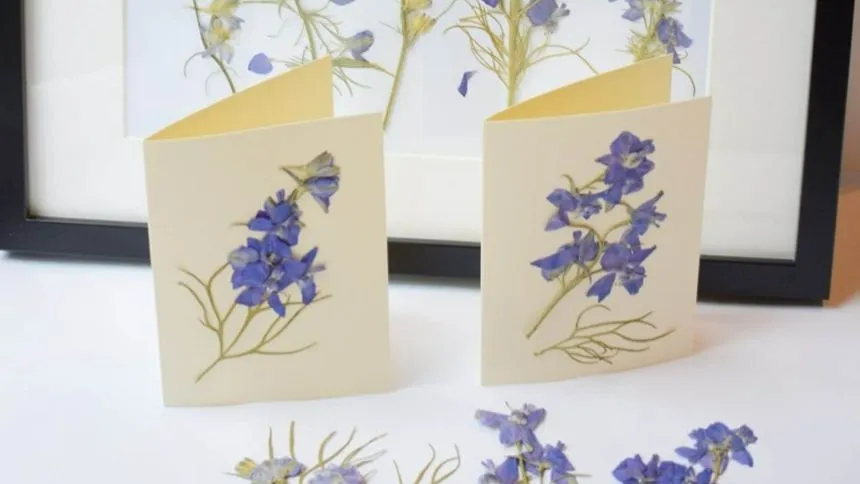
Stick your flowers to cards and gift tags to give a personalized touch. You can leave them exposed or seal them using glue or transparent contact paper. Personally, I find the textural effects of the flower better. However, be vigilant while placing it inside the envelope so that you don’t accidentally tug at it or, worse, tear it.
5. Lanterns
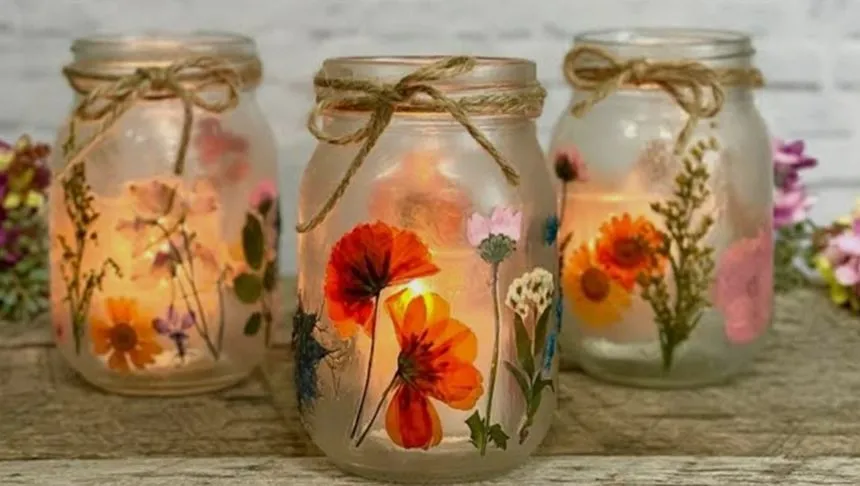
Recycled jars can be made into lanterns. Pick flowers that will flex around the shape of your container. If the container is opaque, it could be painted with a couple of layers of acrylic paint. Allow it to dry completely before pressing your flowers onto it. Press your flowers onto the container on top of a layer of clear glue, and reapply it once the flowers are pressed to seal everything.
Common Mistakes to Avoid While Pressing Flowers

Common mistakes to avoid while pressing flowers include using the wrong paper, overcrowding the page, layering flowers on top of each other, using uneven pressure, not using enough weight, pressing flowers that are wet from dew, rain, misting, or condensation, and choosing thick, water-heavy, or damaged flowers for your first attempt.
Now I’ll take you through these aforementioned mistakes in detail.
Mistake 1: Using the Wrong Paper
If you use a non-absorbent paper such as glossy paper, it will trap moisture inside the petals, which leads to rotting, brown discoloration, and mold. Similarly, newspapers can bleed black or colored ink directly onto delicate petals. Paper towels and wax paper tend to imprint the petals as well, so they are not good for pressing either.
Solution: Use blotting paper or parchment paper because they are the best options for pressing, as they act like a sponge and absorb water quickly, protecting the flower.
Mistake 2: Overcrowding the Page/Layering Flowers on Top of Each Other
Flowers are unable to dry when each specimen is unsupported and not exposed to absorbent layers. They contain high moisture content, and layering creates a thick barrier because there is no airflow, which prevents successful preservation. Heavy pressure forces the plant tissues to fuse together, which leads to structural issues, bending, and wrinkling of the flowers. This also puts the pressed layers at risk because excess moisture will eventually lead to mold spores that may contaminate future batches.
Solution: Press flowers as flat as you can from the beginning. Don’t stuff your pages with loads of flowers. Sort out each flower type and check their condition before pressing. Leave enough breathing room around each bloom, and split the flowers into smaller sections if they look mushy. Redistribute them over more pages immediately after.
Mistake 3: Using Uneven Pressure/Not Enough Weight
Flowers wrinkle and curl when they are not held flat while moisture leaves the tissue. Some parts will look flat and dry, while others might stay thick. If the flowers seem to be warping, tearing, or breaking, it means that they were not pressed flat enough.
Solution: Ensure that the press is tight. While pressing with a book, use multiple heavy hardbacks and see that the stack stays level. In a screw press, tighten all the corners evenly.
Mistake 4: Pressing Wet Flowers
Starting the process of pressing with surface-wet flowers increases the chances of sticking, staining, and mold. Excess water from rain, dew, mist, or condensation has nowhere to go when clamped tightly. Fungi and bacteria thrive in such situations, turning the flowers mushy and black within a few days. Peeling off wet flowers from the absorbent paper also causes tearing and leaves pulp behind.
Solution: As per Plant Talk, pick flowers after the dew has evaporated, or collect them on a dry day so the flowers are not damp. Let flowers air-dry on the surface and blot any remaining moisture gently. If you have already pressed mushy flowers, replace all the damp layers and relocate your setup to a drier environment.
Mistake 5: Picking Thick, Water-Heavy Flowers for Pressing
Double or thick blooms may mold before they dry. Thick flowers like peonies often need to be opened and pressed in parts rather than as whole blooms. Trapped water might cause decay inside the paper before it can dry, and the tissues will oxidize, turning brown or black under prolonged pressure and leading to uneven pressure distribution surrounding the petals and paper.
Solution: Flowers such as daisies, baby’s breath, and lavender are the easiest to dry, since they are lightweight and do not need a lot of attention. Therefore, it is suggested to deconstruct thick blooms into petals and simpler flower forms and choose the best flowers from your bouquet or garden.
Final Thoughts
Pressing flowers is a fairly easy activity. Chrysanthemums, baby’s breath, pansies, lavender, and daisies make for the easiest pressing process and can be turned into fun projects in the form of frames, ceramics, gift tags, or a lantern.
A suggestion is to build your main visual around the largest, boldest flowers and add stems, wispy leaves, and vines around it for a smooth transition. Add tiny petals of smaller flowers to fill in the gaps. Take reference pictures on your phone before going with your plan to figure out a blueprint for your art projects.
Pressed flower art requires a little amount of effort and feels therapeutic. It is a very good option as a personalized gift for your loved ones, too.
FAQs
What are common mistakes in pressing flowers?
Common mistakes when pressing flowers include overcrowding the page or adding too many layers of flowers on top of each other, and using a glossy or waxy paper instead of parchment/blotting paper, which ruins the quality of the flowers. Additionally, not putting enough weight while pressing, using wet flowers, or using ones with thick petals also tend to be difficult to deal with.
Do flowers need to be dried before pressing?
Externally, flowers should be dry before pressing, or there is a high chance that they will be warped or torn, or they might even rot eventually. However, it is crucial that flowers have internal moisture to be flexible enough to flatten and protect themselves from getting damaged. It helps them retain their shape and color as well.
Is it better to press flowers with parchment paper or a paper towel?
Parchment paper is the preferred option in this case, since it is smooth and prevents stickiness. With its absorbent quality, parchment paper can trap moisture and lead to easier drying. Paper towels, on the other hand, have a textured weave or patterns that might imprint on the blooms as they dry.
How to press flowers without them going brown?
To prevent flowers from browning, pick fresh and completely dry blooms and blot away any remaining moisture. Use a highly absorbent paper such as parchment or blotting paper and change it regularly so as not to trap any mold. To quicken this process, you can use an iron as well.
What is the easiest way to press flowers?
The easiest method to press flowers is to use a heavy book. This process requires no special equipment, attention, or even a lot of time, since you already have all the items at home. Fresh, flat flowers should be arranged between parchment sheets, facing downwards, inside a thick book, with some added weight on top, for 2-3 weeks to dry.
How to Dry Roses: 5 Easy Methods That Actually Work
[…] on different requirements, including preserving their natural shape, retaining their color, or creating pressed flowers for DIY […]