

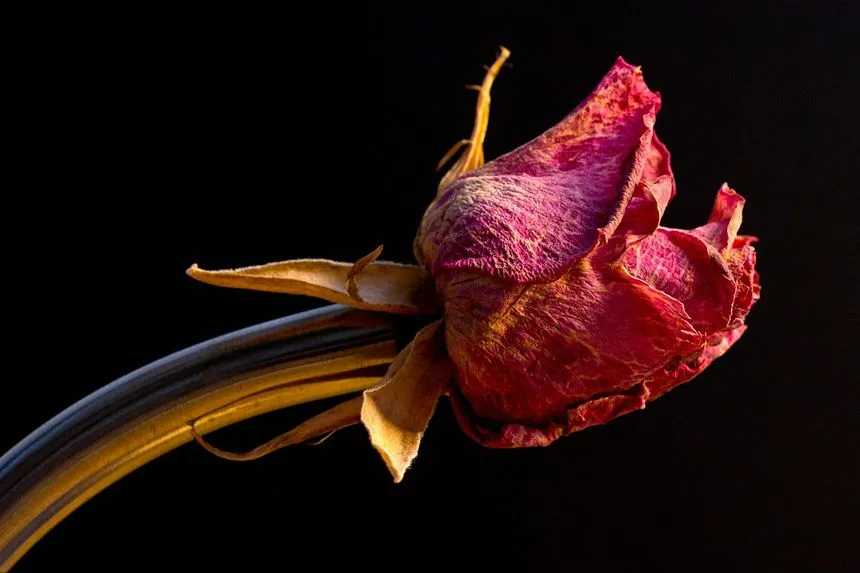
Fresh roses may last only a few days, but drying them can preserve their beauty for more time. How to dry roses depends on different requirements, including preserving their natural shape, retaining their color, or creating pressed flowers for DIY projects.
Refer to this article that explains how to dry roses using different methods for various purposes and achieve the desired outcomes. It also explains the benefits of drying roses and common mistakes you should avoid.
Quick Answer
The best method for drying roses is air drying. Start by removing any unwanted stems and leaves, tie the neatly trimmed stems together in a bundle, and hang the bundle upside down in a dark, dry, and well-ventilated area. Leave the roses undisturbed for about 2 to 3 weeks.
Pre-Preparation Needed for Drying Roses (Tools and Materials)
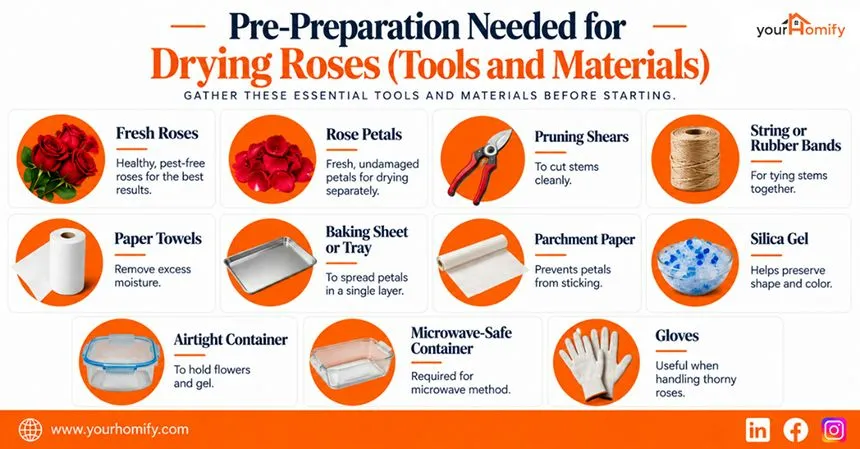
You need to collect the right tools and materials before actually starting the drying process. Here is a list of things you will need.
| Tools | Description |
| Fresh Roses | Healthy, pest-free roses for the best shape and color. |
| Rose Petals | Fresh, undamaged petals for drying separately. |
| Sharp Pruning Shears | I needed to cut the rose stems cleanly without crushing the petals. |
| String or Rubber Bands | For tying rose stems together during the air-drying method. |
| Paper Towels | Help remove excess moisture from roses and petals before drying. |
| Baking Sheet or Flat Tray | To spread individual petals in a single layer. |
| Parchment Paper | Prevents petals from sticking to a tray during some drying methods. |
| Silica Gel | Helps preserve the shape and color of whole roses, especially during the container drying method. |
| Airtight Container | Needed during the silica gel drying method to hold the flower and gel. |
| Microwave-Safe Container | Required if using the microwave method to dry roses or petals. |
| Gloves | Useful when handling roses with thorns. |
What are the Best Ways to Dry Roses?
The five methods that can be used to dry roses are air drying, pressing flowers, submerging them in silica gel, using a microwave, or placing them in a cardboard box.
1: How to Air Dry Roses? (Best For Bouquet Keepsakes)
Air-drying is one of the simplest and most commonly used ways to preserve whole roses. Fresh roses give the best outcome in dried flower art. This method requires minimal materials and allows the flowers to dry naturally.
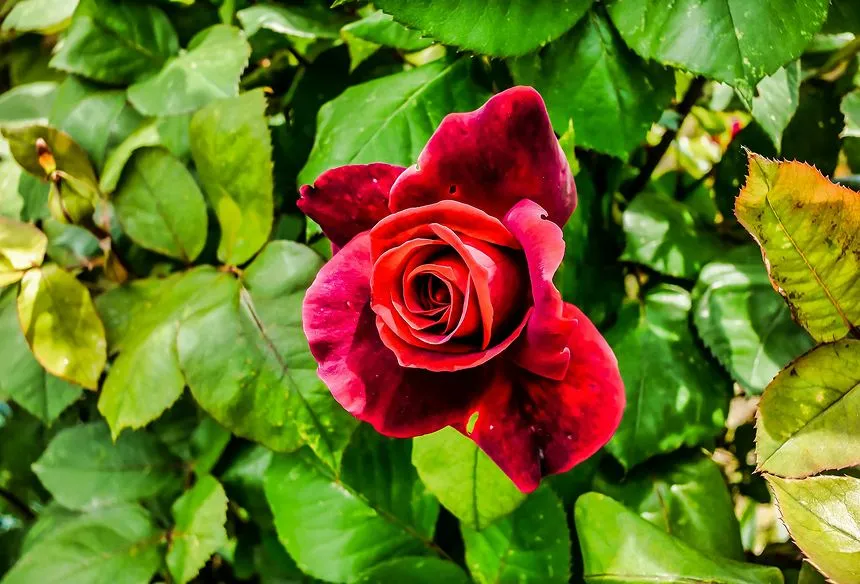
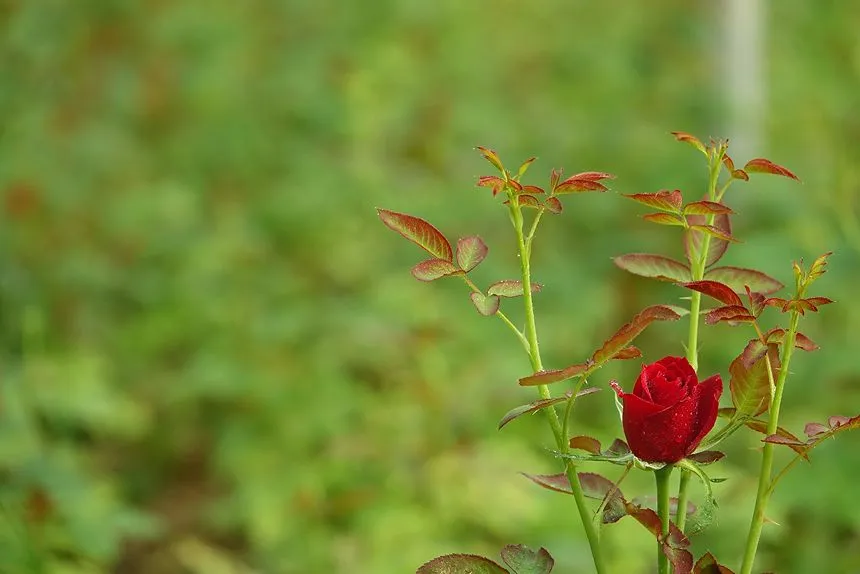
Start by selecting healthy roses that are half-open and do not have any brown spots, bruises, pests, or excess moisture.

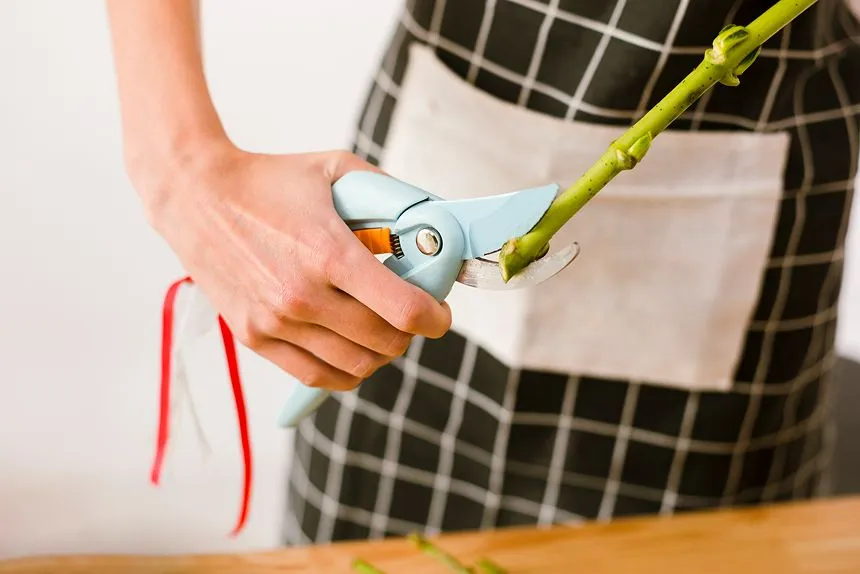
Remove all the leaves and cut the stems to the desired length using clean, sharp scissors or pruning shears.

Group all the neatly pruned roses together and tie their stems with a string or a rubber band. Do not make large bundles because crowded flowers will take more time to dry.

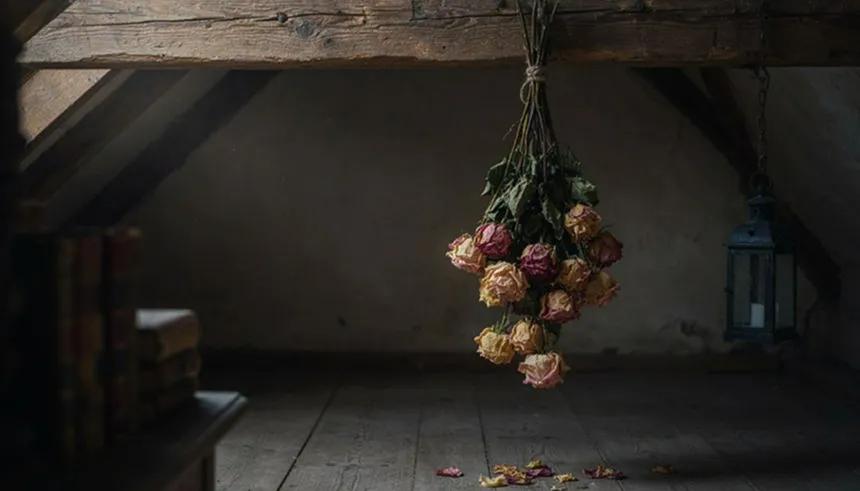
Hang the roses upside down in a dark, dry, and well-ventilated area. Keep the bundle away from direct sunlight throughout the entire process, as it can cause the color to fade.

Personal Tip
Good airflow is essential when air-drying roses. A common mistake is drying them in humid areas. Avoid areas like kitchens or bathrooms because excess moisture can slow down the drying process and encourage mold growth.
Leave the rose flowers undisturbed for about 2-3 weeks. If the bloom or the petals feel dry and slightly crisp, and the stems are firm and there is no moisture, dried roses are ready.
2: How to Dry Roses With Silica Gel? (Best for Preserving Shape and Color)
Silica gel is one of the best methods for drying roses when the goal is to preserve their natural shape, petal structure, and color.
This method absorbs the moisture quickly and preserves the original hue of the flower, which means you can also go for light-shade roses.

Select healthy, pest-free roses that are not fully open. Make sure that the petals are not wet and the flower does not show any signs of wilting.
Cut the stems to a manageable length. Adjust the length as per the container you are using, and if only the flower head is needed, leave about 1-2 inches of the stem to hold the flower easily.

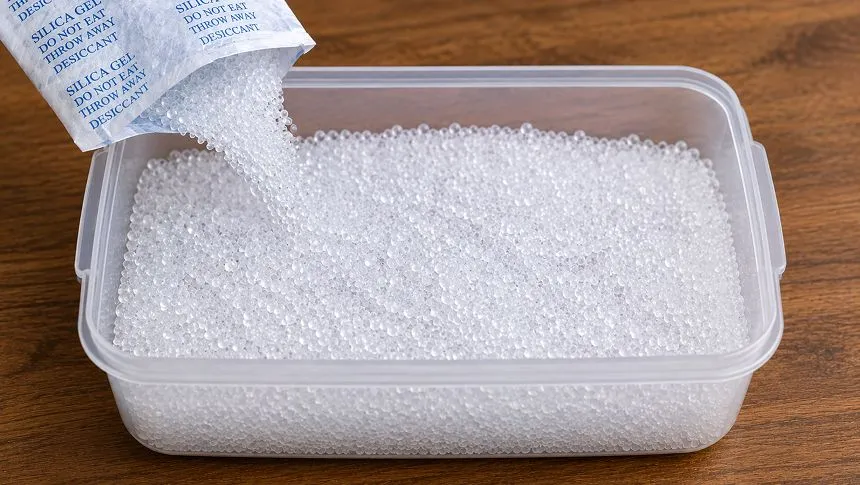
Choose a spacious container that holds the rose without crushing its petals. Pour a 1-2 inch layer of silica gel into the vessel.

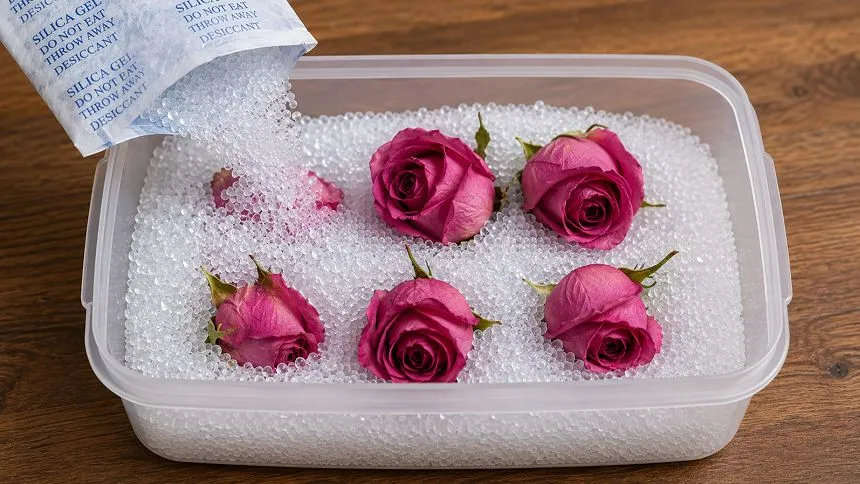
Place the roses upright on the silica gel and gently spread the outer petals if needed, but do not force open them. If you are drying multiple roses, space them properly so the petals do not touch each other.
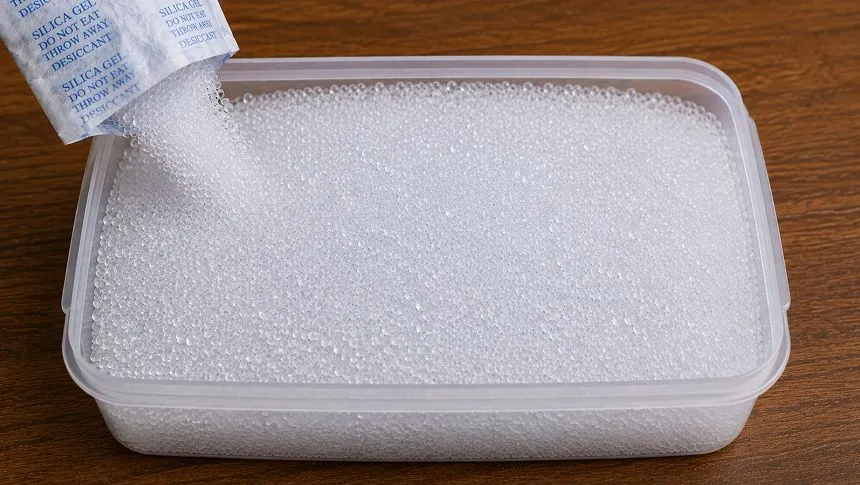
Slowly pour more silica gel over and around the roses until they are completely submerged. Make sure that the crystals of the gel do not crush the petals and ruin the overall shape.
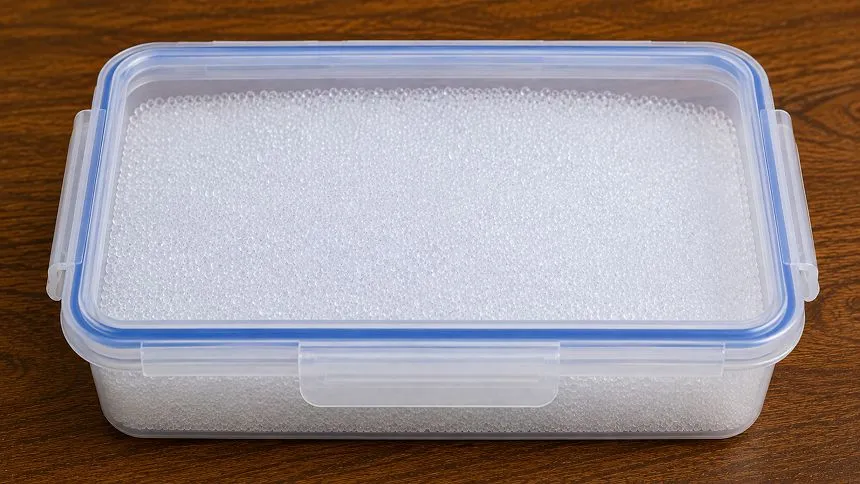
Close the container tightly to prevent moisture buildup. Leave the flowers undisturbed for about 3-7 days.
Use a soft brush, carefully uncover one rose, and check the petals. They should feel dry and crisp rather than soft and cool. Once they are ready, gently lift all the roses and remove the crystals trapped between the petals.
Personal Tip
Don’t rush the drying time or open the container again and again. A rose may look dry on the outside, but the inner petals can still hold the moisture. Always check the center before removing it from the silica gel.
3: How to Press Roses? (Best for Flat Preservation: Cards or Frames)
Pressing is the primary method for drying roses if your goal is to create flat, preserved flowers or petals for scrapbooks, cards, framed art, or any other crafts. This method is not appropriate if you want to preserve the roses’ three-dimensional shape.
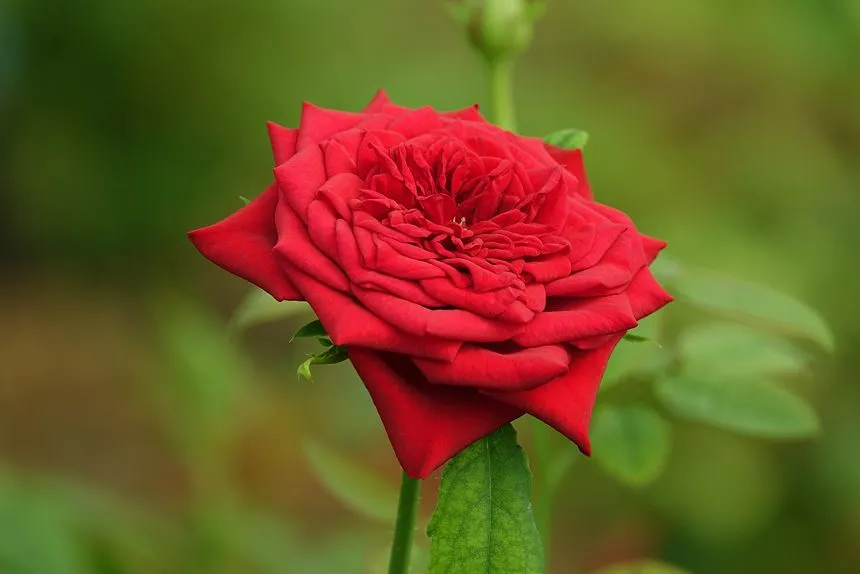
Pick healthy roses without damaged, wet, or wilted petals. Make sure they are not fully open, as they will look more beautiful once pressed properly.

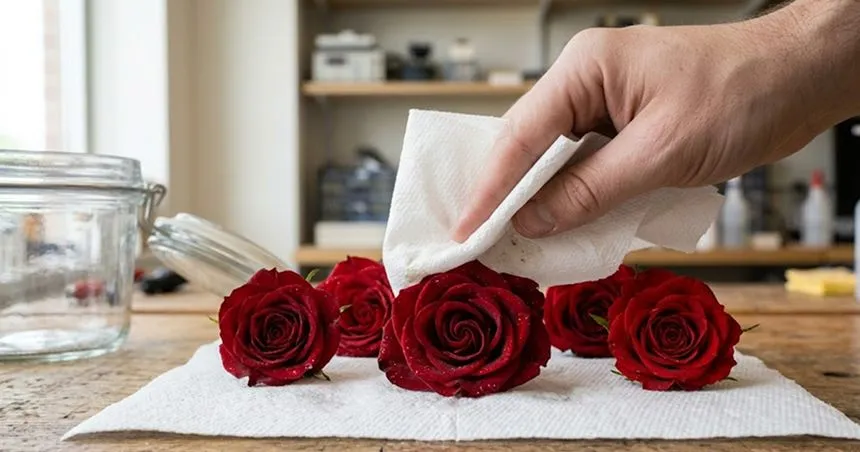
Gently pat the flowers with a paper towel to remove all the excess moisture. Do not press wet flowers or petals that have raindrops or dew.

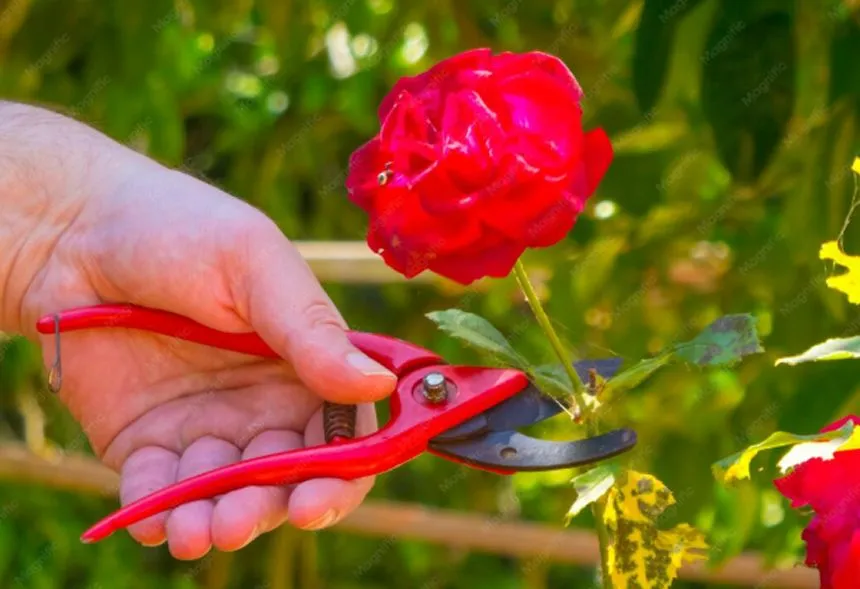
Remove the stem and all the unwanted leaves if you wish to press only the flower head. For easier drying, it is always better to separate the individual petals and dry them separately.
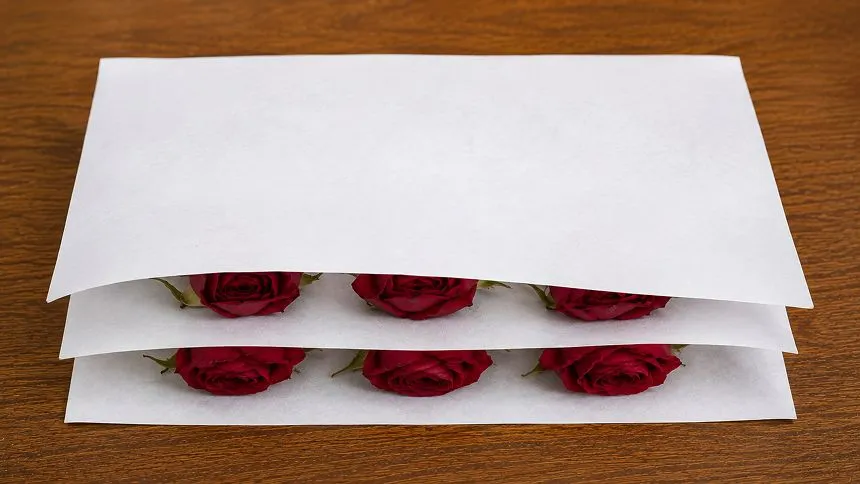
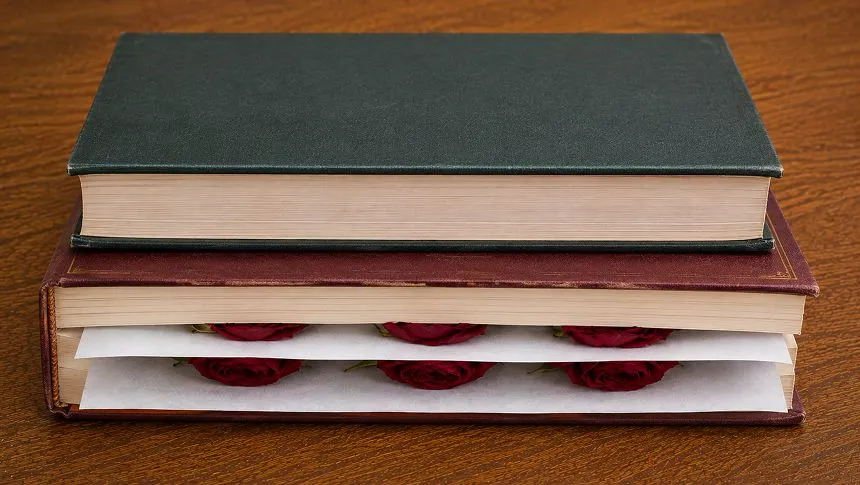
Put the flower between two sheets of absorbent, uncoated paper such as parchment or plain printer paper. If you are drying individual petals, arrange them properly and space them apart to avoid overlapping.
Place the paper-covered flower/petals inside a heavy book and close it. Add another heavy book or heavy object on top to give additional pressure. Keep the arrangement in a dry, cool place for about 2-4 weeks. Avoid checking too frequently because moving the flower or petals can damage them.
Carefully open the book after a few weeks. Gently lift the pressed bloom or petals using tweezers and place it in a frame, scrapbook, greeting card, or other craft project.
4: How to Dry Roses in the Microwave? (Best for Quick Results)
Drying rose flowers or petals in the microwave is best if you want quick results. This method allows you to keep the color and shape of the bloom intact and prevents mold. You can either use silica gel or the pressing method.
Method 1 (Silica Gel)
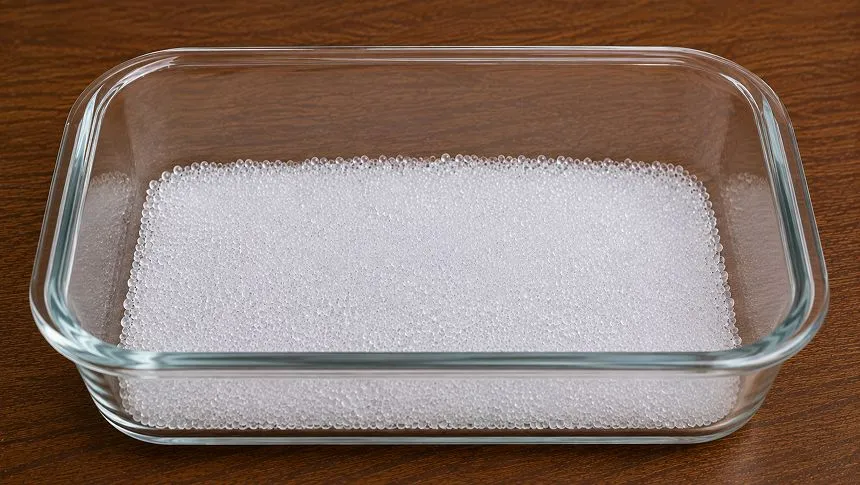
Add a generous layer of silica gel on the bottom of a microwave-safe container. Make sure that the crystals are evenly spread.
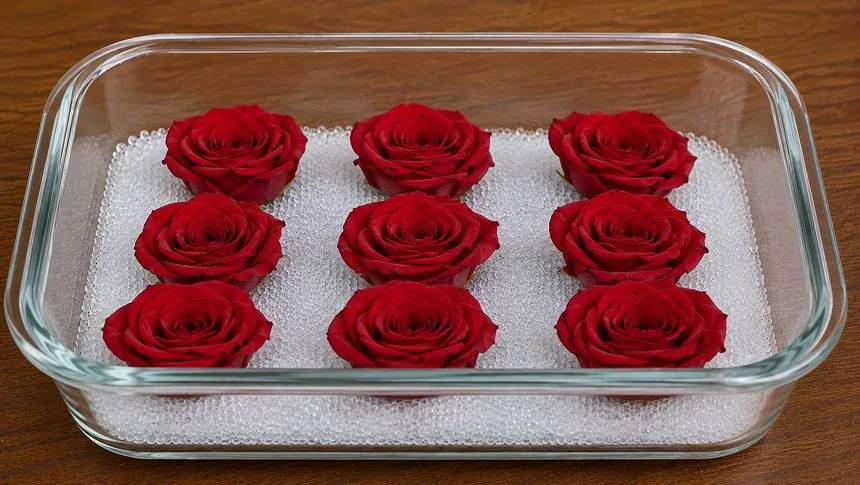
Cut the stems of the rose flowers, if you only need the bloom heads, so that they can sit upright and flat in the container. You can also leave about 1-2 inches of the stem to hold the flower easily.
Remove the inner petals to lessen the thickness of the flower. Make sure you also remove the inner reproductive part of the bloom, as it holds moisture and can slow down the drying process.
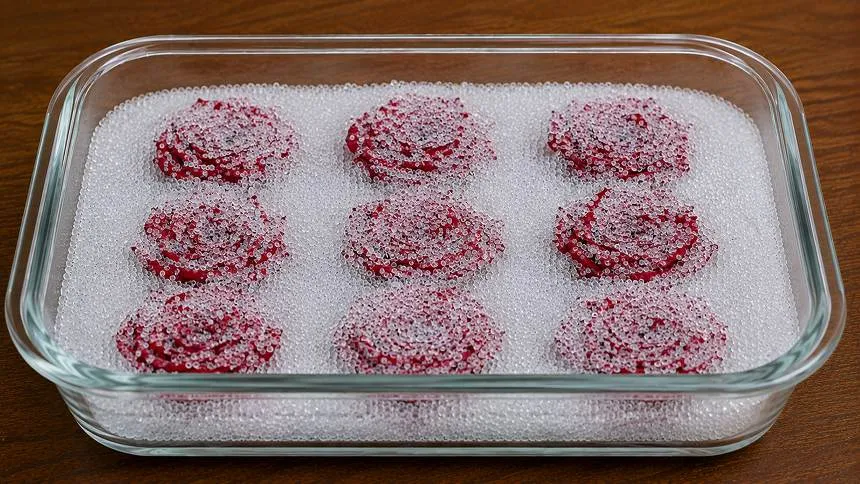
Gently sprinkle more silica gel over the flowers to cover them. Use a brush to spread it evenly. Pour the gel slowly so that the flowers or the petals do not crumble.

Do not cover the container. Keep it in the oven along with a cup filled with water. Microwave on low heat. Check after every 30 seconds. The drying process usually takes 2-3 minutes.
Take the container out and leave the roses in the silica gel for a few hours before removing them. After 24 or 48 hours, remove the rose blooms and gently brush off all excess silica crystals.
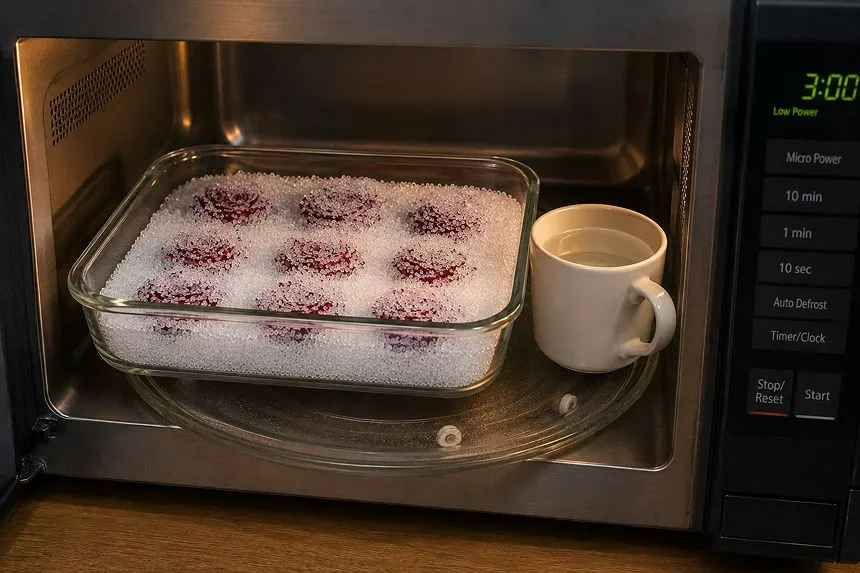
Method 2 (Pressing Method)

Take freshly bloomed or half-open rose flowers and remove the inner petals to lessen the thickness of the flower to press it faster. Make sure to remove the inner reproductive part of the bloom.
Take a piece of cardboard and place parchment paper on it. Carefully flatten the bloom, cut the stems, and place it on the parchment paper. Wipe the flowers using a paper towel to remove all the excess moisture.
Cover the flowers with a layer of paper towel, sketch paper, parchment paper, and cardboard, and press gently.
Transfer this paper-flower sandwich into the microwave and set a heavy, microwave-safe casserole dish right on top to press the flowers down.
Heat the flowers in short intervals of 30 seconds. Remove the heavy object from the top and gently check them. Repeat the process for about 2-3 mins.
Let the rose blooms cool and air-dry completely in a cool and dark place for a few hours. You can place the flowers packed in the paper sheets inside a book overnight. Take them out the next morning, and it’s done.
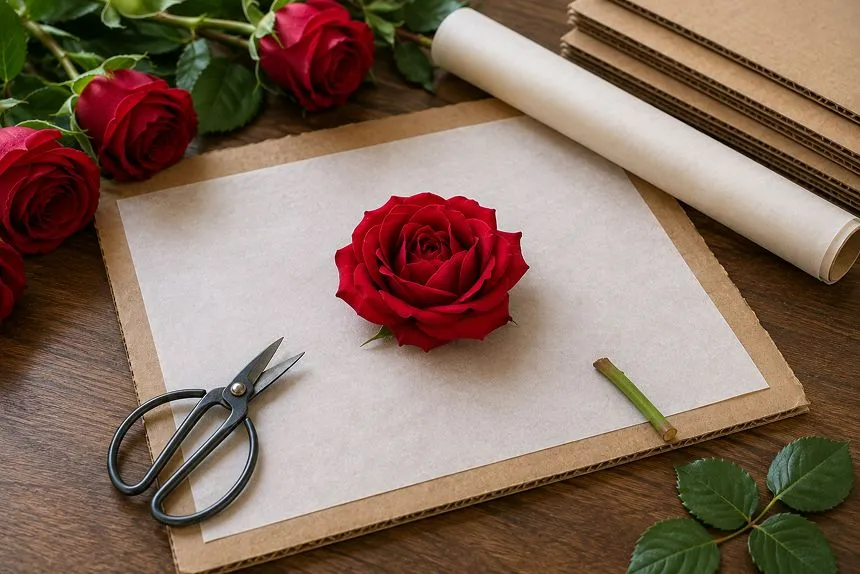
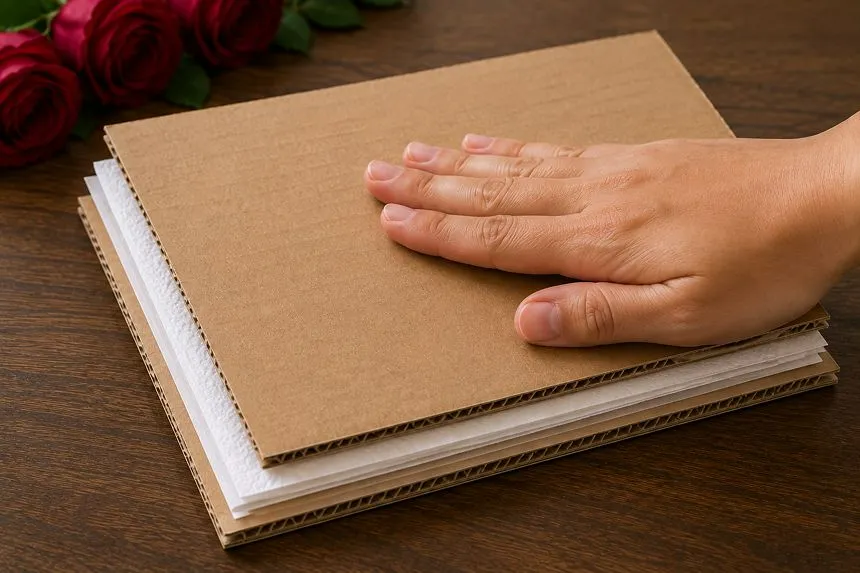
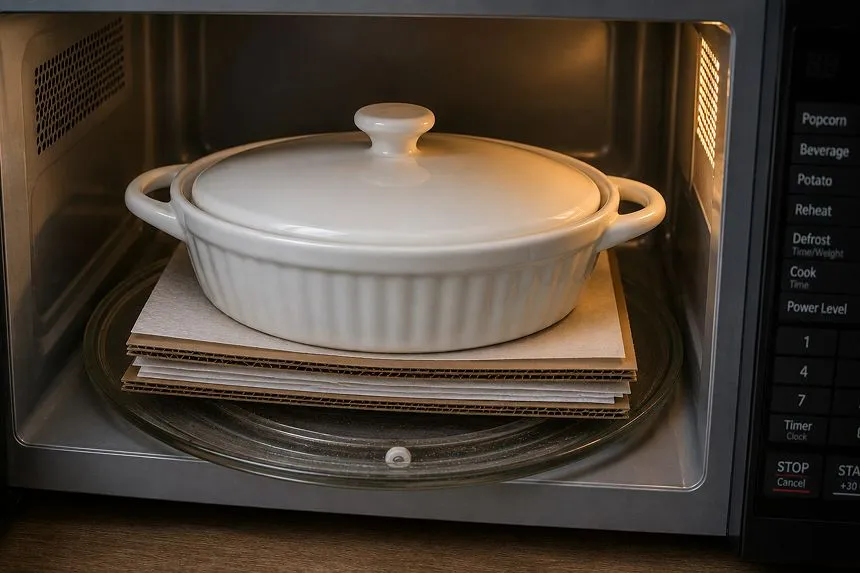
5: How to Dry Roses in a Cardboard Box? (Best For Simple Decor)
If you’re searching for an easy, hassle-free way, try drying roses in a cardboard box. The method is inexpensive in comparison to other methods and helps preserve the natural beauty of the bloom.
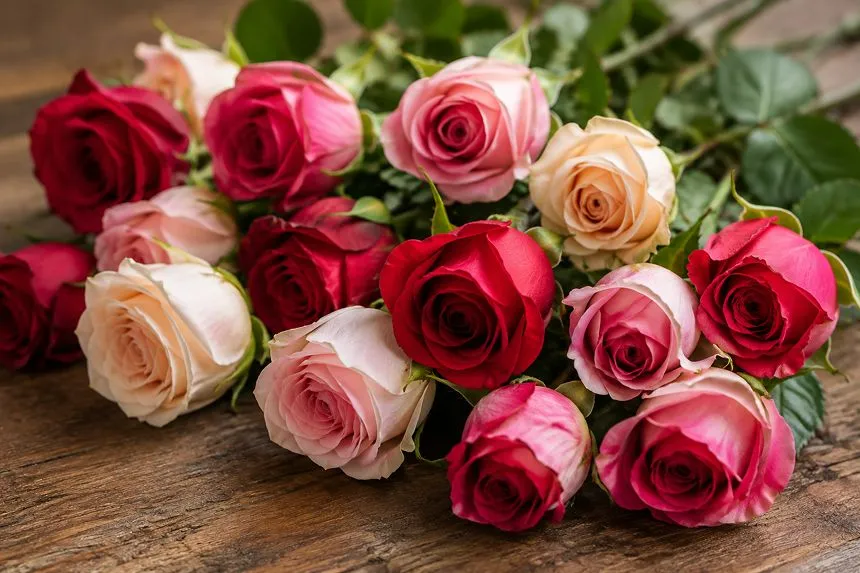
Choose rose flowers that are pest-free and not fully open. Blooms that are slightly closed tend to hold their shape better when drying.
Remove all the leaves, especially from the lower part of the stem. Consider stripping away all the damaged foliage. Trim the stems to the length of the cardboard.
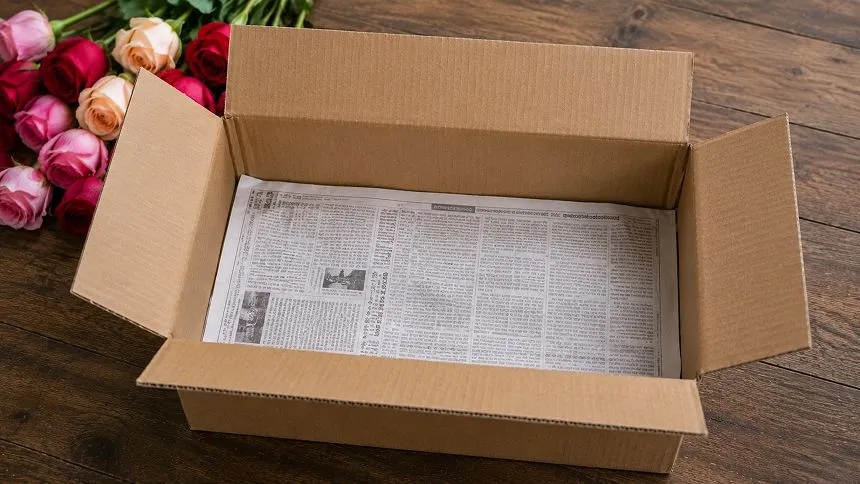
Choose a clean, dry cardboard box large enough to hold the roses without crushing them. Line the bottom of the box with a layer of newspaper or paper towels.
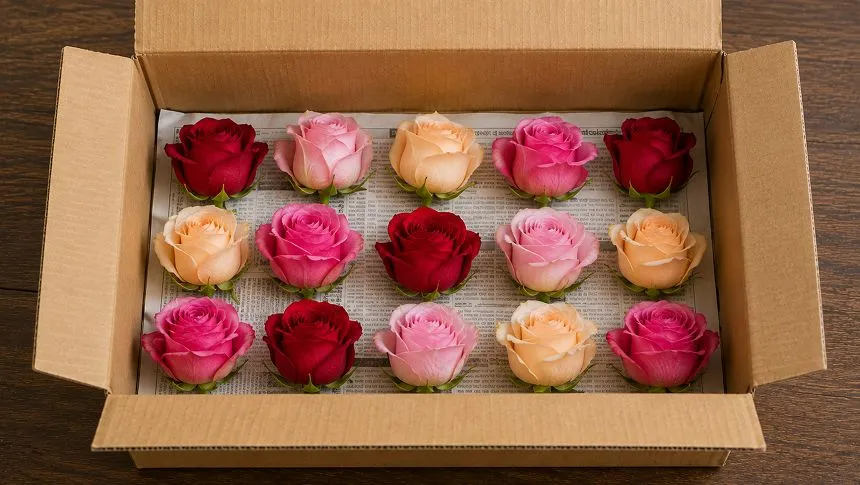
You can either tie the roses together using a string or a rubber band, or place the individual stems. If you wish to dry only the flower heads, make sure to cut the stems and leave only about 1 inch to handle the bloom properly.
Place the lid on the box, but don’t seal it airtight. Make a few small holes in the sides of the box for ventilation. Keep it in a dark, dry, well-ventilated place, away from direct sunlight and humidity.
Allow the roses to dry for approximately 2-4 weeks. The flowers are ready if they feel crisp or papery. The stems should be completely dry, and the flower heads should not be soft or cool to the touch.
What is the Best Time to Pick Roses for Drying?

To dry roses properly, pick them right before the petals open up.
When to Pick
- Pick on a dry day.
- Wait until the morning sun dries up the dew.
- Do not pick right after rain or watering
What to Look For
- Select healthy flowers with no signs of damage.
- Make sure the petals are firm and in proper shape.
- Skip the flowers that are fully open or wilting.
- Check closely for bugs, mites, or brown spots.
Why Preserve Roses? Benefits of Drying Rose Flowers
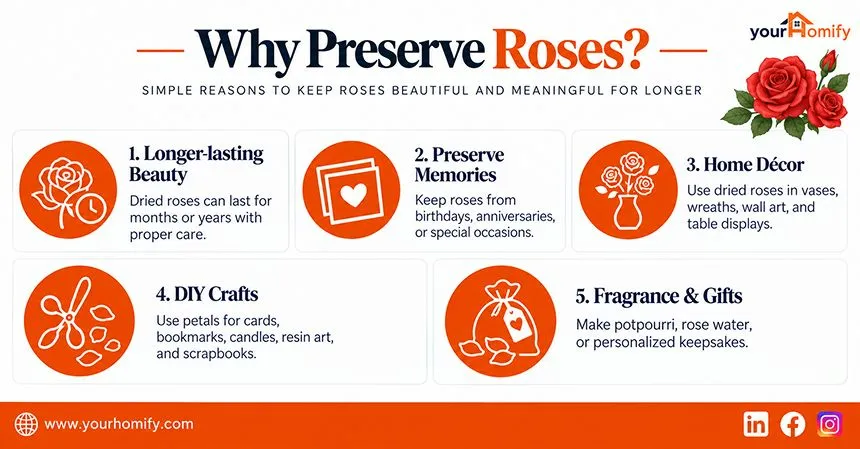
Drying roses is a simple way to preserve their beauty and sentimental value. Here are all the reasons that I feel make the flower worth preserving
- Fresh roses usually last only a short time in a vase, while properly dried roses can last longer and can be used for decorative purposes for months or even years. You simply need to keep them away from moisture and direct sunlight.
- Want to create a lasting keepsake of roses or flowers you received on birthdays or anniversaries? Preserving those cherished flowers through drying not only helps you keep their beauty longer, but also allows you to hold onto the memories they represent.
- Dried roses can add a natural, romantic touch to vases, wreaths, wall arrangements, and table displays without needing regular watering or maintenance.
- Pressed or dried rose flowers or petals work well for greeting cards, bookmarks, scrapbooks, candles, resin crafts, or any other framed artwork. You can also use them to make fragrant potpourri, body scrubs, or rose water.
- Preserved roses can be turned into personalized gifts or kept as reminders of special or romantic occasions. You can always cherish the bouquets you received on birthdays or anniversaries and store them for a lasting memory.
Best Method to Choose Based on Your Goal: Pros and Cons
| Best Method | Goal | Pros | Cons |
| Air Drying | This method is perfect for preserving your birthday or anniversary bouquet in its actual shape. | The air-drying method is free and easy. Gives your space a vintage look | Time-consuming; the color of the bloom may fade, and the petals can become brittle. |
| Silica Gel | This method is best if you wish to keep the shape and color of the flower intact. | Preserves the 3D shape. Helps in retaining the color and gives lifelike results. | This method is an expensive approach. The process can sometimes be messy. |
| Pressing | You can use this method if you want dried rose flowers for DIY projects. | This method is easy to perform and very cost-friendly. | The petals or the flower become fragile. They lose their 3D shape. |
| Microwave | If you wish to get quick results, using the microwave method is ideal. | Keeps the color of the bloom intact. You can also retain the shape using silica. | Risk of burning the petals or the whole flower if kept at high heat. |
| Cardboard | This method is ideal if you wish to remove moisture from the flower while protecting its shape for decor or DIY crafts. | The process is inexpensive and easy to do at home. Can be done for multiple roses simultaneously. | It takes time, and the flowers’ color may fade. Petals can become brittle, and roses may develop brown edges. |
Common Mistakes to Avoid When Drying Roses
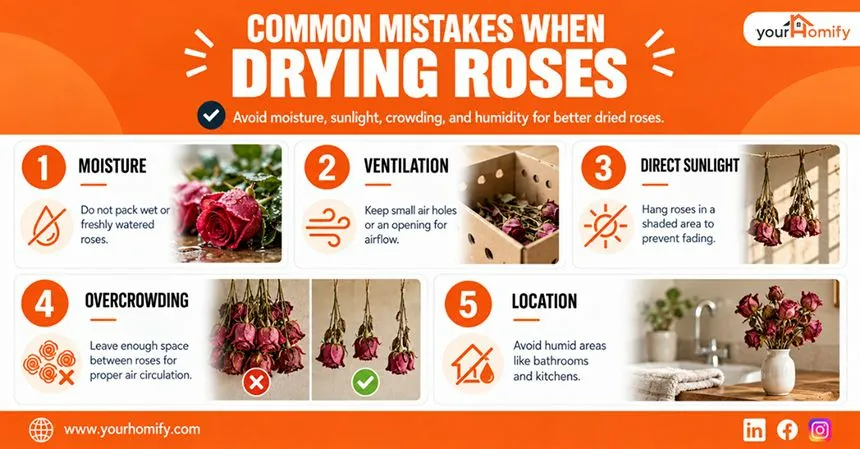
I remember the time when I started drying roses and made so many mistakes. Here is a list of what you should avoid while drying roses.
- Excess moisture increases the risk of mold. Do not pack wet or freshly watered roses in the box or any airtight container.
- The box needs some ventilation. Always make small air holes or leave a small opening for airflow.
- While air-drying roses, avoid hanging them directly in sunlight, as it can cause fading and uneven drying.
- Packing too many roses prevents proper air circulation and can lead to uneven drying or mold. You may notice brown spots on the petals.
- Avoid keeping the setup near humid areas like bathrooms, kitchens, or other damp locations. Choose a cool, dry place instead.
Conclusion
Drying roses is a simple way to preserve their beauty and turn fresh flowers into long-lasting keepsakes. With a little patience and the right method, your roses can stay beautiful long after they have naturally faded.
You can choose the method depending on your goal. If you wish to retain the color of the flower or simply want to dry it out to preserve the memory – the choice is yours!
FAQs
How do you dry roses to keep them forever?
To dry roses, you can use five easy methods: air drying, pressing, microwaving, silica gel, and a cardboard box. You simply need to choose the right flowers, use the appropriate method, give them enough time to lose moisture, and it’s done!
What are common mistakes when drying flowers?
Beginners often make common mistakes, such as using wet flowers or wilted roses, keeping the arrangement in humid areas, exposing the flowers to direct sunlight, and packing too many flowers together.
How long should I hang roses to dry?
2-3 weeks is the ideal time to hang the roses upside down for proper drying. However, the exact time depends on the rose species you use, the moisture content of the flower head, and the area you are hanging the flowers.
Which flowers cannot be dried?
While almost any flower can be dried using the aforementioned five methods, flowers with high water content in their stem and petals, such as tulips and daffodils, are difficult to dry. They may rot and develop brown fungal spots on their petals.
- Drying flowers: 5 methods, tips and tricks – Plants and Flowers Foundation, Holland
- How to dry flowers and foliage – Royal Horticultural Society